Wow, it's been a while since I updated my build thread! Was on vacation for a couple weeks and also diverted my attention to some real life stuff for a bit. But in between all that I still managed to reach some major milestones on the build.
So, to catch things up...
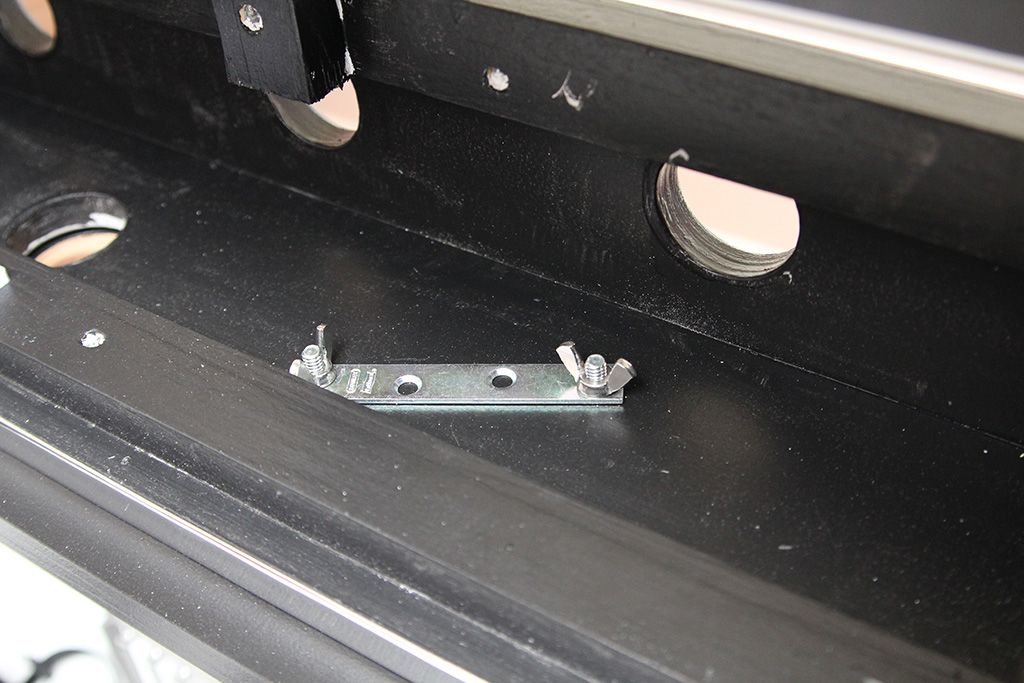
I debated earlier in the build whether I wanted to do backbox hinges. After much deliberation I decided that I would rather not obscure the artwork with hinges just to try to accommodate the very rare occasion where this thing will need to be transported. Instead I opted to simply use brackets and wingnuts to allow for easy dis-assembly. So removing the backbox is as simple as unplugging the cables inside it and unscrewing the wingnuts. There's one of these brackets on each side.
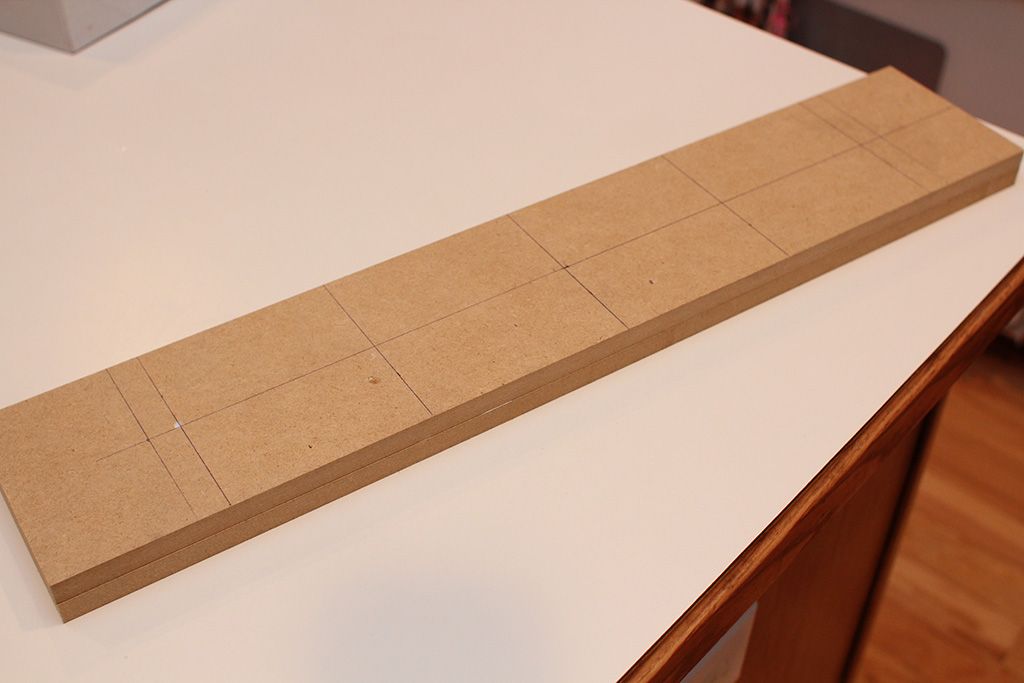
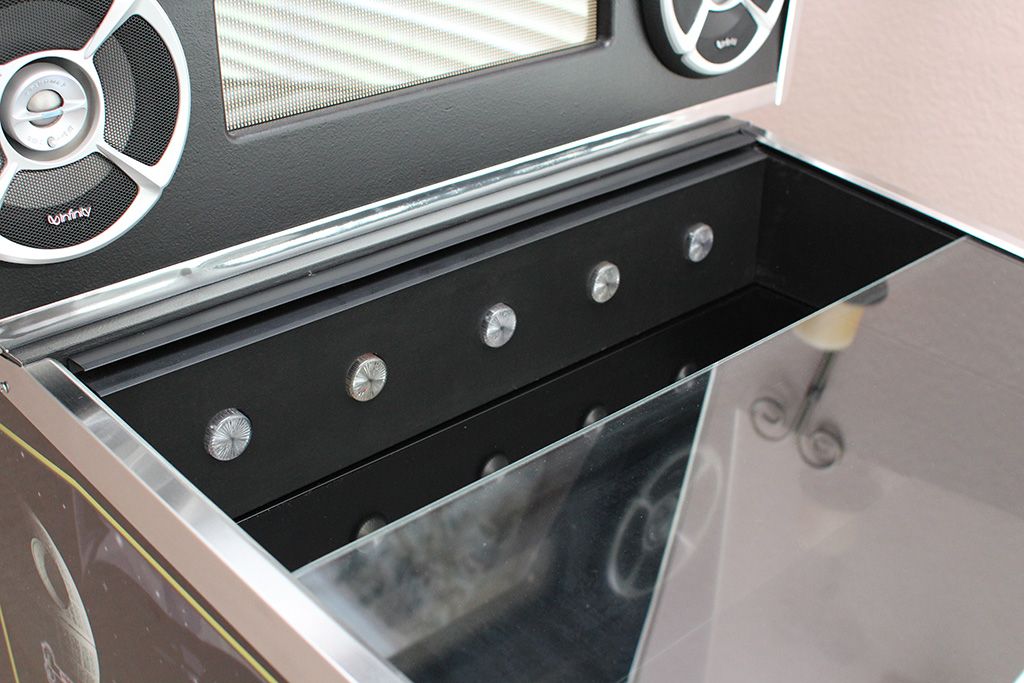
Next I tackled the light bar. I sandwiched two 1/2" MDF panels together, one because I wanted the lights to be very recessed and secondly to fill the gap at the back where the play field meets the light bar.
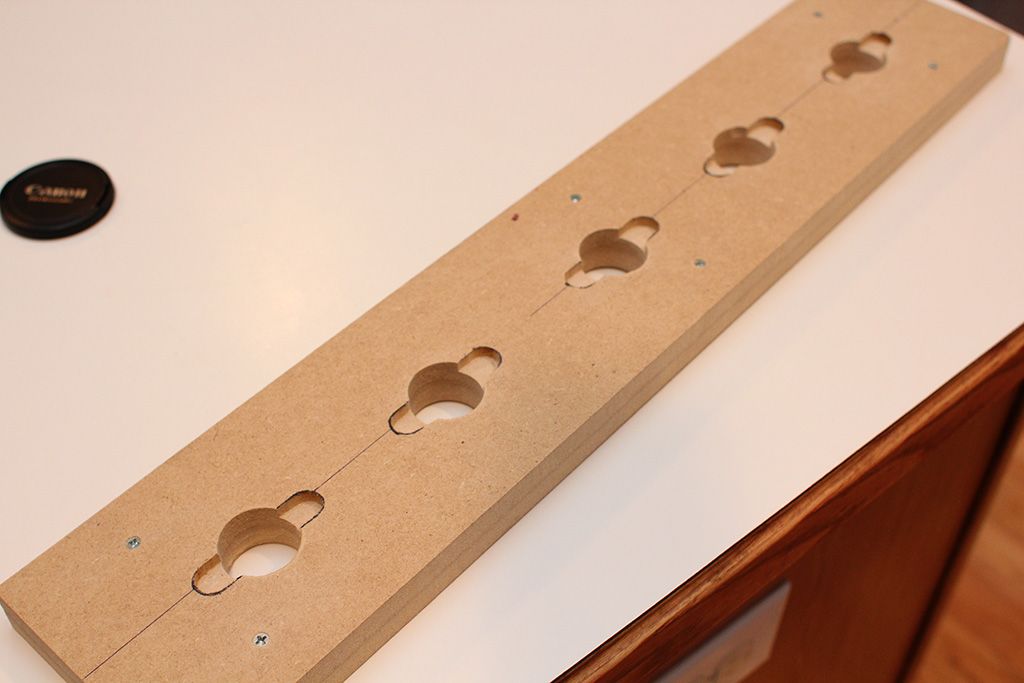
Drilled the holes for the flasher caps using a 1 1/8" spade bit, then hand routed recesses for the screw tabs. Then just primed and painted it using a foam roller and brush.
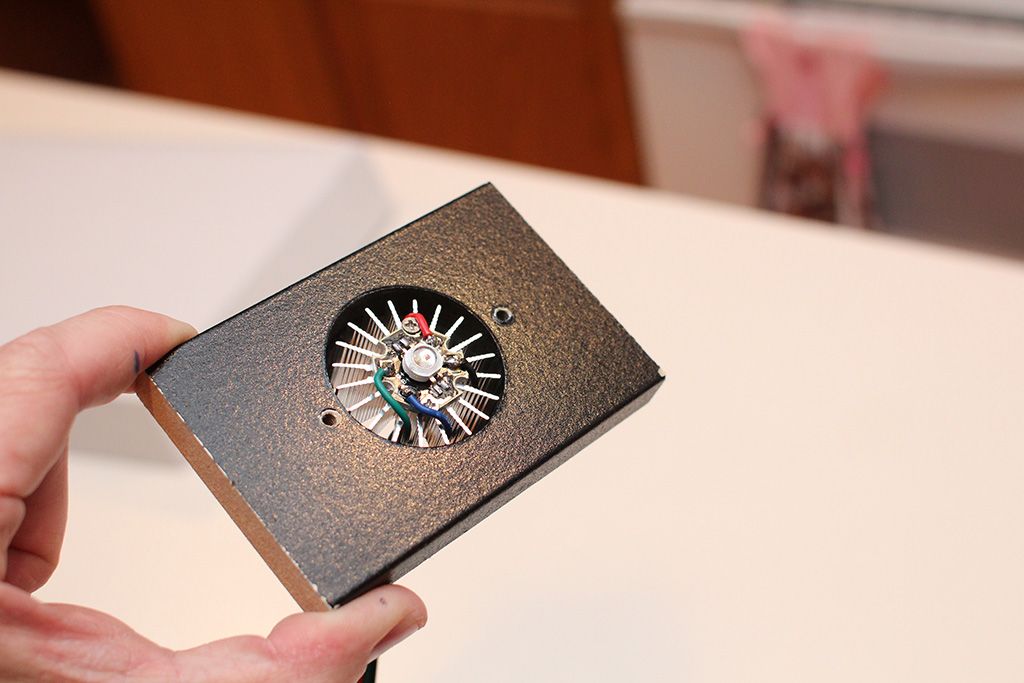
The heatsinks on my Cree flashers do not have mounting screw holes, so I had needed a retainer to mount the LEDs to the light bar. These are basically just blocks with holes recessed to hold the heatsinks. The flasher cap got screwed on and then the whole assembly was attached to the light bar.

Finished product:
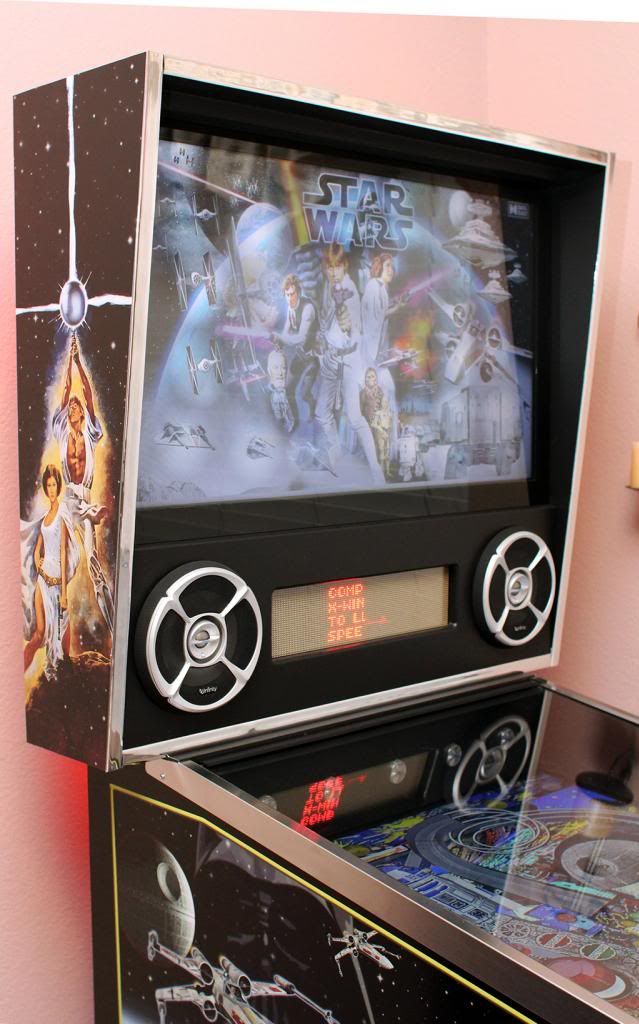
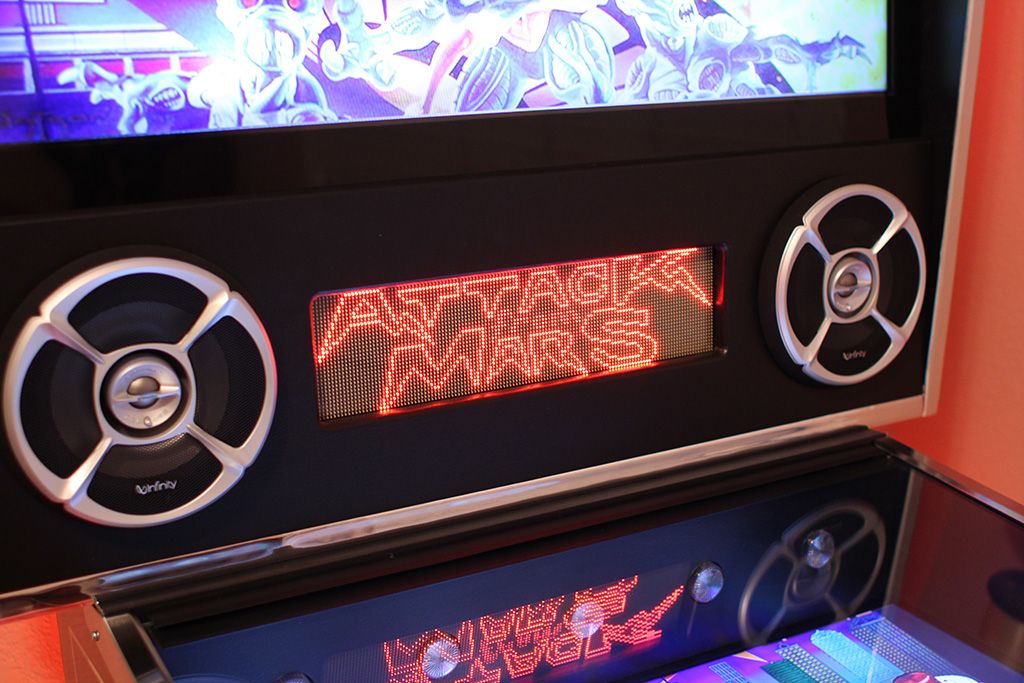
Originally I had also planned to include the strobes on the light bar. After I thought about it, I decided that I didn't want those things beaming me in the face. So I mounted them just under the front of the cab so they shine down by the player's feet. That way you still get the effect of the strobes without the blindness. My plan is to pick up another pair of them and mount them on the back side of the backbox. You'll also notice in the pic that the under-cabinet accent lighting is installed. The accent lighting is RGB and is totally configurable using an included remote control. I have it set up to smoothly fade between colors.

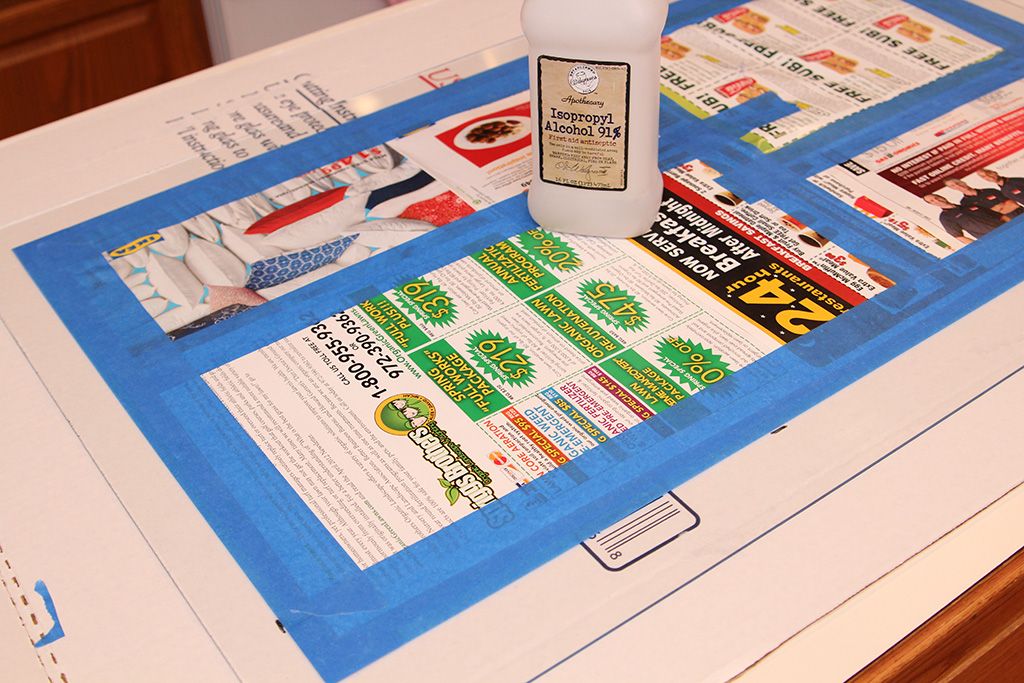
Next up was the glass for the backbox. For this I just purchased a sheet of glass from Home Depot and had my Mom, who does stained glass, size it for me. I decided to paint on the bezel. For that I just masked off the edges, cleaned the glass with alcohol and painted it using a foam roller and black latex.

And then wiring...lots of it. It would have been much worse though without Zebulon's boards.
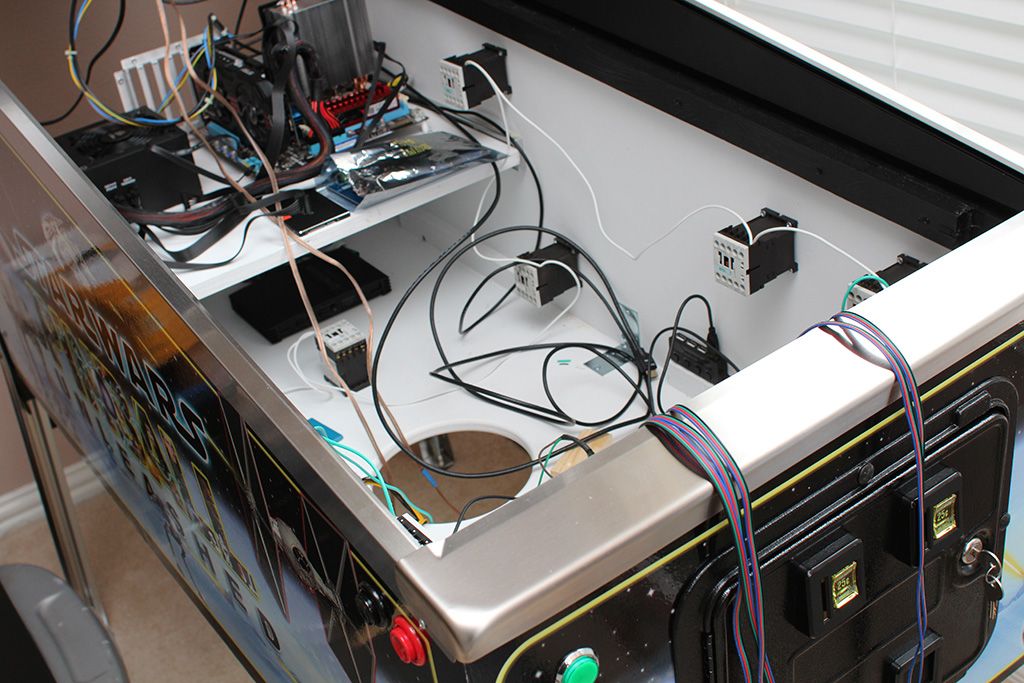
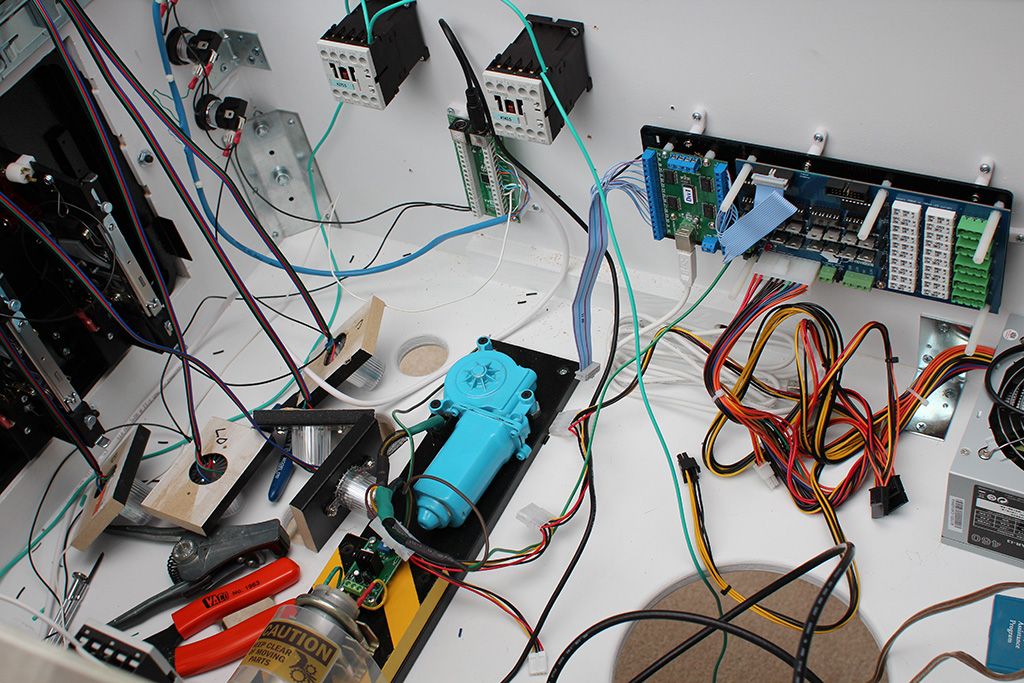
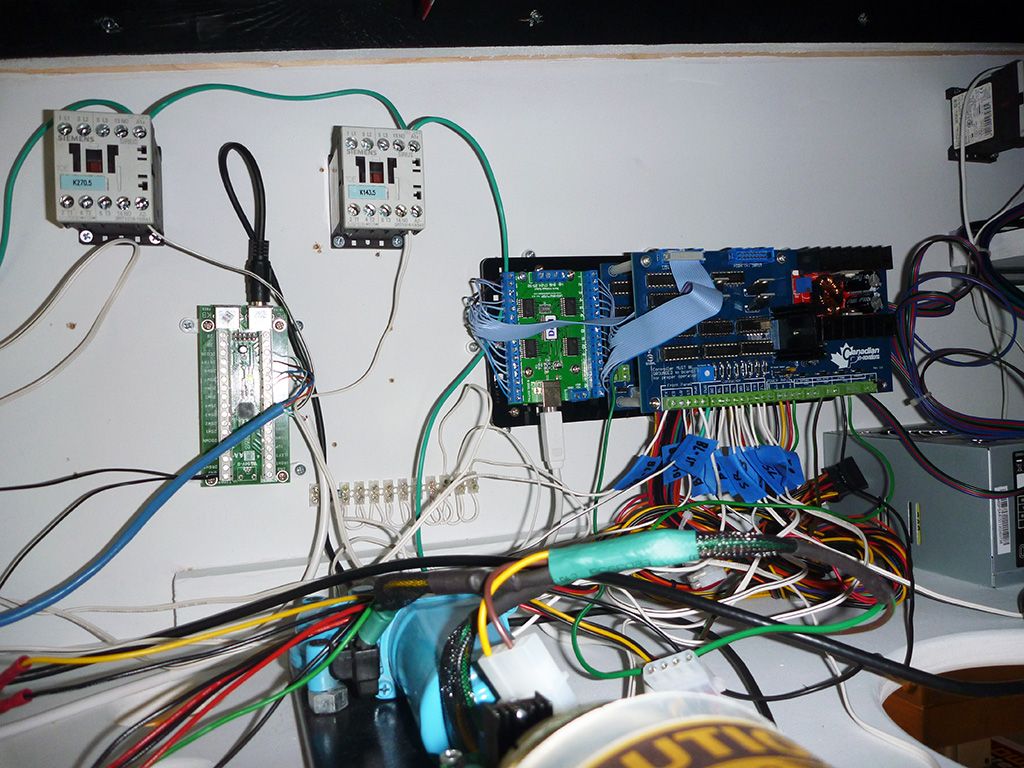
I wanted to be sure everything was functioning properly before I started bundling wire and making it all look pretty. That's still on the to-do list.
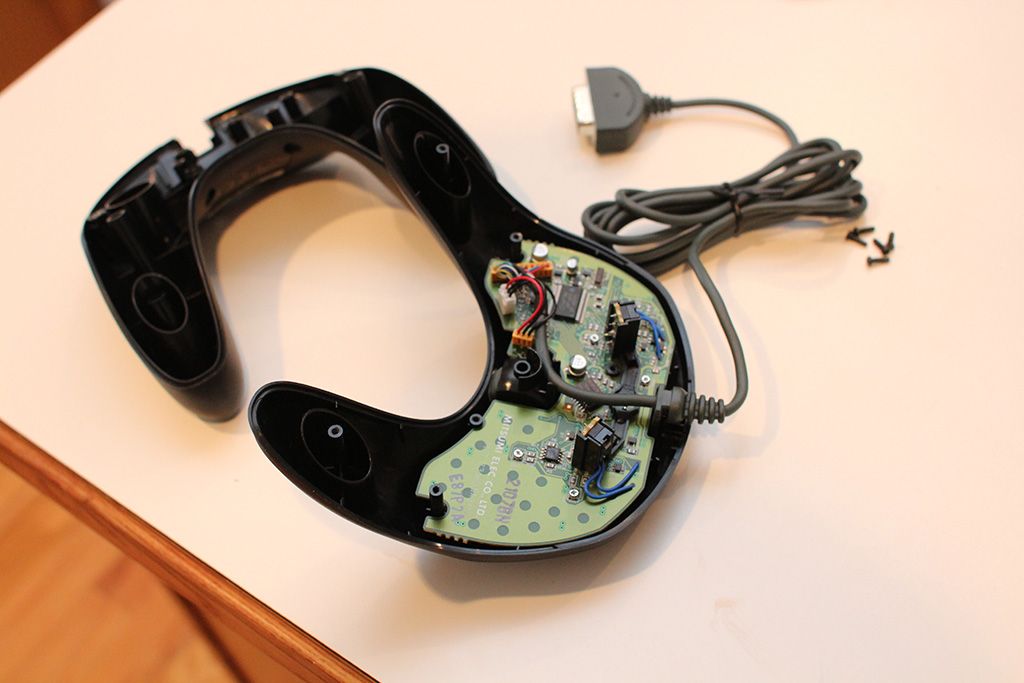
Started the installation of the gamepad PCB for the nudge functionality. After disassembly is when I came to the realization that the gameport to USB adapter was missing from the package. D'oh! To solve that I ordered a Belkin F3U200-08INCH from Amazon, which I just received.
UPDATE: this cable didn't work for me unfortunately...apparently you have to use the cable that actually comes with it. This part of the install is to be continued.
So currently the machine is 100% playable. All lighting and force feedback options are working perfectly. It's amazing how much that stuff adds to the gameplay experience! When the lights, sounds and feedback are all working together in concert, it's simply fantastic.
A few pics of the almost-finished product.

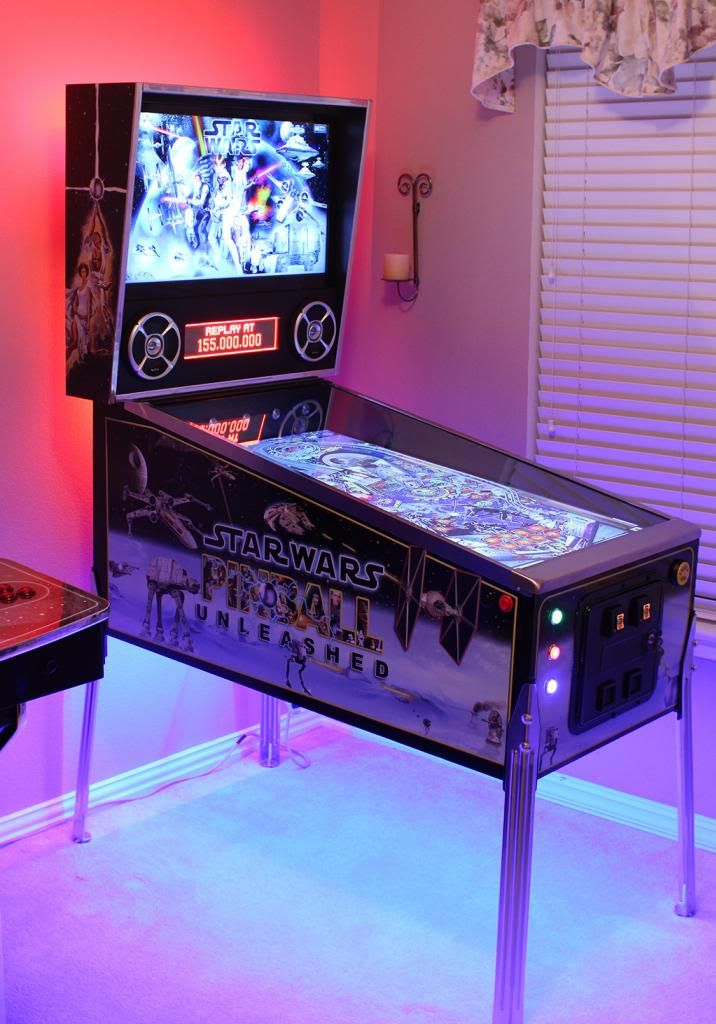
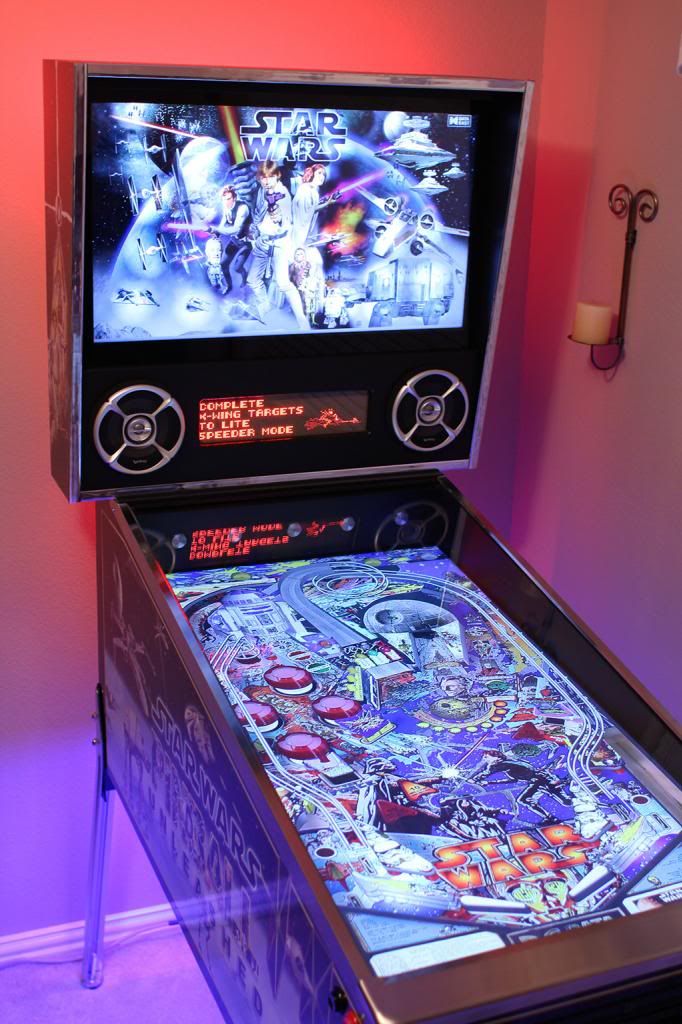
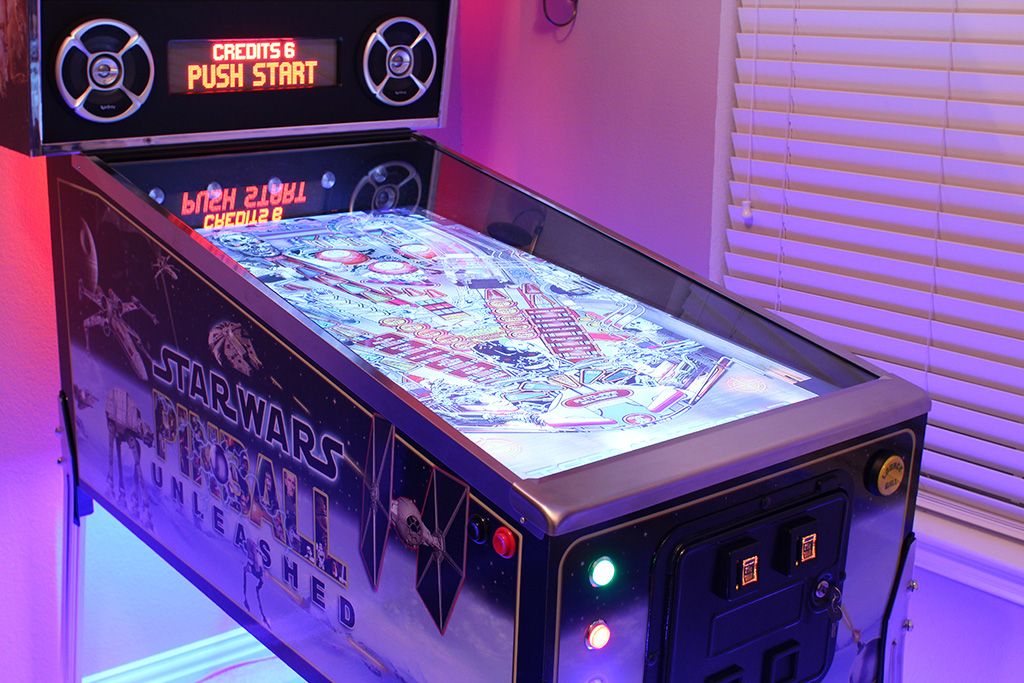
Will probably post a video of it all in action soon.


 Home
Home Help
Help Search
 Login
Login Register

 Send this topic
 Print
Print Topic: STAR WARS: Pinball Unleashed - 46"/32"/DMD Widebody Virtual Pinball Build (Read 70605 times)


