Hi,
This is my first post here. I've been reading this forum for few years and wanted to build arcade cabinet way before that

This is gonna be pretty long post, more like a dairy of what the building was - as the machine is 100% complete now.
I've based my plans on Verticade (thanks for that), just made some changes.
After talking with my wife (btw. thanks for help!), she agreed to help me build it (couldn't have done this without her help)
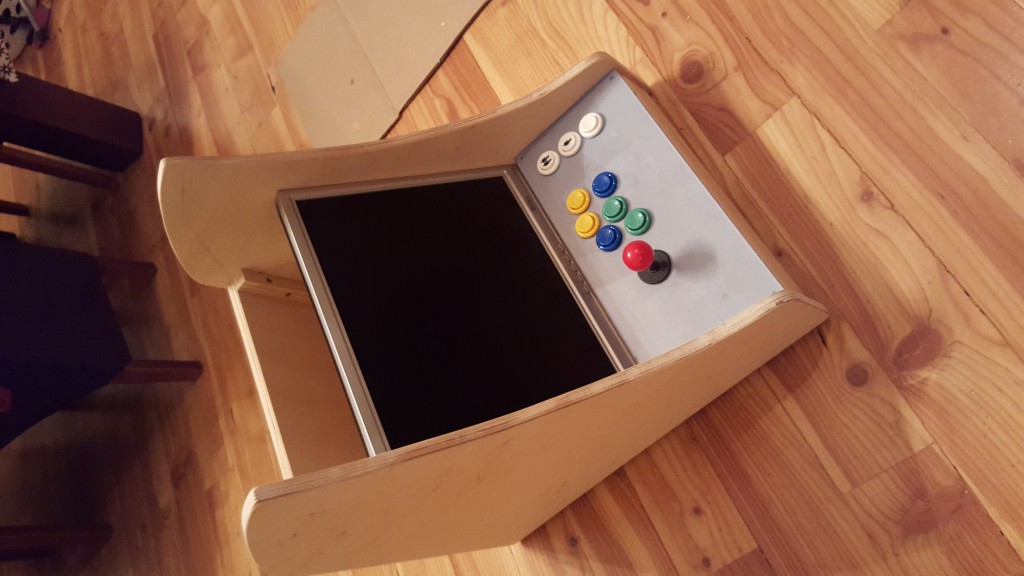
The arcade is for 1 player, 17 inch screen size, bartop.
It's powered by Raspberry Pi 3 and RetroPie.
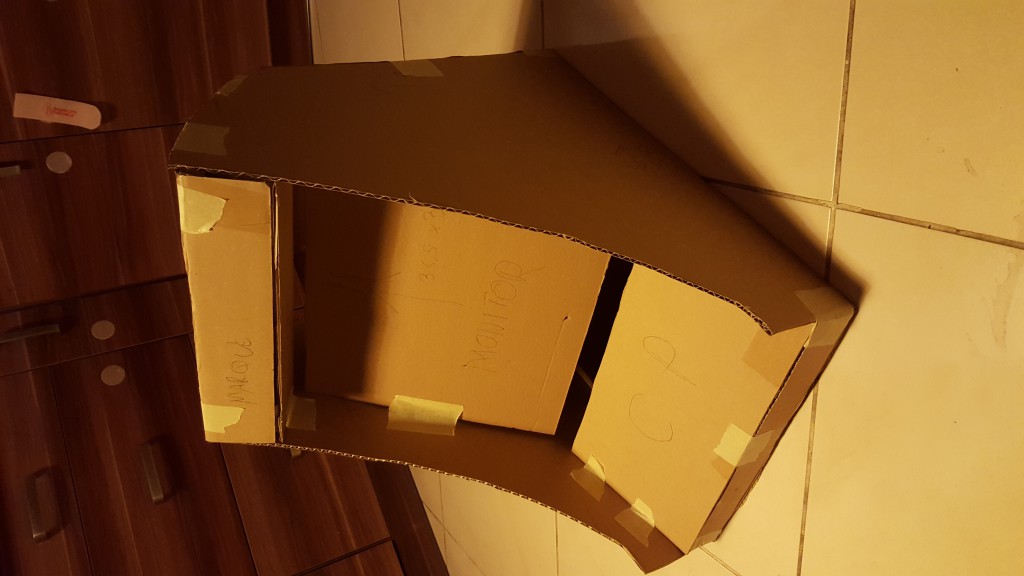
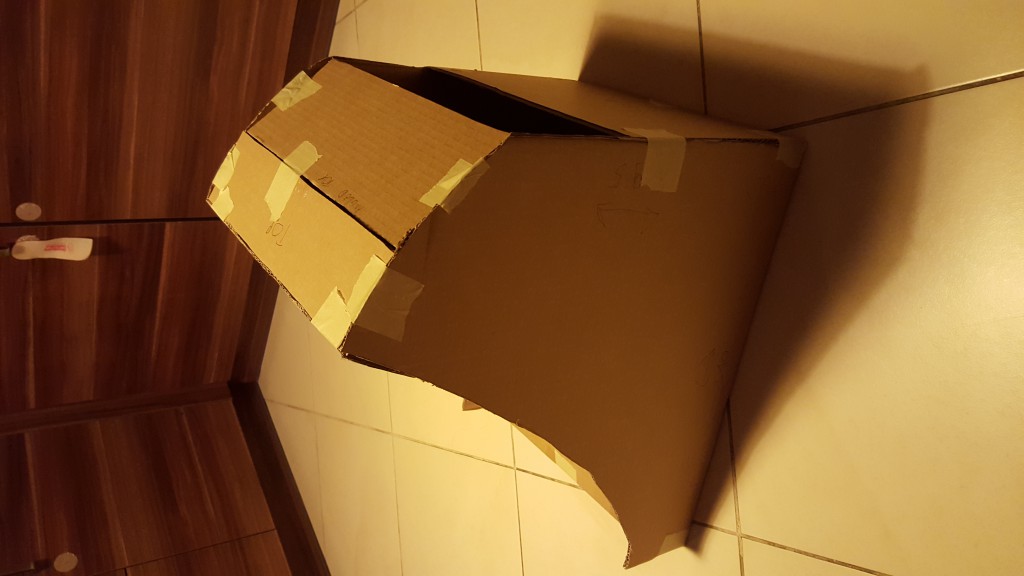
IntroWhole project started as this

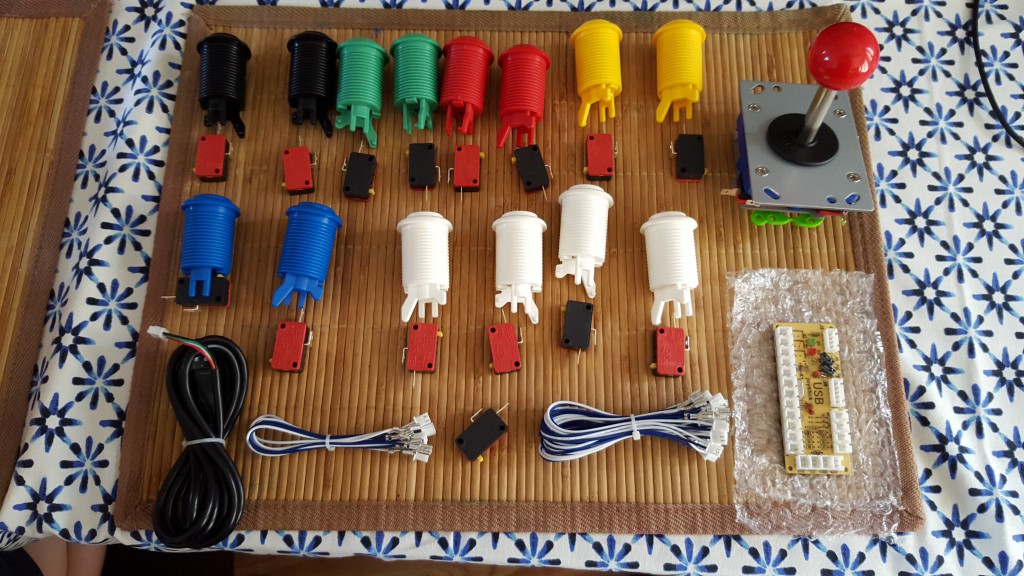
 Joystick and buttons
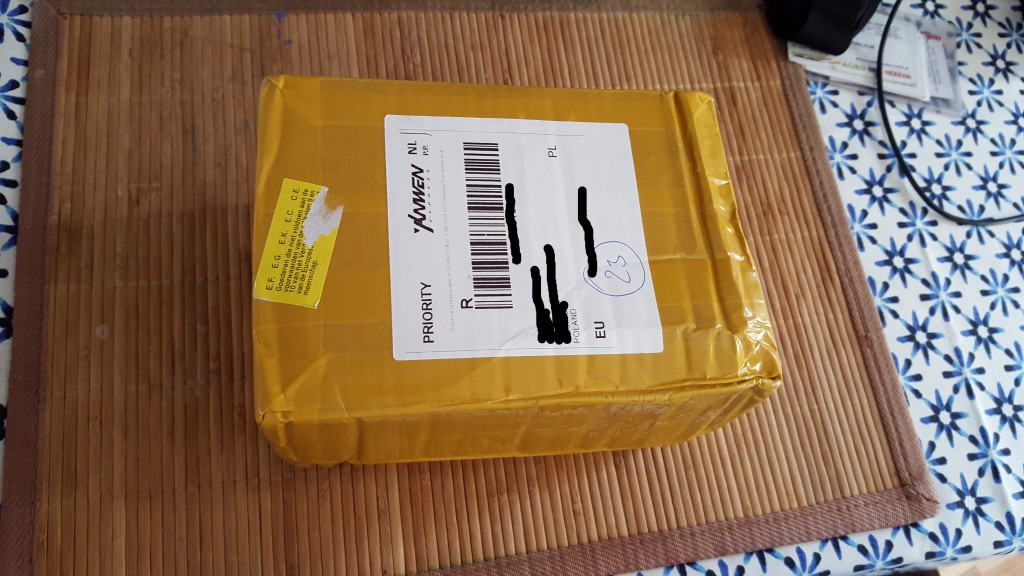
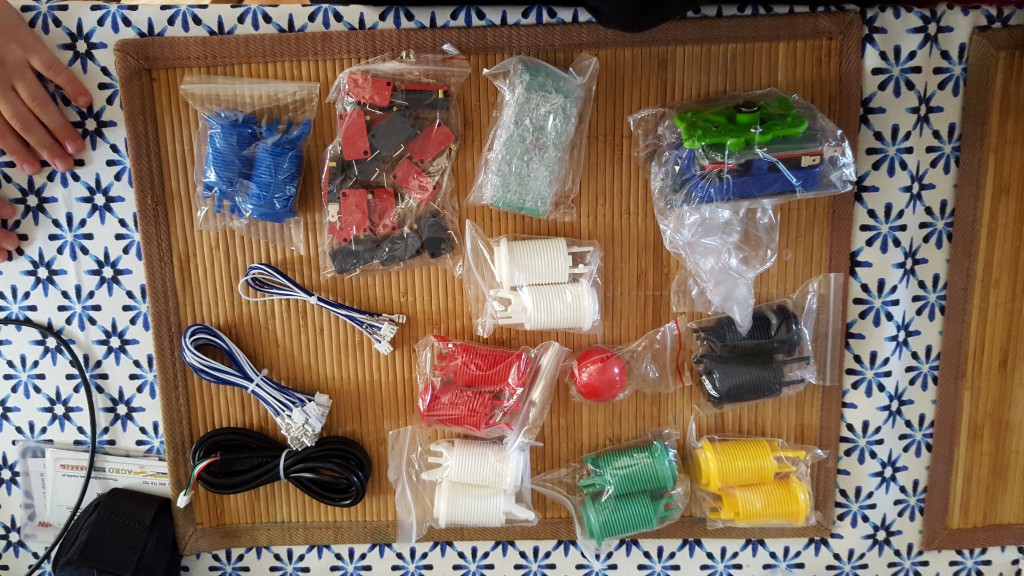
As I don't have any local stored where I live - I had to order oversea. I didn't want to go crazy with budget (I didn't knew if I could handle the build), so I went and ordered:
- Zippy joystick (long shaft version)
- Happ pushbuttons
- Zero Delay USB encoder (with wiring set)
When package arrived (after about 3 weeks), a moment of joy (yay!), I started to make a mock-up - first mistake was done here as you can see (rush)
Then I noticed that fixing rings for buttons are missing

After 3 weeks they arrived, ouch...

 Construction
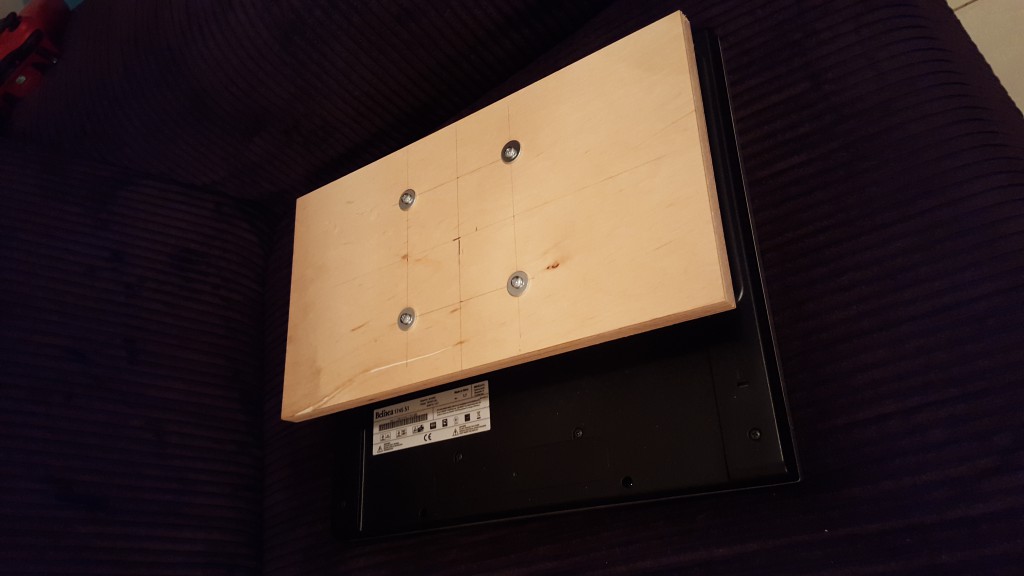
As I wrote I used Verticade plans. I decided to use plywood, 15mm thick. Monitor is mounted in normal way, it's 17" with 4:3 ratio.
I don't have skills and hardware to make all the cuts, so I looked around and found nice shop, which took my measures and laser-cut all the parts.
Only thing that needed to be done was curves on both sides - I used old jig saw, it did the trick. Then some sanding and done. First backplate for monitor was done.


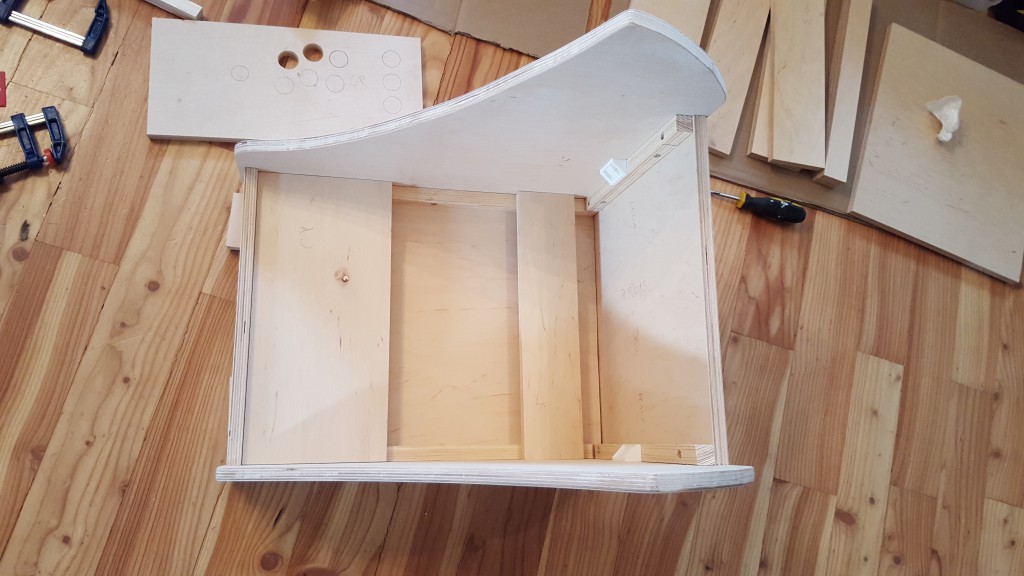
Then for next couple of days main construction was done. Thinking part took 2x longer that doing part:) I was following rule "measure twice, cut once".
I didn't use any glue, just screws and plastic fixit blocks and some mouldings. Back panel and bottom panel is fully removable to allow access to hardware.


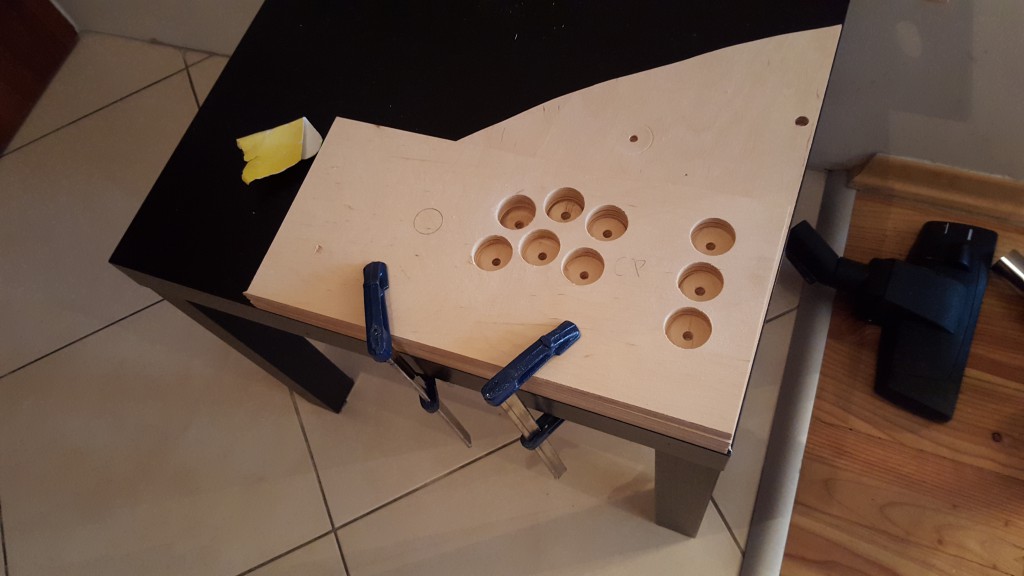
I did control panel design and my friend cut plexi (again with lasers). Holes for panel were drilled using flat drill.
One thing to notice here I first drilled 30mm holes and found that buttons
don't go well with plexi
So I had to make 32mm holes, this time it was right and the extra 2mm is covered by buttons.
It was mounted into construction, looked nice
(note that 4 small holes in control panel, I was thinking they will be needed to hold it in place, but it turned out, they're not, they will be covered by some gold screws at the end)


Next was top plate, vent holes and marquee holder. I also mounted joystick to control panel (don't know why, don't do this at this stage
and didn't want to unscrew it,
so it was there during the rest of the process)


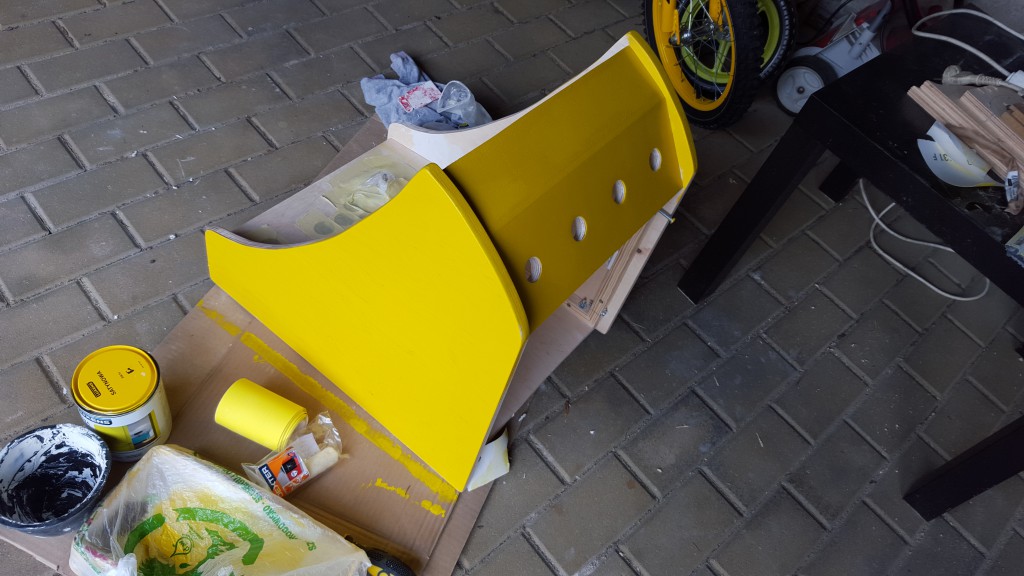
 Painting
Classis yellow was chosen, I'm a Fallout game series fan and wanted to have this as theme (I will have my friend design new banner and control panel graphics soon, don't laugh at my attempt)
My wife did all the painting and sanding. She also used polyester putty to fill in gaps etc.
Painting took about 3-4 days in total - I just couldn't wait to move to the next phase, so I worked on internals

 Internals
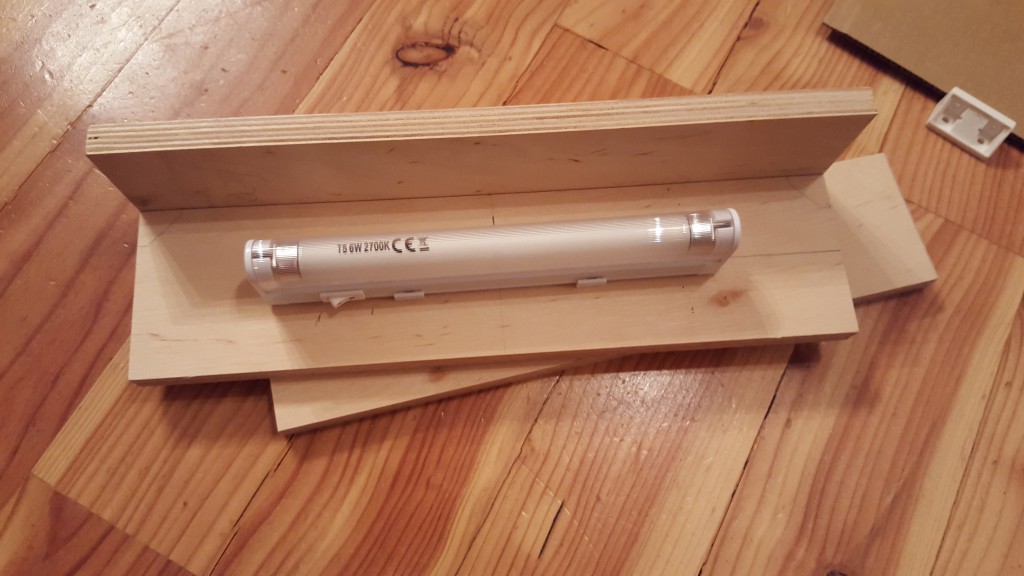
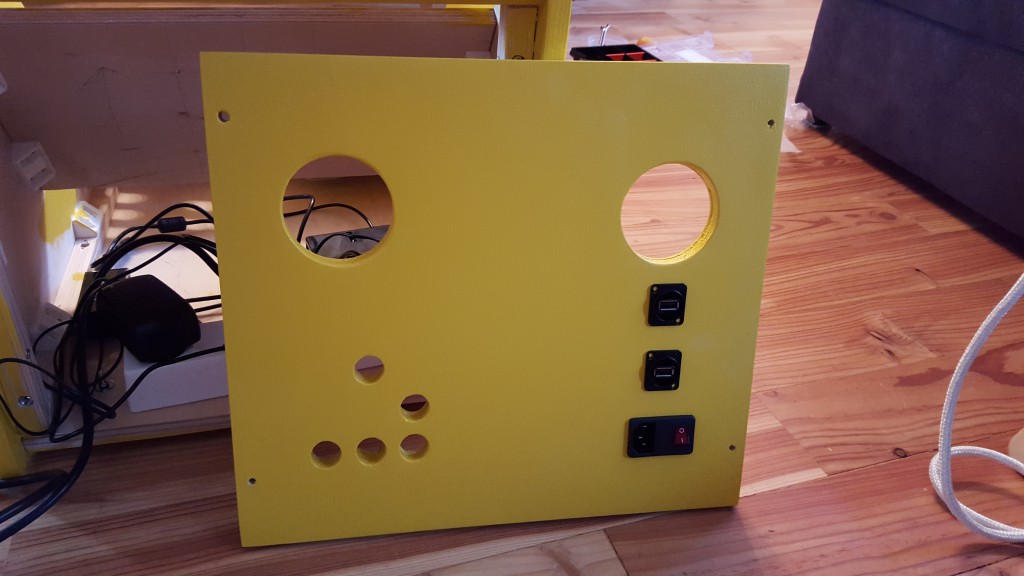
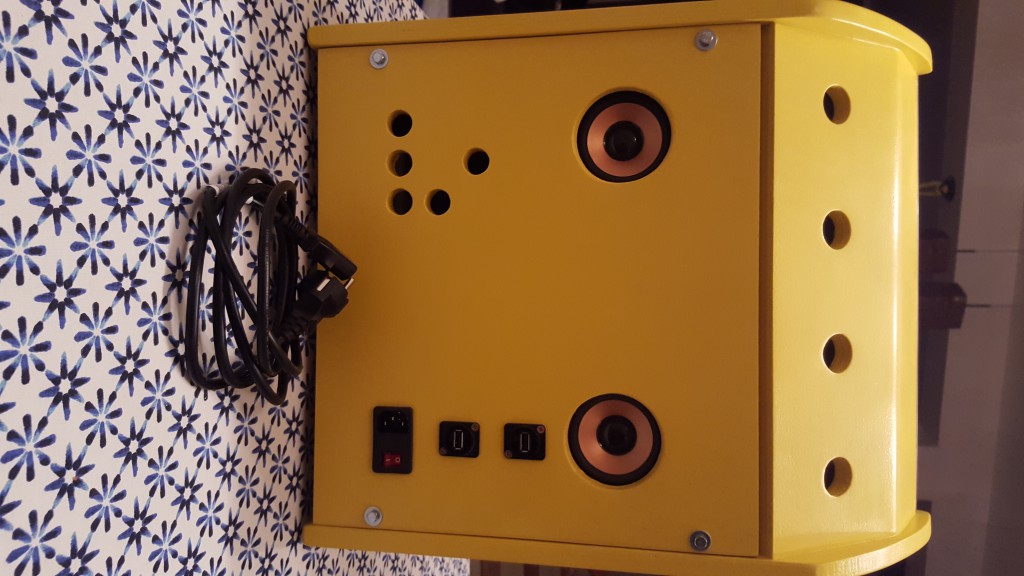
As I wrote before, it's powered by RPI 3. I also ordered some USB powered speakers, active USB hub (for speakers as I didn't want to connect this to RPI)
and Neutrik USB ports for back panel. Also power switch with removable cable is mounted. First I planned to use HUB, but couldn't figure out a way to cut clean hole for it,
so I ordered Neutrik - I'm glad I did, they look nice


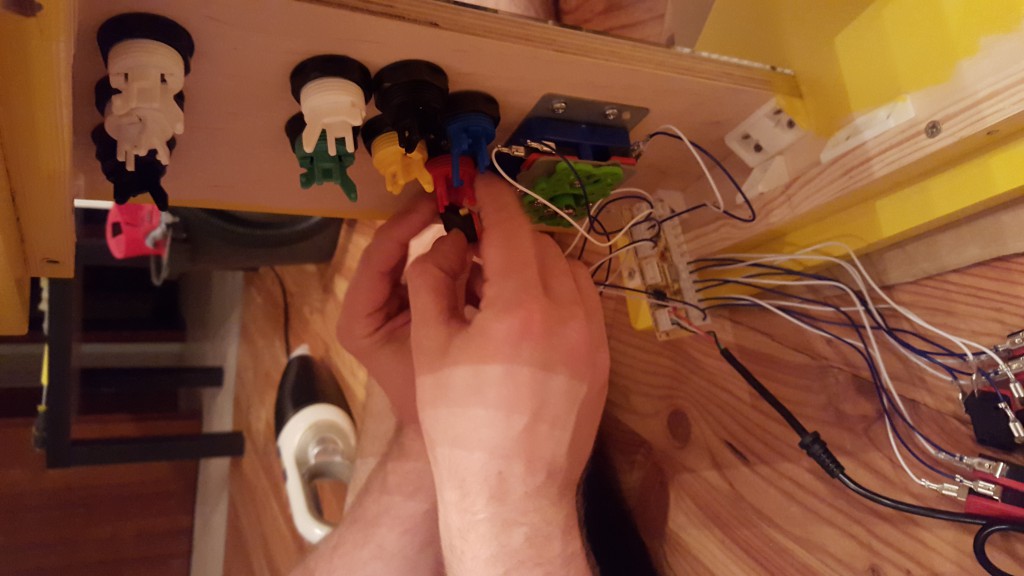
 Wiring
The wiring part was the most pleasure one, until I had to work with small space left in there
Honestly I though there will be more room, but I managed to put this inside, not the best order in there - will need to clean it up someday (just not now).
Joystick is mounted from bottom, using 4 screws.
After connecting everything, I connected this to laptop to check if wiring is right, then did test run - it worked


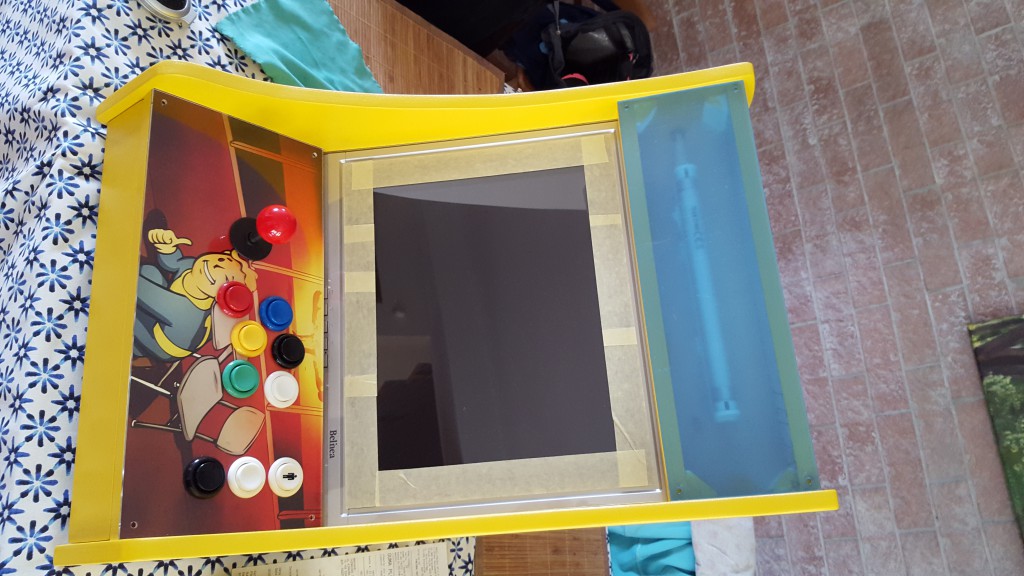
 Finishing
So the cabinet was almost ready - RetroPie was in place, my kids started to play, I just watched
Things left was plexi for screen and marquee - that took some time, as guy who was doing cuts was off.
After I got the parts, I prepared it for painting - using black spray paint - I used painter tape to mark edges. After is was painted, my wife wasn't happy with the result,
edges wasn't straight - she got idea to use black tape used to isolate electronic cables to fix this - and it worked great. When paiting with spray, use more/better tape to protect plexiglass.
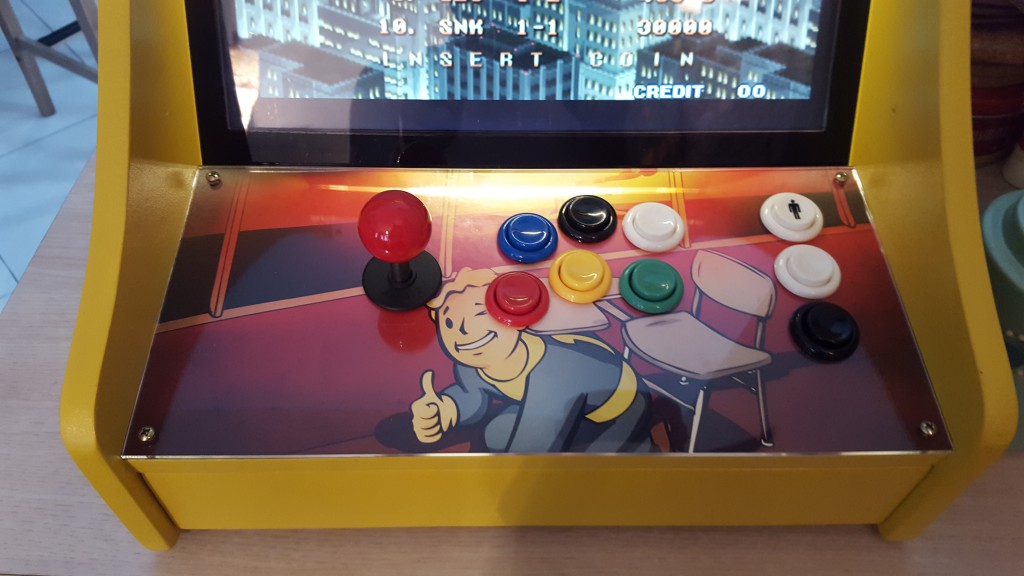


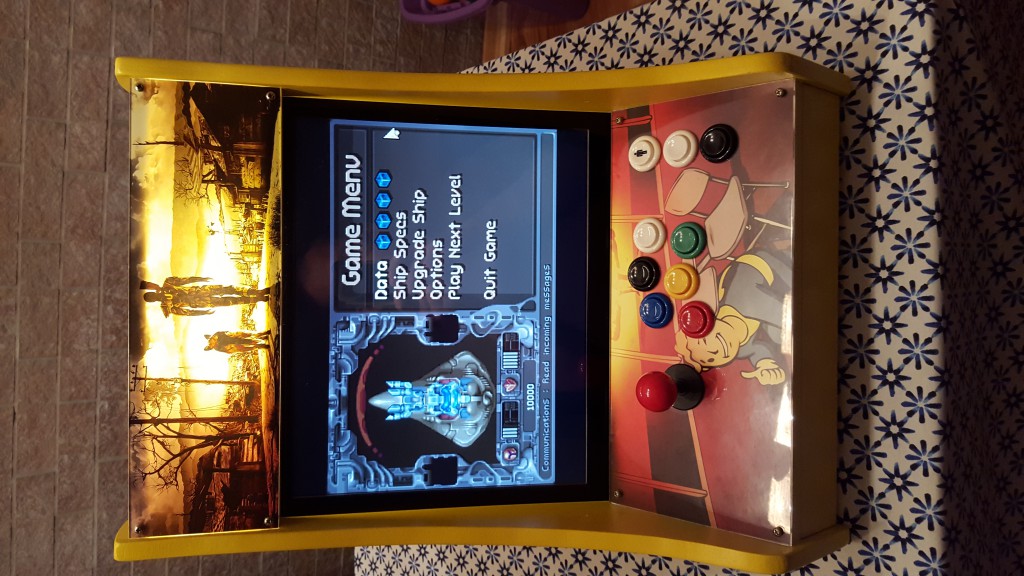
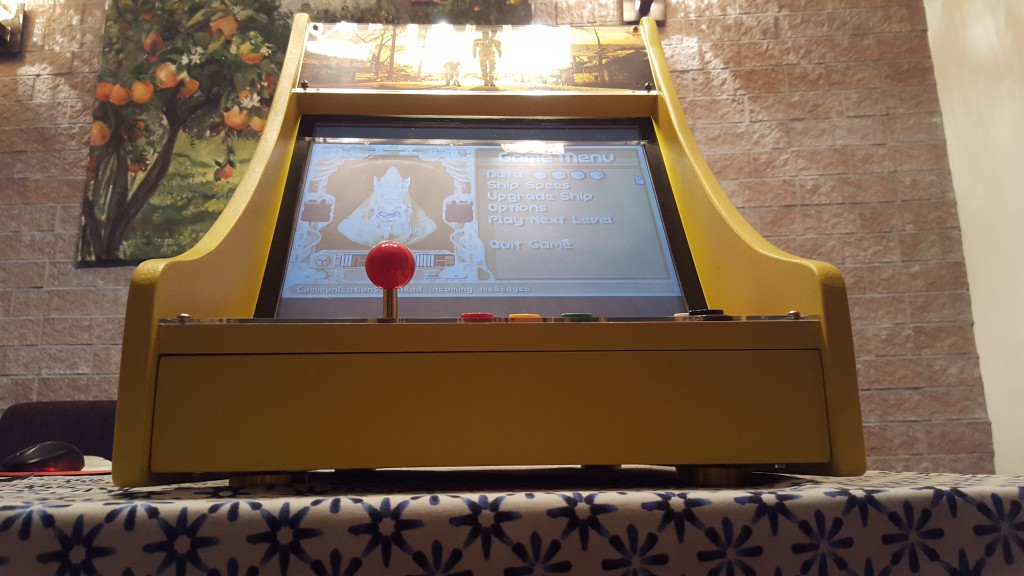
 Final look
Marquee is mounted using 4 screws. Screws on control panel are for view only, I didn't wanted to cut another plexi.


 The End
It was nice experience to build it. I know I made some mistakes during the process - (if there will be) next time it will be better.
It was my first time doing something like this, so if you're a newbie like me, feel free to ask any questions - maybe I will be able to help by telling what it took for me to get this done
I have many more photos of build process - feel free to ask
Also if you're using RPI3 / Zero Delay encoder - you might find that it reports Y on axis 3 (not 1 like every emu assume) - the fix is to hexedit HID driver for this encoder - contact me for details if needed.


 Home
Home Help
Help Search
 Login
Login Register

 Send this topic
 Print
Print Topic: First build, No Name yet - 100% complete (Verticade clone) (Read 3814 times)


