I've not posted any progress pics in a few days, but here we go! Since I last posted I was painting the CP Stand section. Originally my plan was to paint the insides of the cabinet sides and then attach them, but after talking to my dad, he talked me into working on construction first. So, I arrived at my parent's house around 1:30p and after a quick trip to Home Depot I started working.
I began by attaching the sides to the CP stand with clamps, then I cut the top of the Cab and matched the angle on the front of the board with the angle of the side. Then once the top was attached I double checked measurements and overall squareness and screwed the sides to the base and CP Stand.
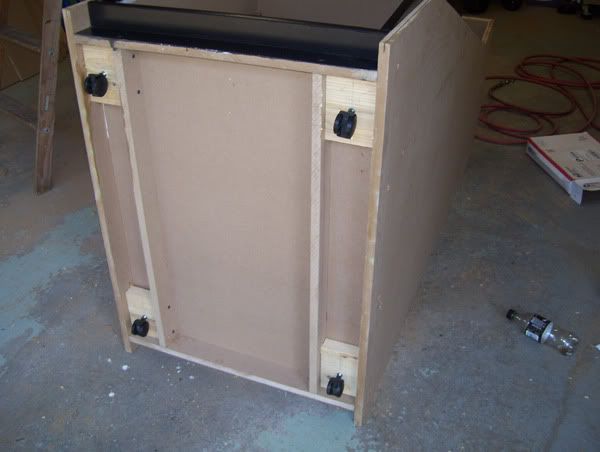
After I attached the sides, I laid the Cab on it's back and mounted the wheels. I happened to have 4 wheels from a set of plastic drawers laying around and after consulting my dad about weight issues I cut 5/4 x 6 planking in 4 inch sections and drilled them out to accept the shank of the wheel.
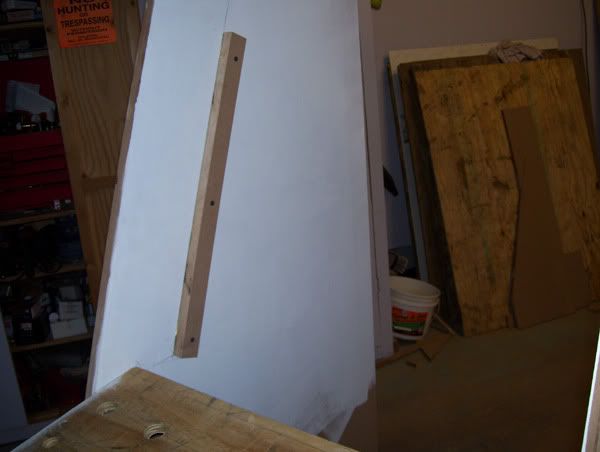
Finally my main goal of the night was to figure out the monitor placement. After looking it over and taking more measurements, we decided to make a MDF bezel and attach strips to the sides. We then mounted another board underneath the bottom of the bezel to support downward pressure and once everything is in place the monitor won't be going anywhere.

Tomorrow my Coin Door and Trackball mount will be here, so I'll be able to work on the CP Stand's front and the recessed coin door area.
and now the fun part! PICTURES!
Bottom corner of the CP Stand w/ T-Molding inserted.

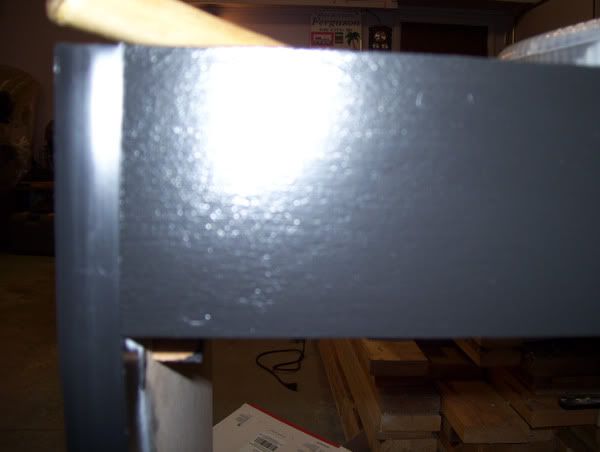
Top edge of the CP Stand w/ T-Molding
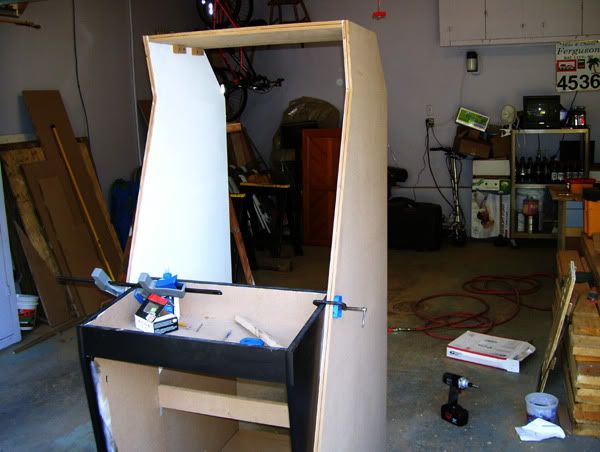
Attaching the sides!
Wheels mounted! This baby rolls!
One of the monitor braces.
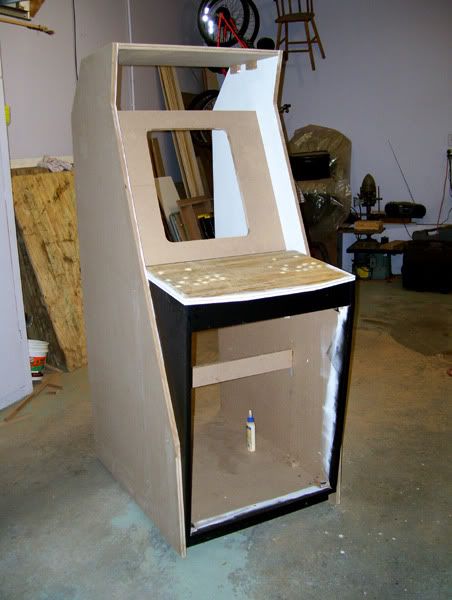
It's starting to look like an arcade machine!!!1!


 Home
Home Help
Help Search
 Login
Login Register

 Send this topic
 Print
Print Topic: The Shmup! Arcade (Final Move 4-26-13) (Read 127569 times)


