This was posted in announcements, but since it is a restoration I wanted to place it here for help and tips.
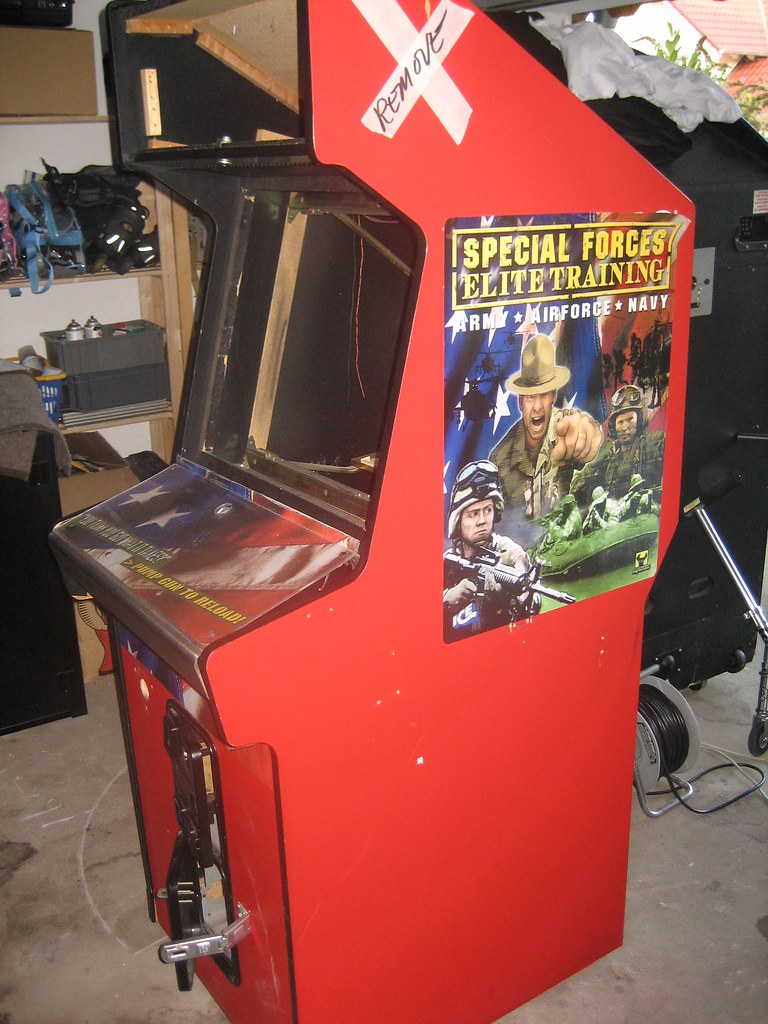
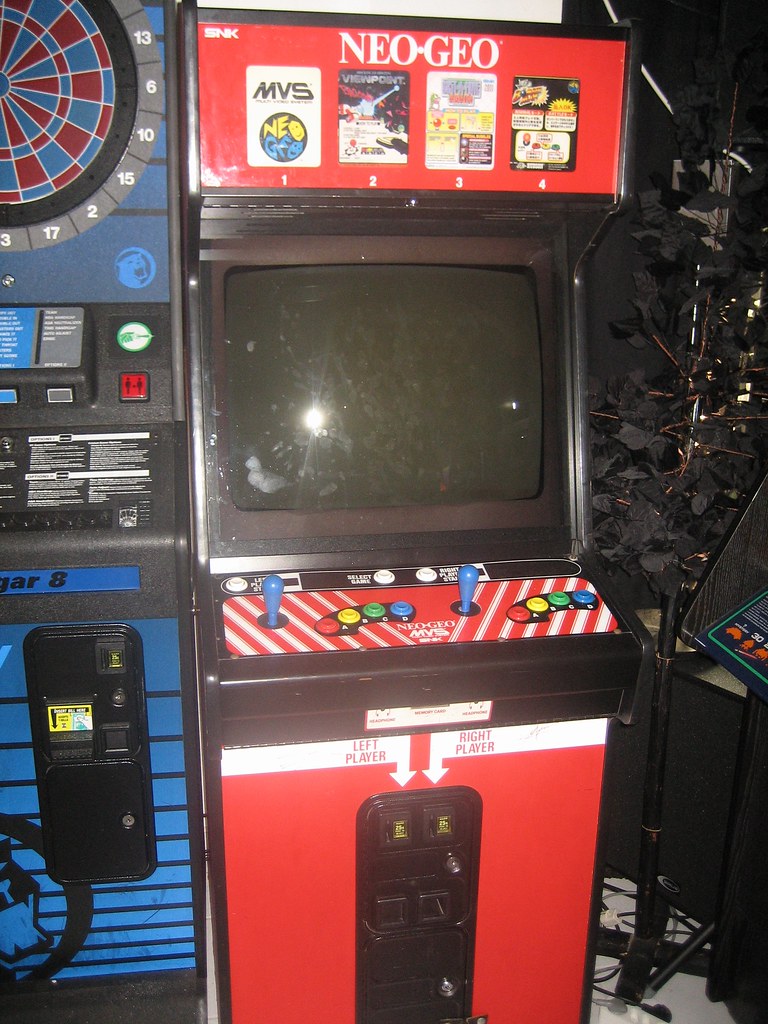
I am starting my 1st arcade restoration project and it is with a Neo Geo MVS-4 25 cab.
This will be a MAME cab, I am restoring this NEO GEO MVS to look exactly as it did in its glory. I would appreciate any help that anyone has.
I want to try and make this thing as authentic as possible with certain limitations.
- I am not drilling holes to suit a street-fighter setup, 4 buttons per player is fine by me. I want this thing to be identical to the way it looked originally.
- I live in Germany and getting a wells garner (Zenith original) monitor shipped is pretty much not possible so I am going to install a 25 " TV tube.
I have a 1.7 P4 with a Geforce 5200 AGP and 1.5gb of ram. Lots of HD.
- I need any advice on the specifics of TV mounting, which buttons and joysticks are authentic. Repainting, mounting, electronic wiring.
- Is a Arcade VGA worth it for Svideo output to a TV.
- I will be needing to get a new control panel layout that matches the original.
- I am also trying to find credit LED's and how to interface them with MAME.
- Don't worry I will use the search function and study each step before I do anything (ie discharge a TV) but I am just saying hello and if you have any words of wisdom let me know.
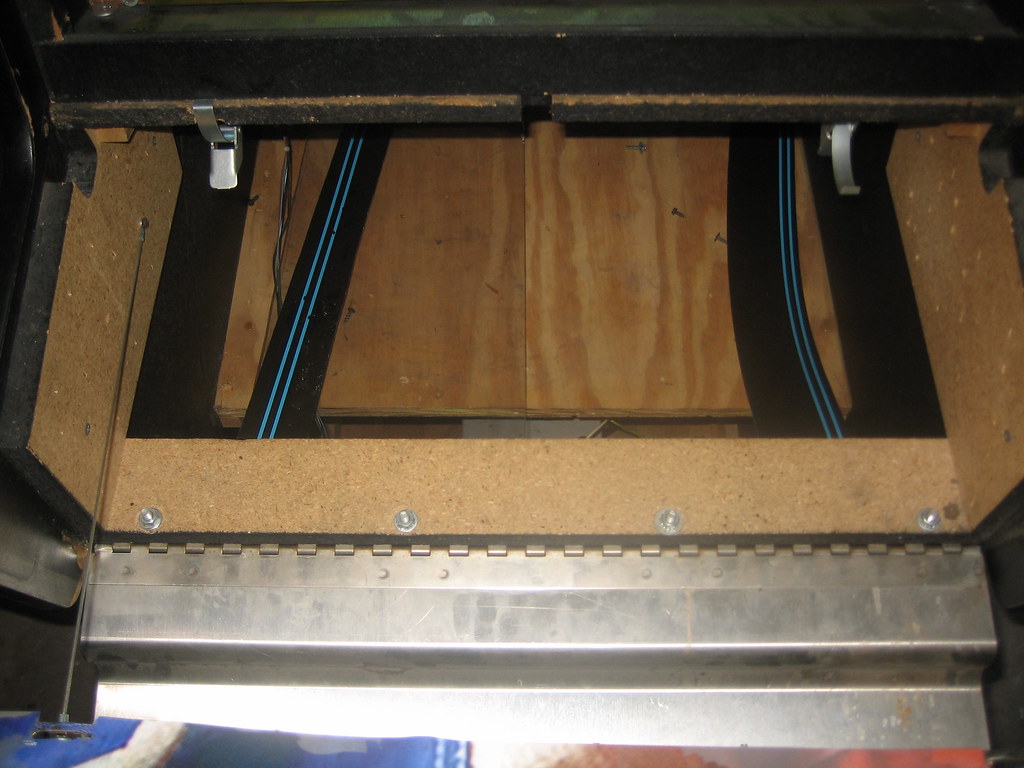
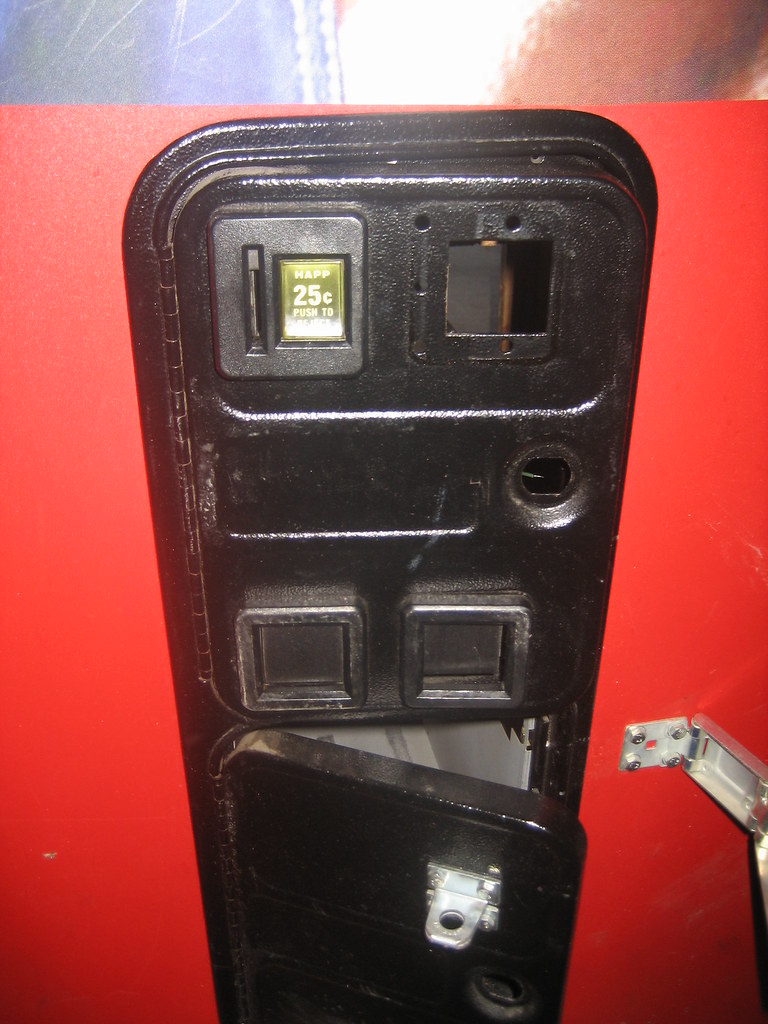
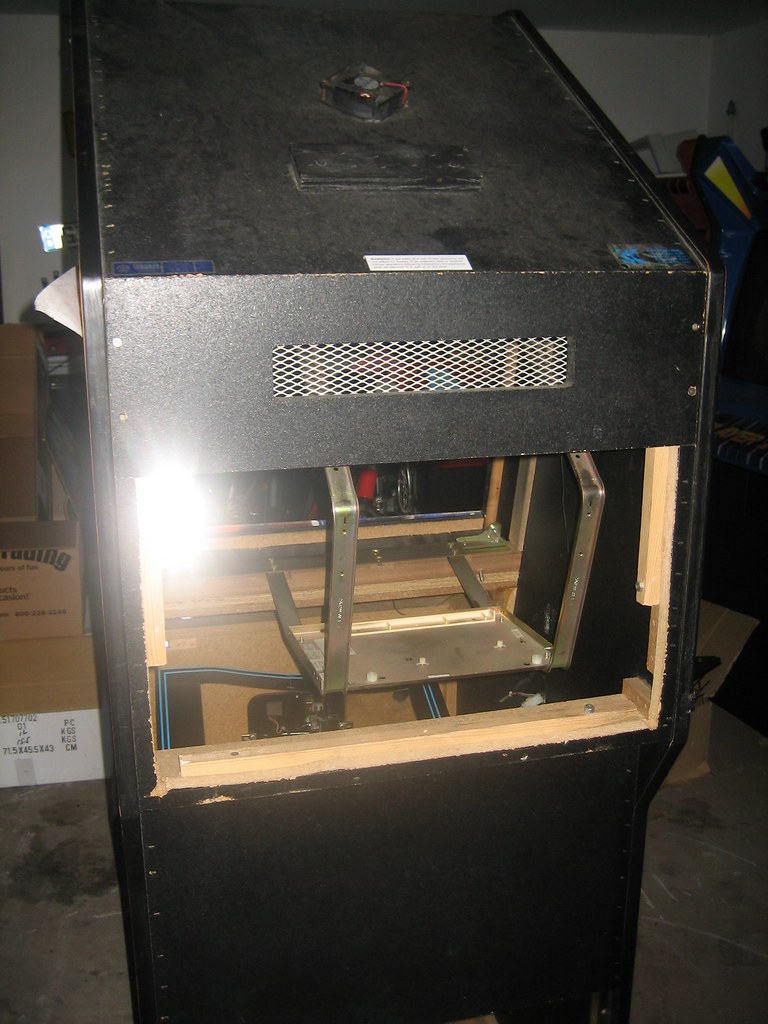
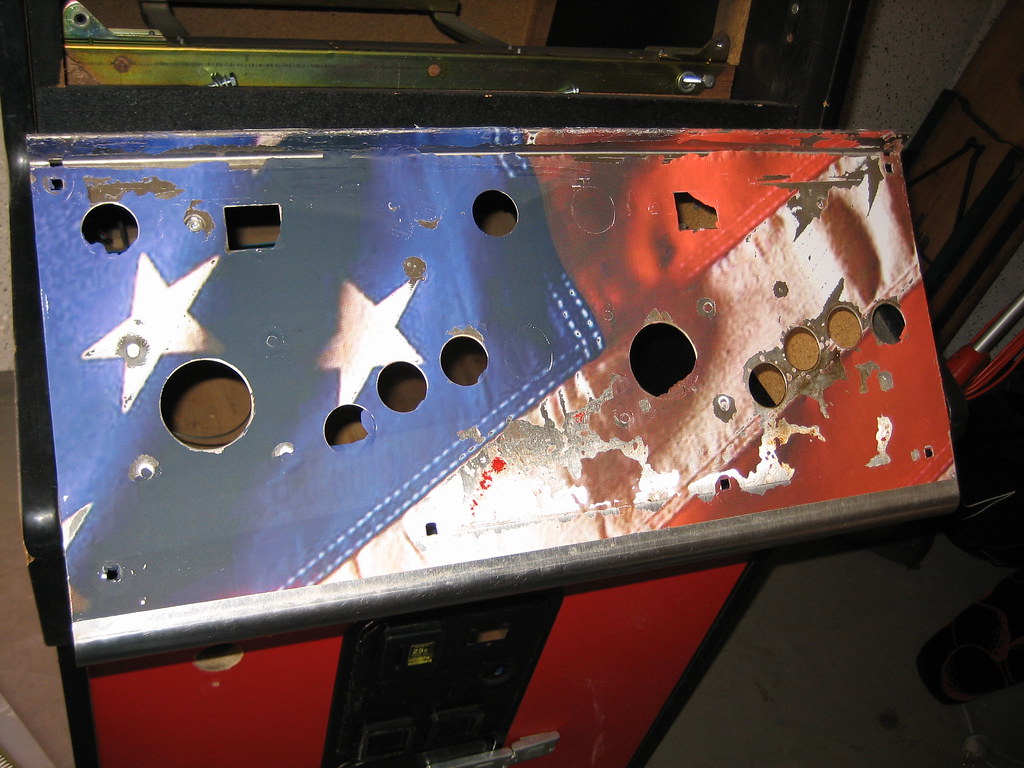
_ I have attached pics of the cab. Brace yourself for what some loser did to this once beautiful MVS cab. Other than that it is in good shape.
-Don't worry I make it look the way it should. NEO FO' Life
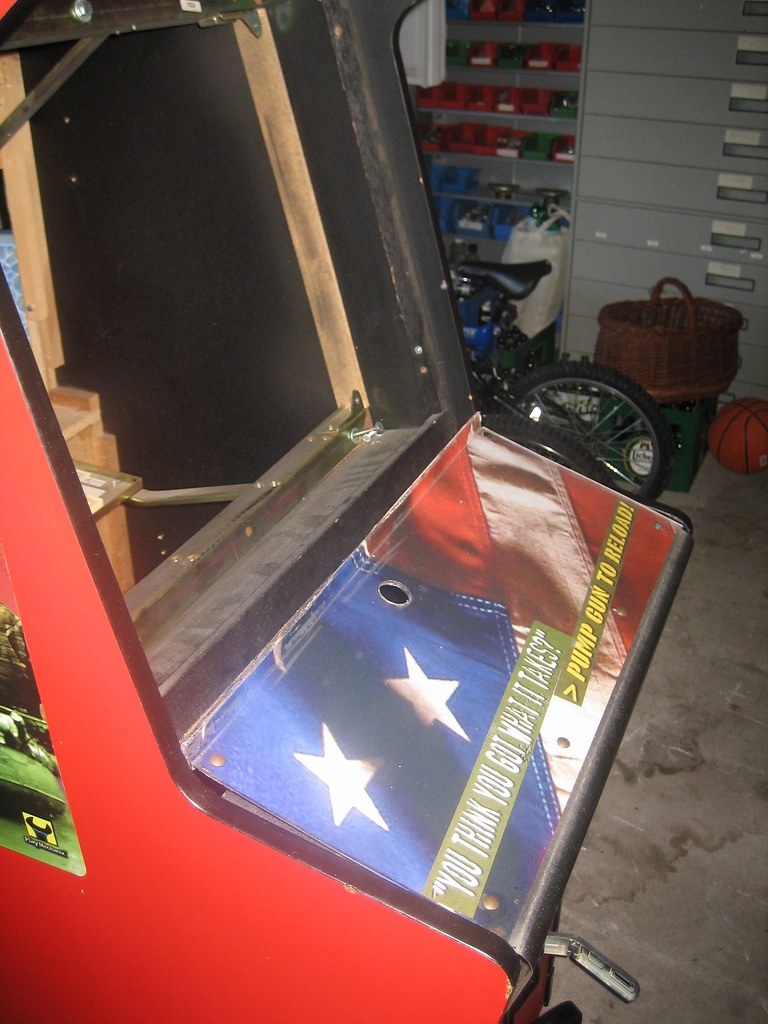

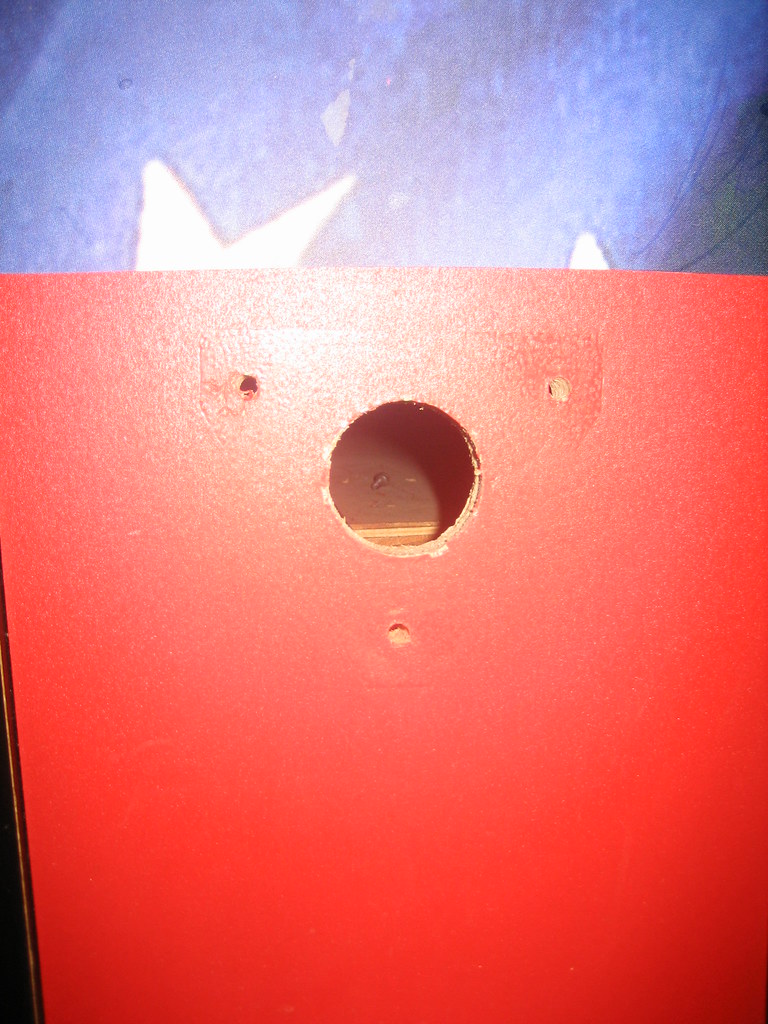
This is the hole they made for the lightgun, would a big button mapped to the ESCAPE key be the best? Any thoughts?
This is what it will look like when I am done with it. I just need some help.
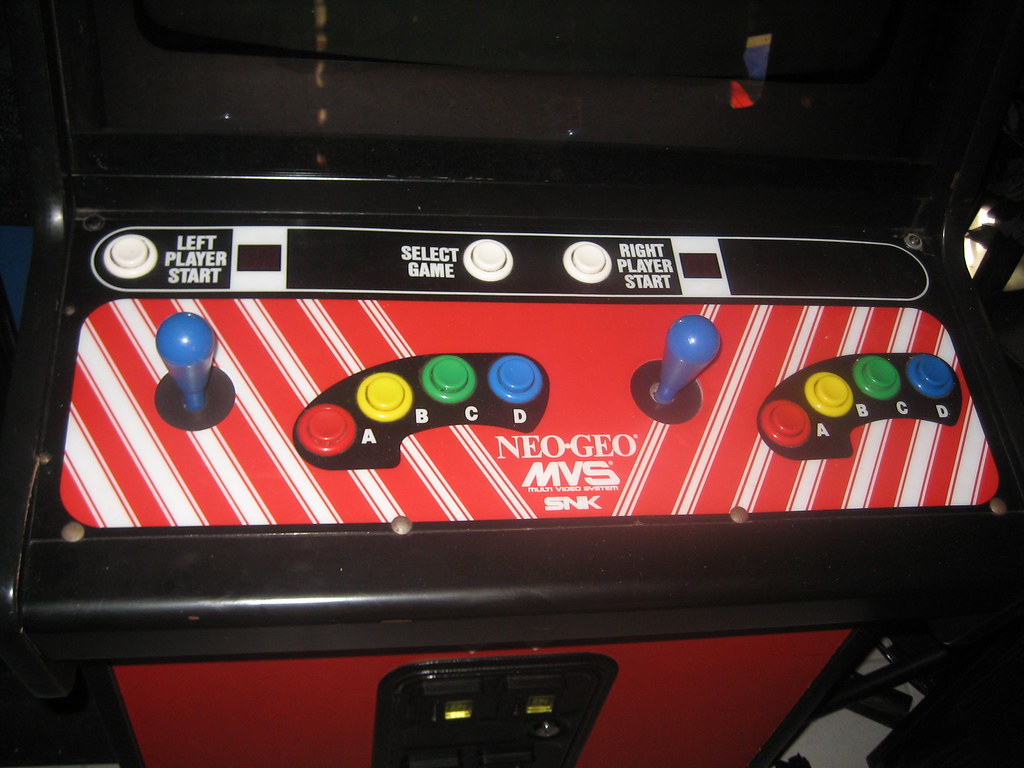
I like the color of the competition's here but are they authentic, this is a pic of my friends real MVS-4 25"
All of the images with a mint cond. German Spy Hunter pinball game.
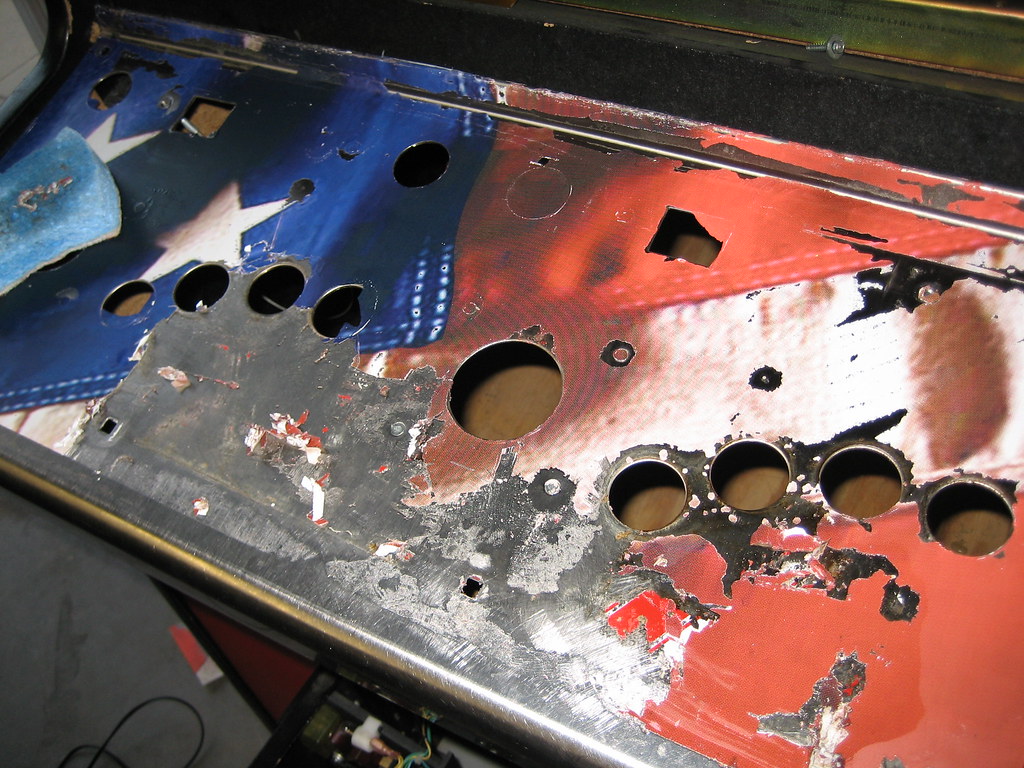
http://www.flickr.com/photos/30329886@N08/I still need to work it with the wire brush drill bit. It's tough to get the mirror finish consistently ...
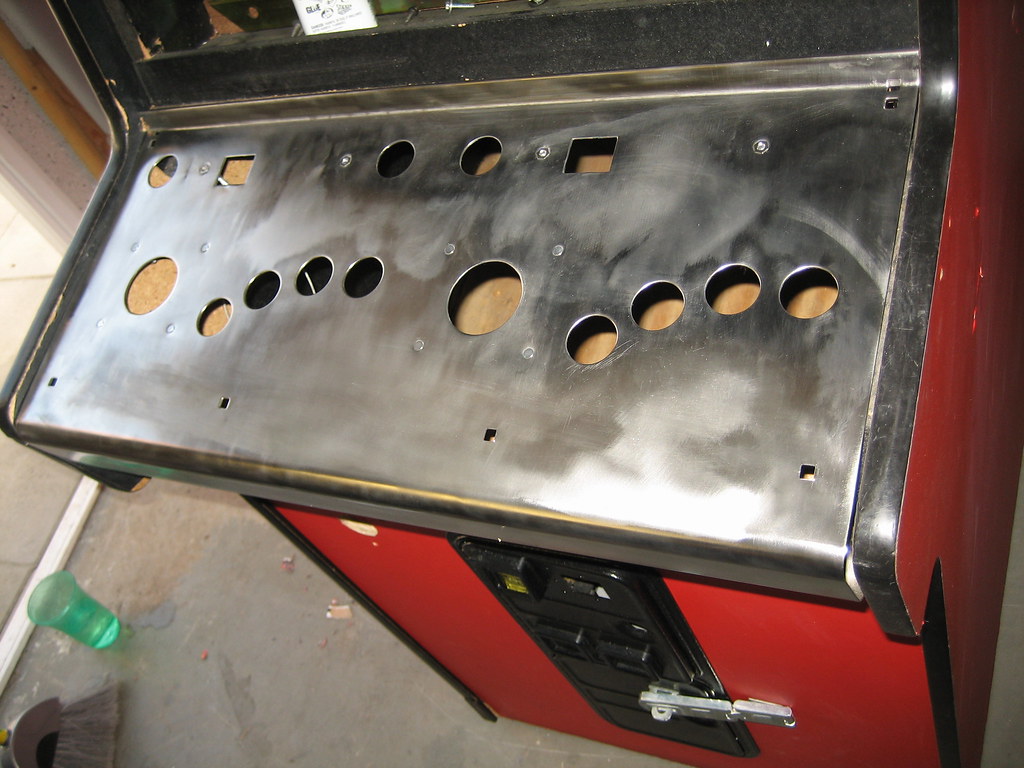
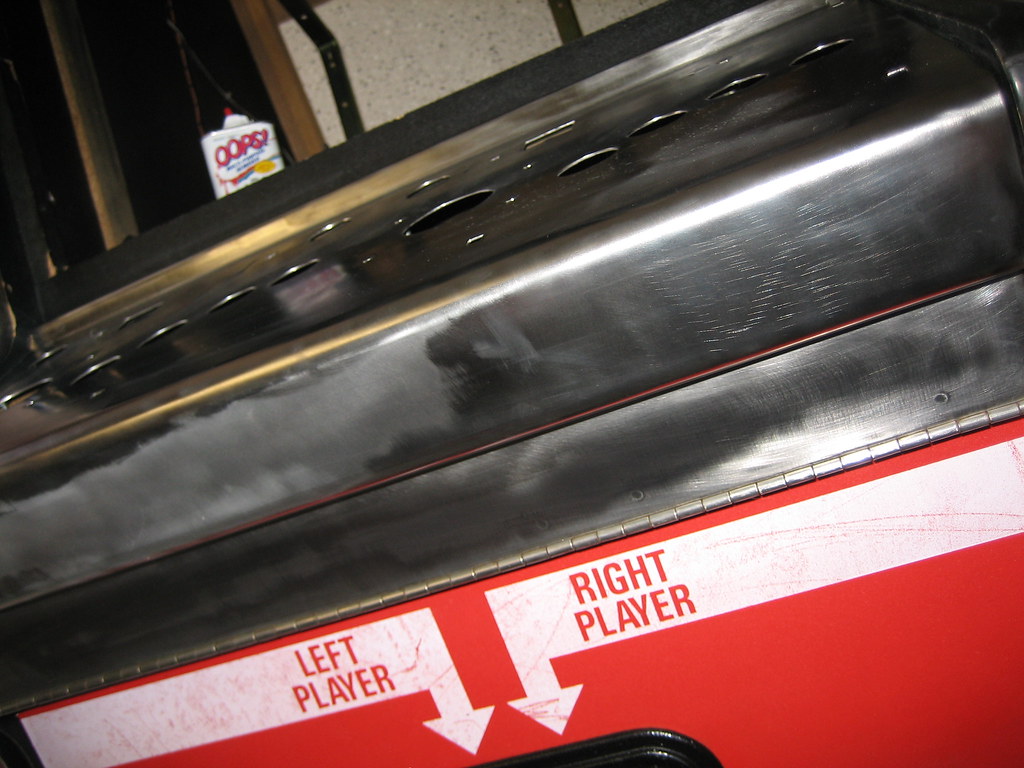
any tips on using the metal brush drill bit?
Below is a before pic with the brush bit.

new progress update
Its in great shape in some places, others not so much.
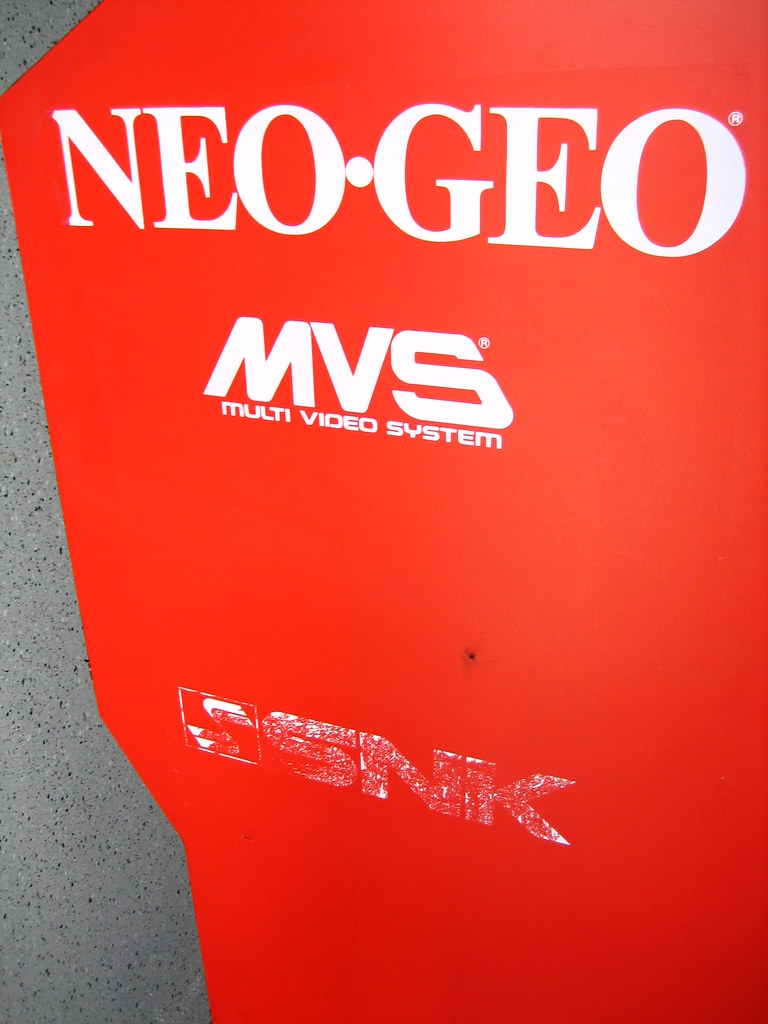
So now its time to decide to use a sticker on the one damaged SNK logo or use a stencil from ess19 to repaint it.
Here's some pics.
I will be replacing this plastic with some Lexan, but I won't drill holes, I have another idea. Think Dr. Evil...

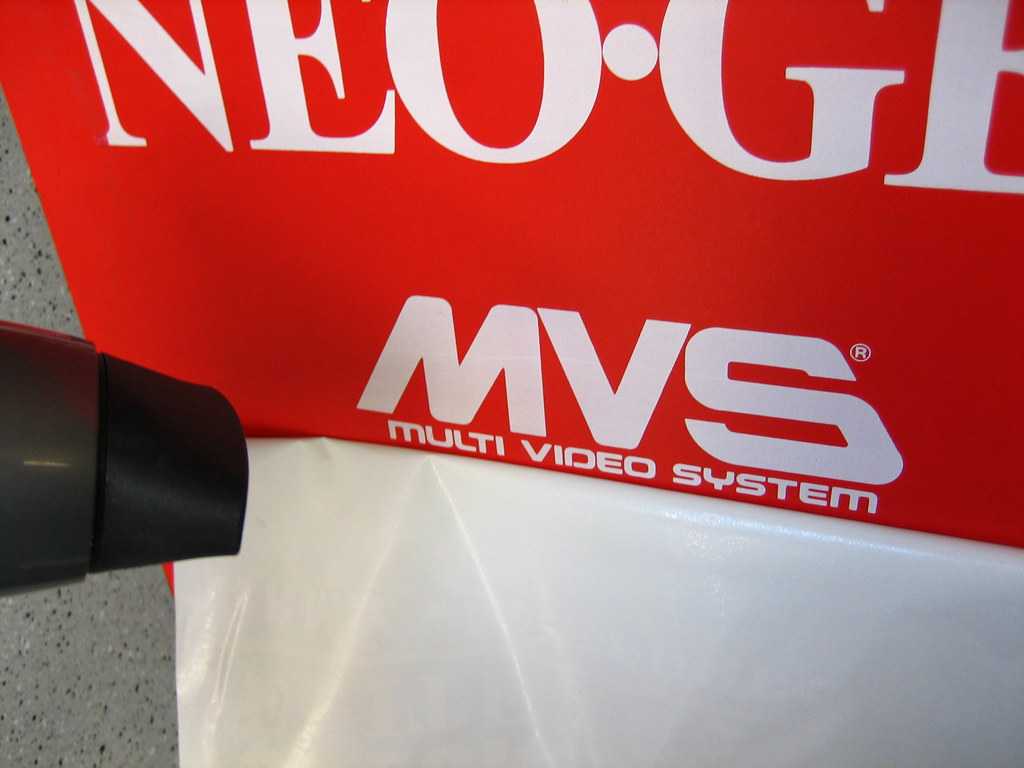
Scraping the old overlay away.
Lots of goo gone.
You can see some old red and white lines from the original MVS overlay.
It pained me to scrap it.

Taking the crap side art from Special Forces craptastist light gun mega force

Right Side is not so bad, some scratches.
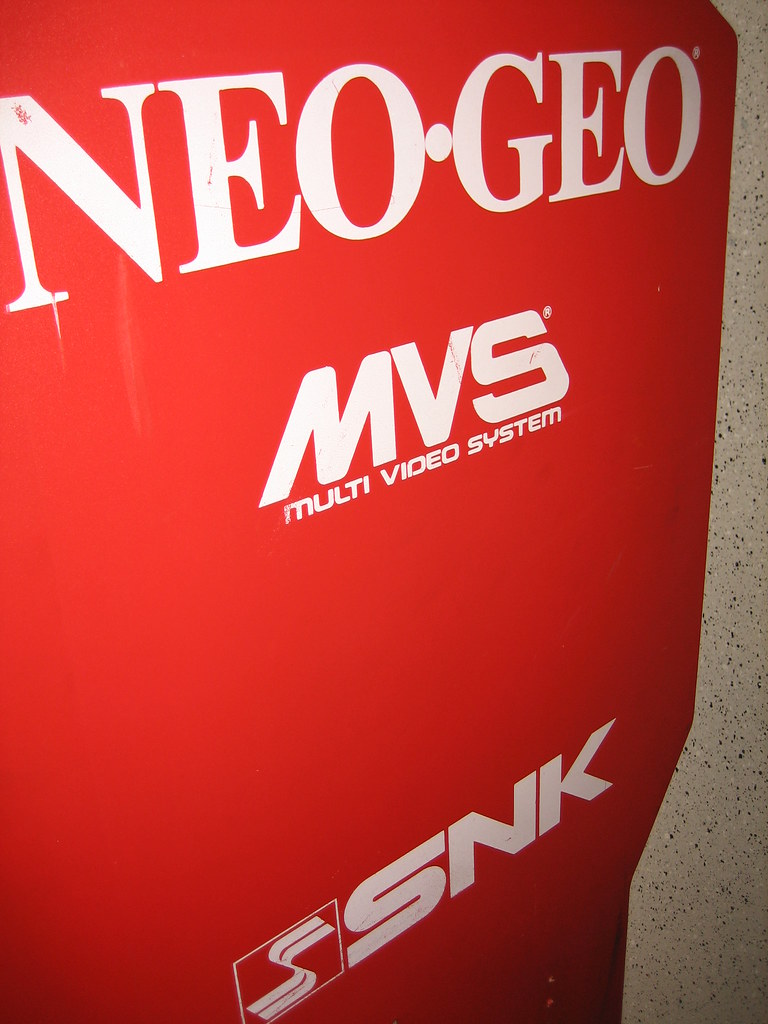
Left Side is not bad until it got to the SNK logo


 Home
Home Help
Help Search
 Login
Login Register

 Send this topic
 Print
Print Topic: !Update! CP overlay and controls wired up! Neo Geo MVS Restoration Project (Read 38951 times)


