I've been playing around more with the control panel trying to test out positions as best I could digitally and decided it's time for some physical prototype testing.
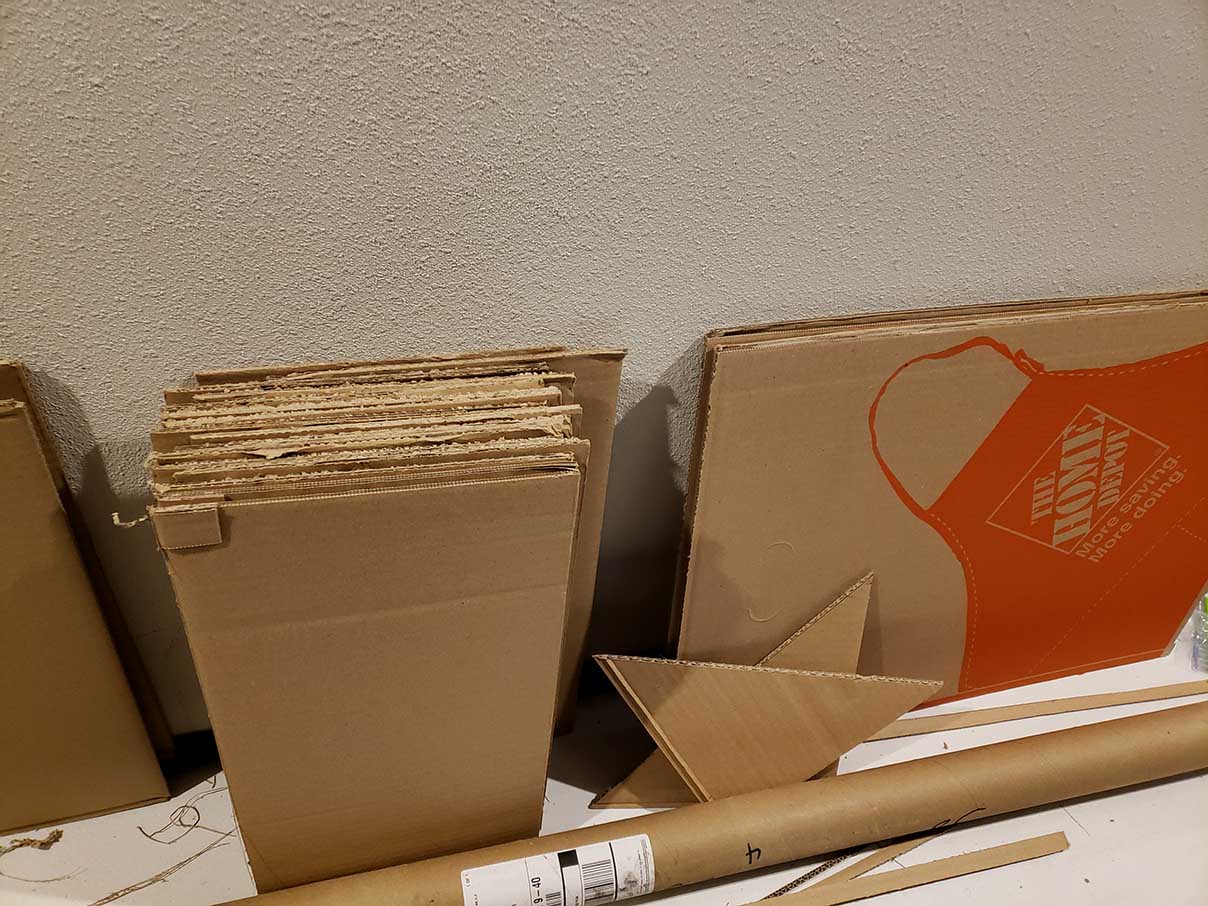
First I went to home depot and picked up some of the extra heavy duty large boxes as these were conveniently 24" wide. Two of those sides together will get me to the 48" width of the CP. I don't think the single layer boxes they sell in similar size would have been strong enough to hold everything in place well. My initial thought was to double up on the heavy layer for even better support. I tried laying down hot glue but the surface area was too big. By the time I had it reasonably covered, the glue was drying too fast. I decided to roll with just the original thickness of the extra heavy cardboard and try it out.
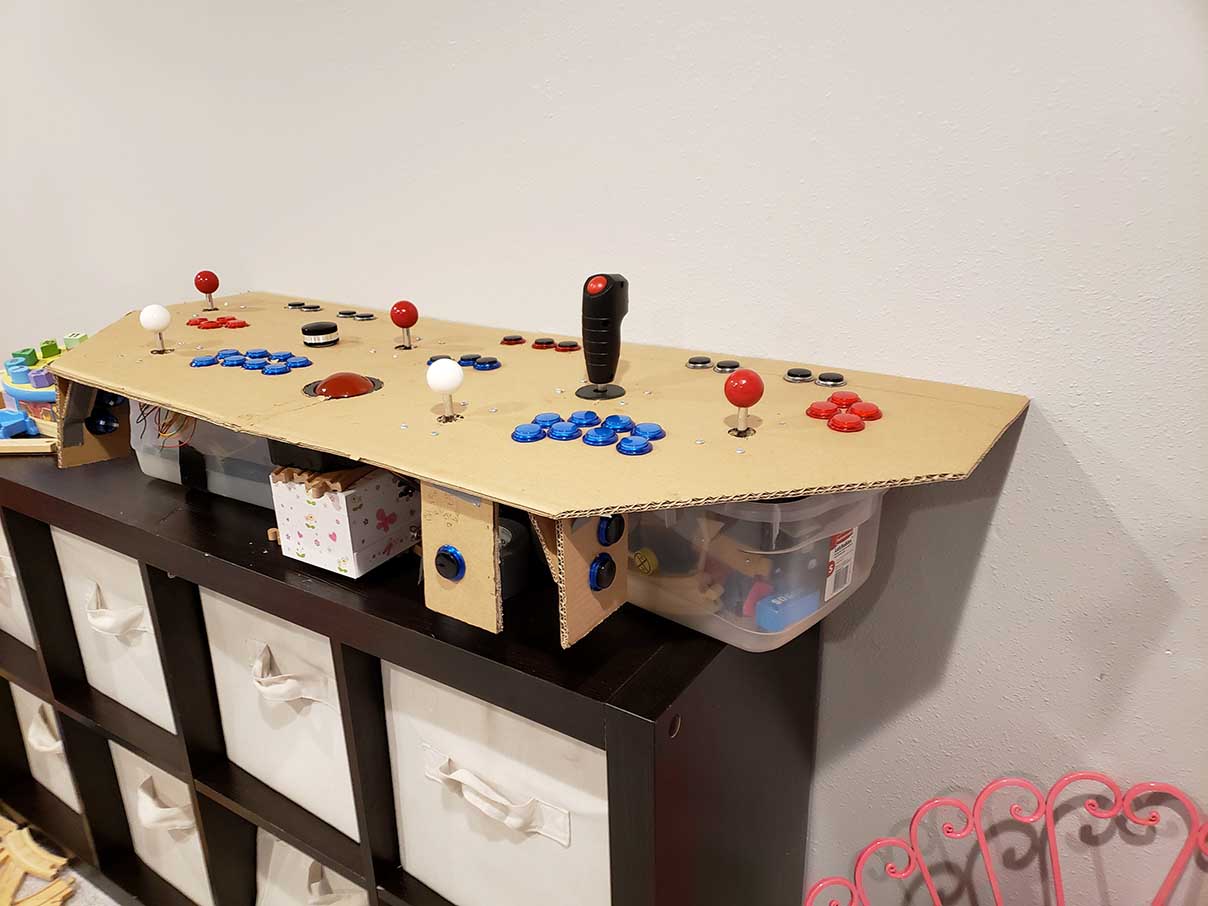
After getting the boxes all cut into workable pieces I went back to my digital model to write down measurements from the outer edges to each button and joystick center point. This was painfully slow and hard to make sure I was accurate. Once I had a joystick and related button plotted for a player I decided to try to use the printed controller layout template to "speed things up". This proved to be tricky as well. Since you can't see through it, I found it hard to get it lined up properly with the starting points. I also found that because the center holes were being marked with a not so great pencil, it left for roughly a 16th to an 8th of variability in the marks, which is problematic further down the road.
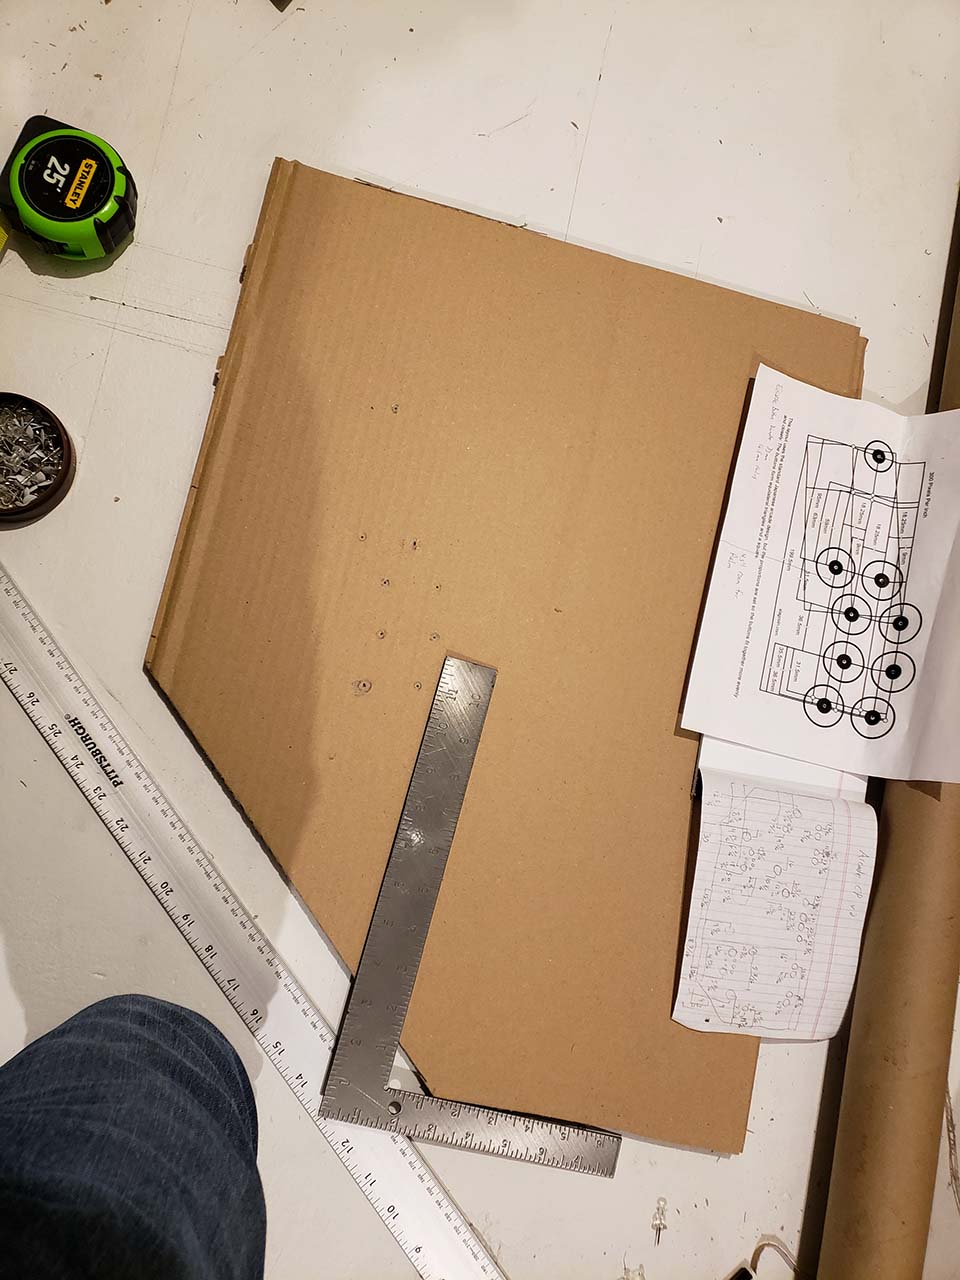

Initially I ended up using slightly too large of a forstner bit, which gave too much wiggle room to the buttons, making it harder to align them properly. I also discovered that going slow with cardboard and power tools doesn't seem to work well. It ended up tearing more of the edges and moving slightly out of alignment as I went.
After I found a smaller bit that was a much closer fit to the buttons I was using, I tried again on the second half of the panel. This time I tried the drill at max speed before plunging in, and that seemed to work a lot better.
I also realized after starting to put in the controls that some of my measurements were off.

Simple things from my ruler sliding slightly over a large area can make for big problems. The way I notated my measurements split between the panels also made it a little more confusing. In a couple instances I measured from the wrong side of the CP edge which threw things off. That's exactly why I wanted to start with some simple test runs though. Hopefully as I keep going I can refine my process and avoid these mistakes by the time I get to the real construction.
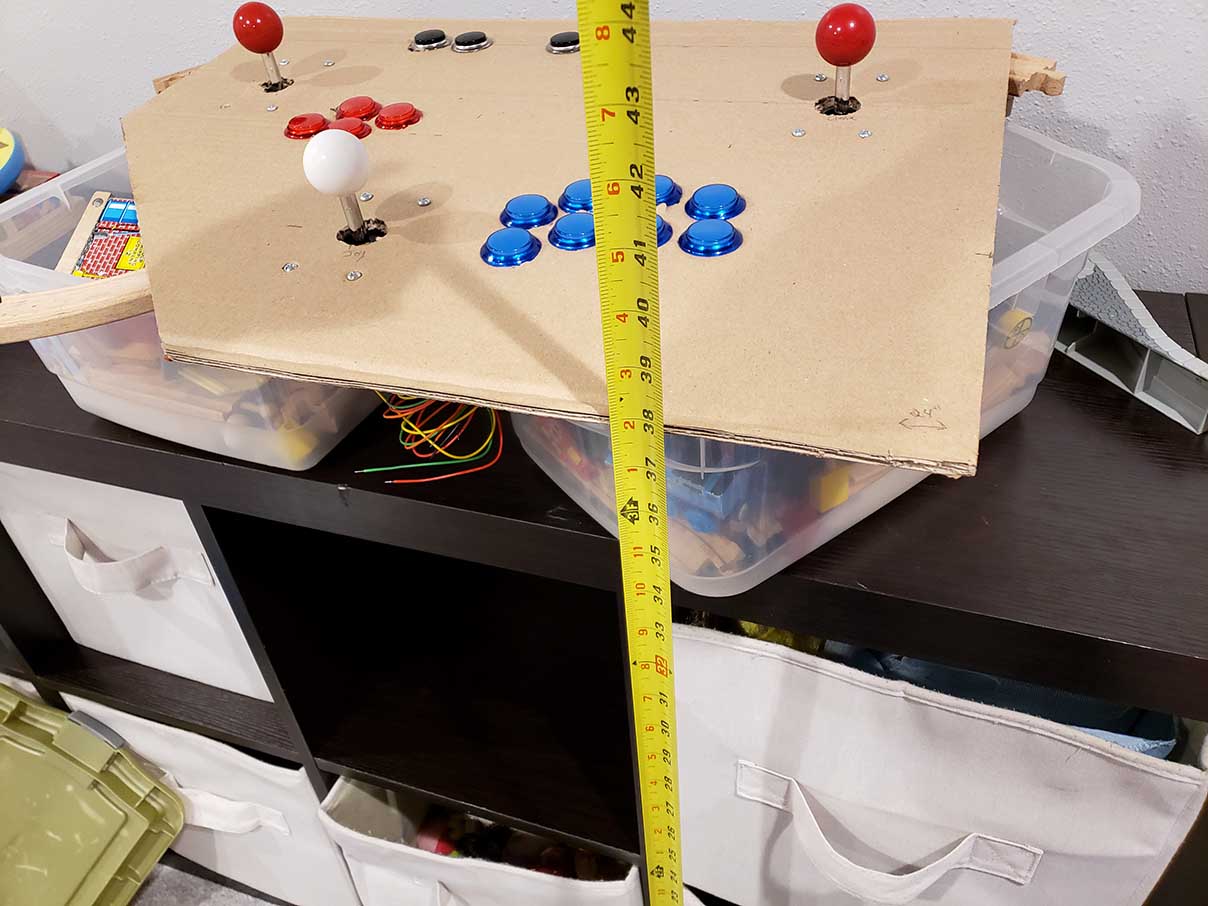
Getting a way of propping this thing up at the proper height proved to be very challenging. Fortunately between some kid toy storage furniture, additional plastic bins, and some wooden rail road tracks I was able to get it very close to the proper height (~38 1/4").
Then I did a bunch of position tests between myself and some of my kids.


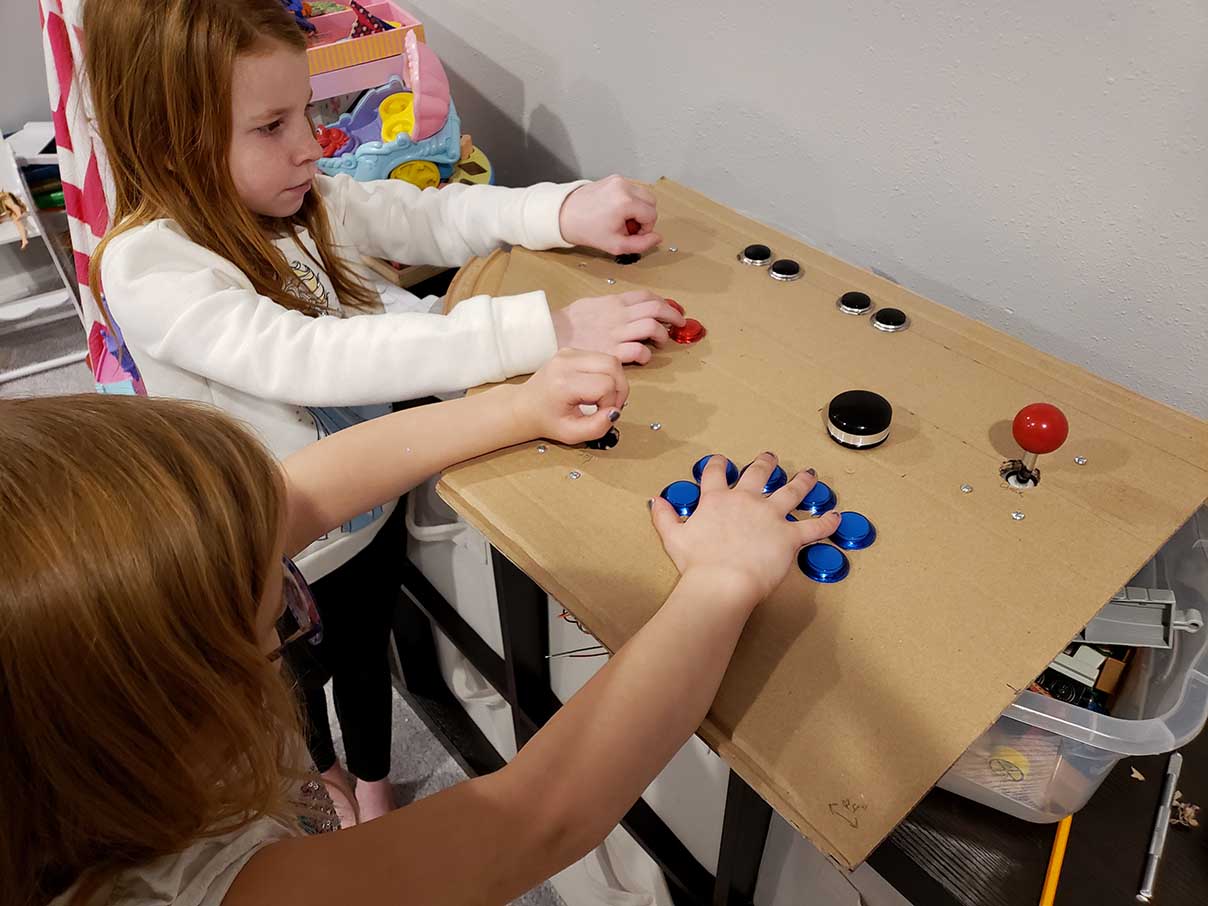

After some quick measuring I realized that the side flaps on the box, when cut in half, were perfect for a bulky arm and the correct length to go from finger tip to elbow. This let me make some simple test arms to attach, aligning based on my real arm positions. Then I could physically test from the side positions for P3 and P4 more effectively.
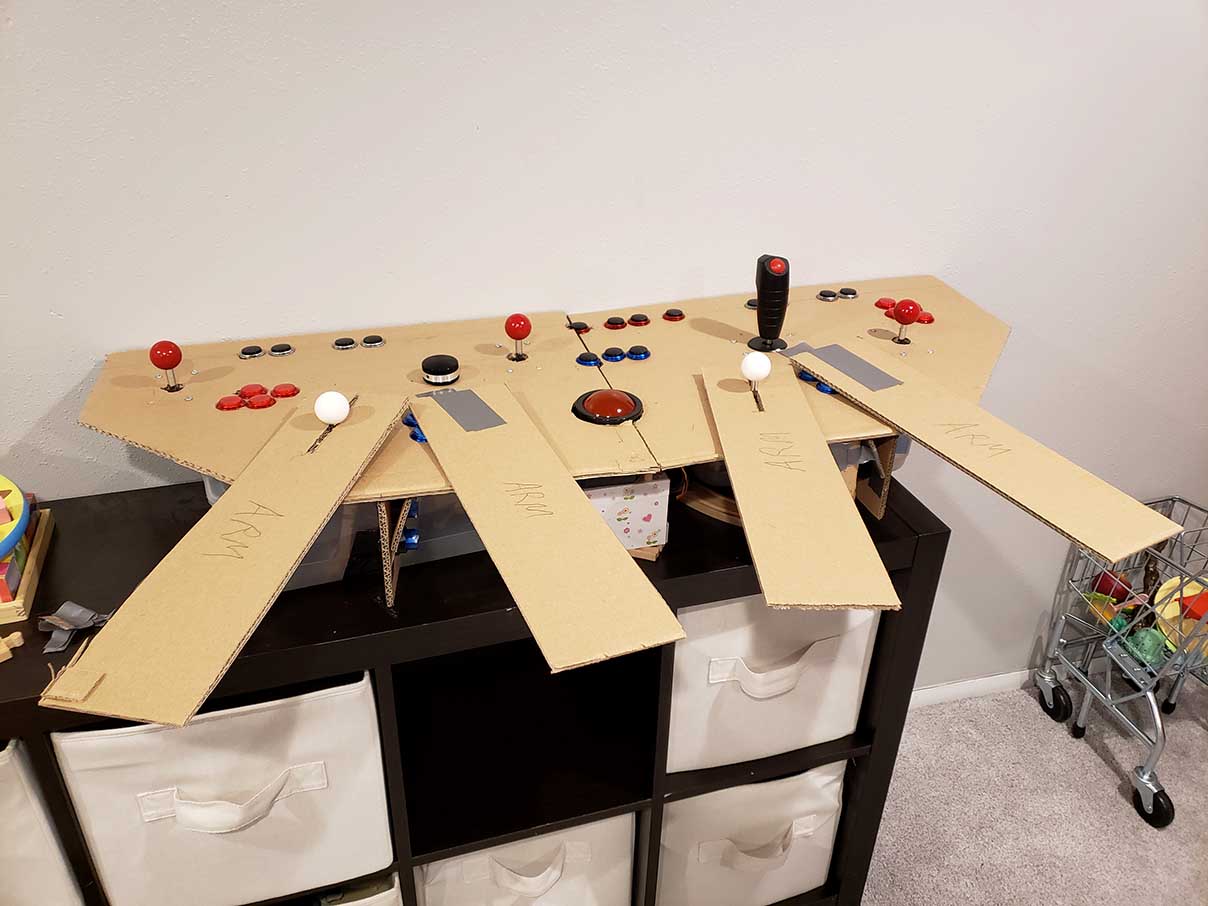
I refined several things about the CP layout from these simple tests. I may end up making one more CP from cardboard with the refined layout for practice and to be completely sure I like the adjustments. I payed particular close attention to how easy it was for my youngest to reach the dedicated 4 way classic controls in the back center, as well as trying to come up with adjustments to allow more room for aggressive side to side movements with the trackball without whacking the P2 joystick. My conclusion was that if I make the CP 2 inches deeper, I can move the trackball down and a little to the left and should have just enough clearance (if your arm is aligned with it) to where your finger tips just miss the P2 joystick with an aggressive move to the right. I also moved player 1 and 2 up by a half inch I believe.
I looked at other games like Missile Command to see how much room was between their trackball and the right edge, and it wasn't a lot. This adjustment gives more room. A game like centipede. and most of the trackball centric games, seem to have the ball centered in the CP with a ton of room on either side. Replicating that with this layout is tough, but I'm hoping these adjustments will do the trick. I plan on making a working CP to test this theory soon. It's games like Crystal Castles, Marble Madness, and Golden Tee that will require maximum agility. I've looked at so many different custom panels. both 2 and 4 player and scratch my head every time when I see the trackball centered on the panel with less than 6 inches of space to the nearest joystick. Not sure what games they plan on supporting with that limited space?
Next I wanted to focus more on the pinball controls. If I'm going to bother to have them, I want it to feel right. I used to have a ton of measurements from when I visited the Pinball Hall of Fame in Las Vegas to make the digital versions of the tables, but sadly don't think I have them anymore. From what I could gather on google, the average width of the playfield should be around 22.5" wide. As is the buttons would be 30" apart, which is doable for an adult but feels really wide and unnatural to a real table. It's also not great for kids. Given my adjustments and desire to be able to bring the trackball down more, it gave me an excuse to adjust these to be the proper distance.
Here you can see I've moved them inward so they are exactly 22.5" apart. This feels pretty good. Given the height I'm not sure I would comfortably wrap my hand around the side of the lower part of the panel to play, but if I simple free hang or use my thumbs as anchors on the top of the CP, it seemed like it would work well. I may adjust these a bit more yet and go with an even vertical alignment on the buttons.

Digitally, this is what the CP would look like with all these new adjustments.
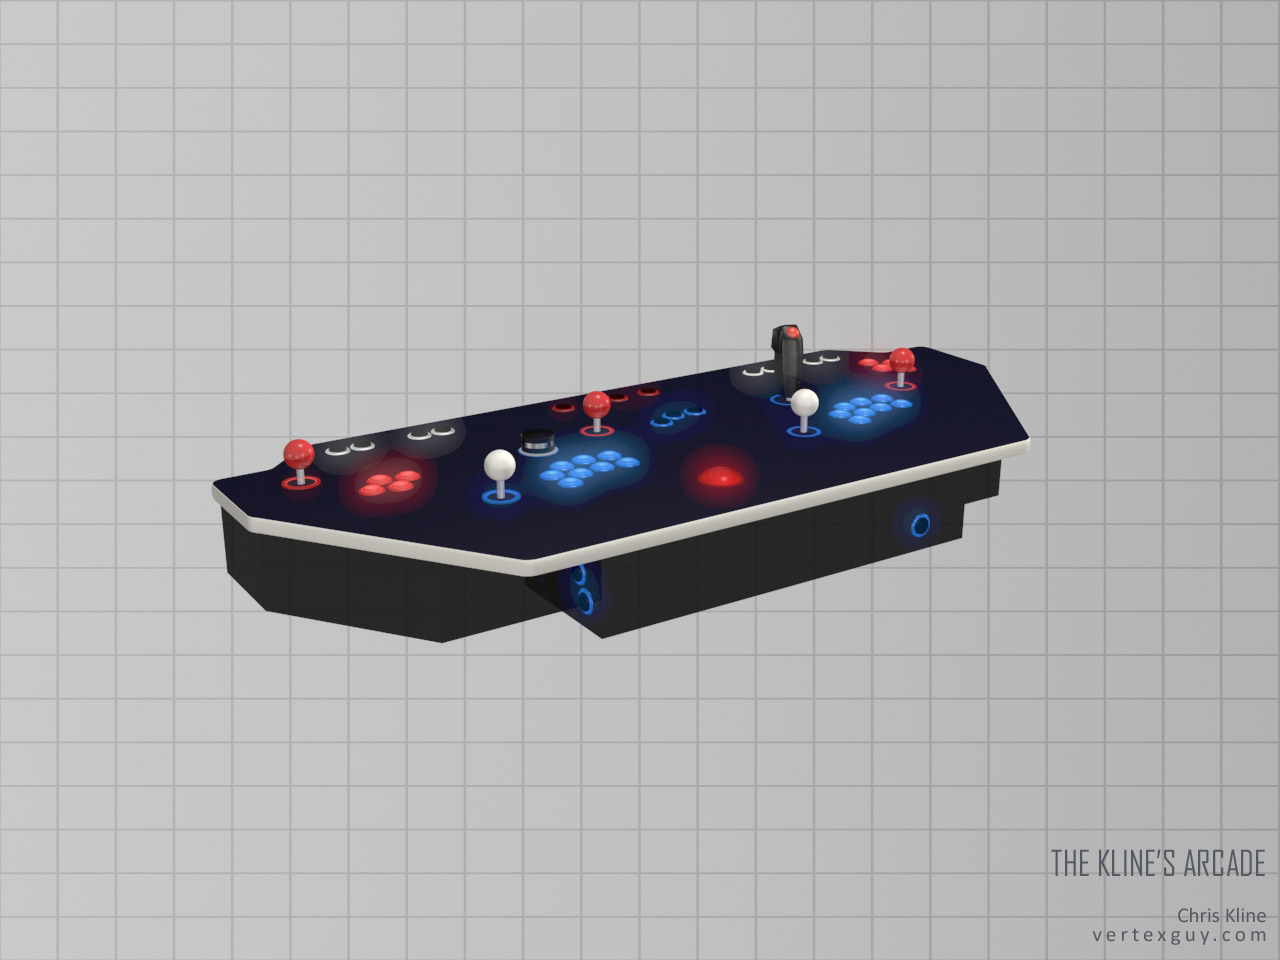

I may still play with the design a bit more too once I put it back on the arcade. I'm trying to find an interesting shape that doesn't impact any of the layout requirements, and at the same time is hopefully something I can actually pull off.
Next steps for me is trying to figure out a way to get my TV at the correct height and angle so I can do some functional play tests and make sure I'm happy with the viewing angles for P3 and P4.


 Home
Home Help
Help Search
 Login
Login Register

 Send this topic
 Print
Print Topic: The Kline's Arcade - 4 player - first build, help needed! (Read 52153 times)


