Well my other cab (Pip) is on the back-burner for a while as I work out some annoying little quirks (I totally underestimated the space I needed for internal cabling). Its doable but I need a rest from it so I can come back to it later refreshed.
While I was building it I had a couple of mates ask me if I could do something similar for them so that made me think about what I could do to simplify the previous design now Ive got a little more experience with builds of this size. Theres a lot I liked about Pip but I wanted something easier to make - that meant: no rotating screen, no LEDs, no painting.
Im going to be making several of these. Three for friends, one for me, and maybe a couple to chuck on ebay seeing as Im making templates for everything anyway. Well see.
Anyway - here's my render of what I'm going for:
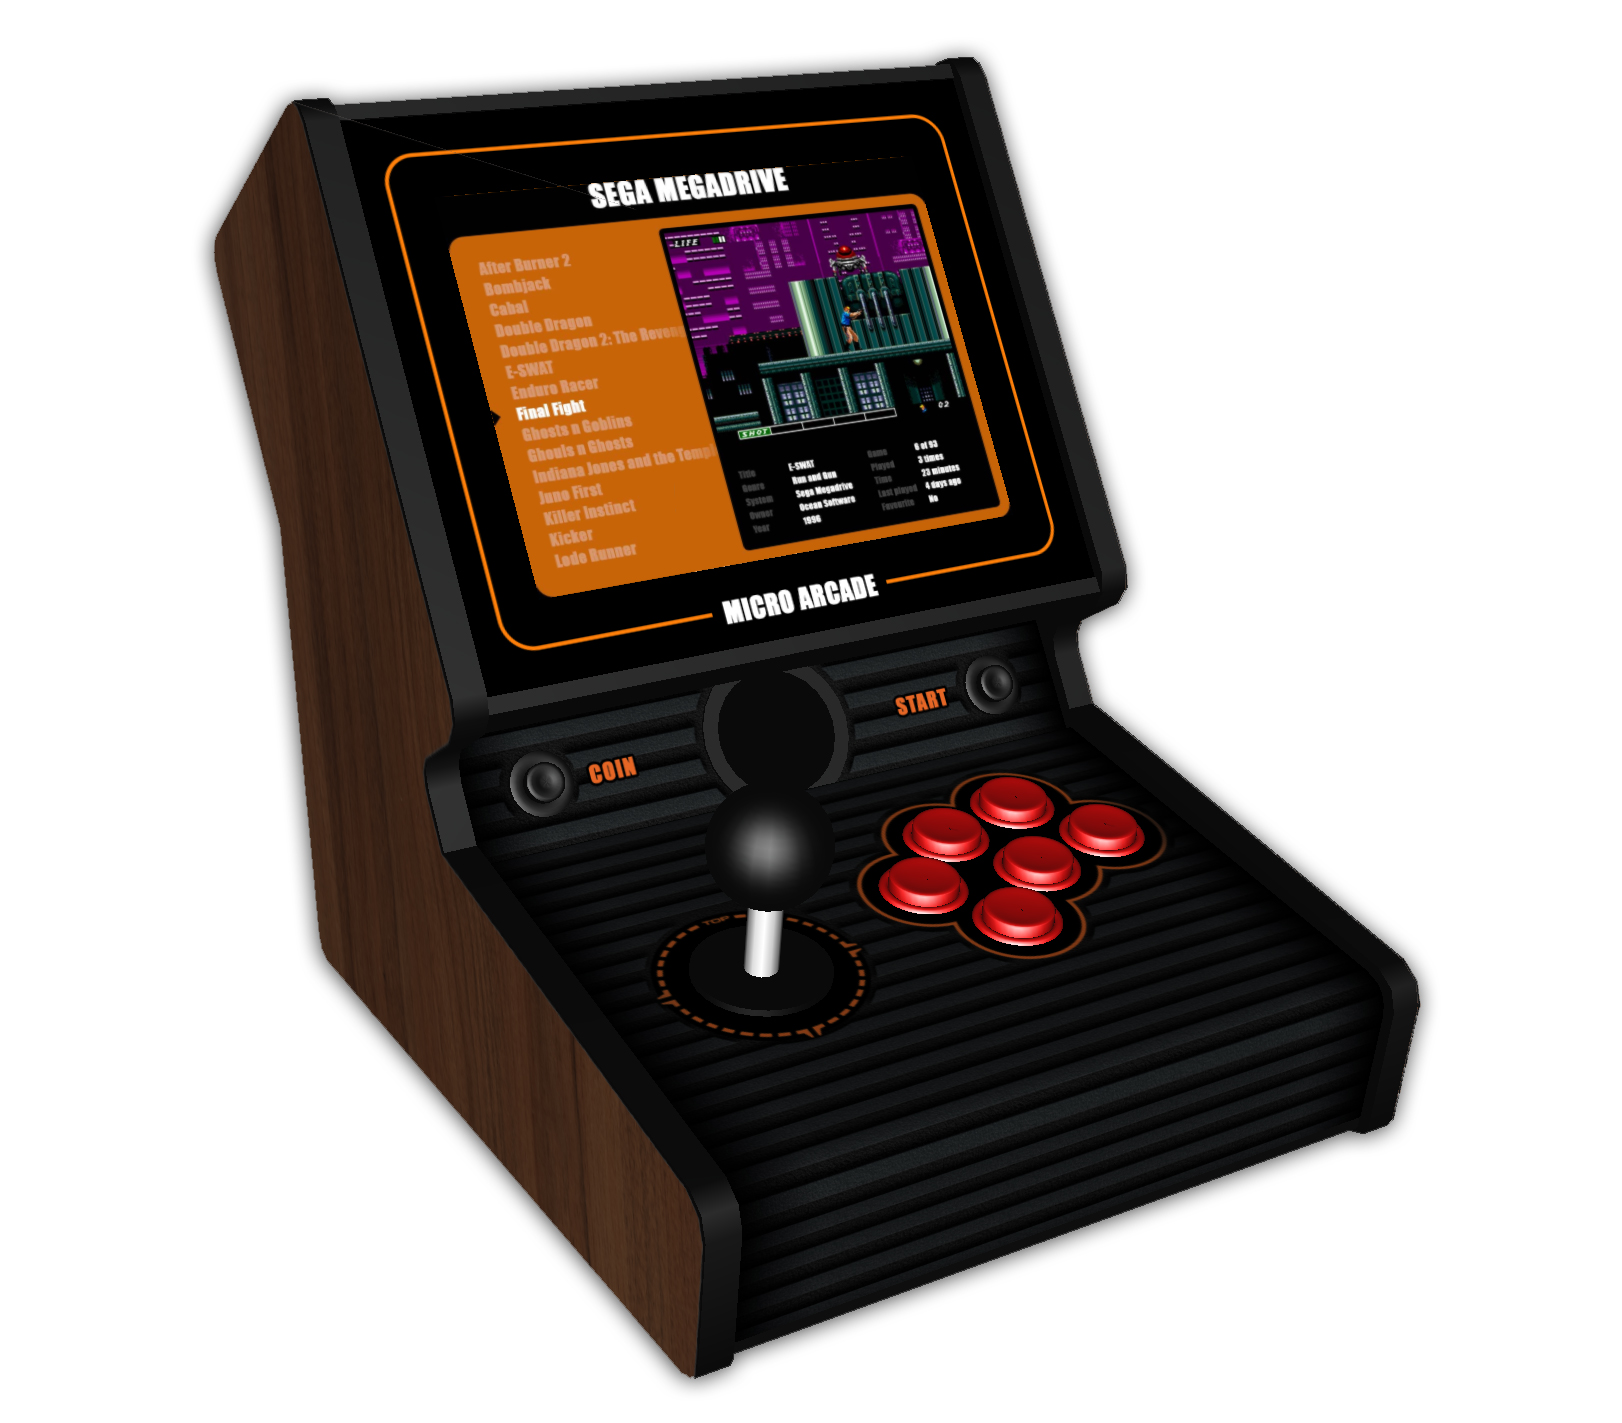
Ive gone for a classic Atari style. Wood grain vinyl on the sides, 12mm black t-molding and black vinyl around the other exposed parts. I might do one with a bit more futuristic artwork but retaining the same shape. Im in the process of getting some CPO artwork printed
Originally I was going to try and make these as cheaply as possible but there really isnt a lot of wriggle room with these. The things that you can cheap out on (buttons, sticks etc) seems pointless as youre only saving a few quid here and there and the impact of that penny pinching just isnt worth it. Same with the screen - Im not putting widescreens in these as 99% of games that run on a Pi dont use widescreen so Im going for good quality 4:3 screens.
So parts list:
- Pi 3a (might use Pi4s once theyve sorted the firmware/emulators out)
- Picade Hat (basically an ipac for pis that includes an amp and soft power/volume buttons) + harness
- 8 IPS 1024x768 LCD
- 5A 4ohm speaker
- 6 mini arcade buttons
- 1 8-way stick
- Start/Select/Vol+/Vol-/Power buttons
- 12mm black t-molding
- 18x21cm clear perspex
- Arcade cabinet handle
- Oak Robust fablon vinyl for sides and matt black for top back and base
- Rubber feet
- 12mm MDF for sides and supports
- 9mm MDF for top/back/base/CP
- Black plastic angle strips (to hold the screen in)
Ive quickly realised that these size builds have quite small tolerances so Ive spent some time making some templates for the key parts. A lot of this build process will be me using those templates to make the final cabinet(s).
Update 1: Making the sides:Im making 3 initially so I got some 12mm MDF to cut the sides and the support panels. Rather than cut lots of small furring trips I thought it would be easier to have an inner profile which was secured to the outside. This means for each cab I need to cut 2 profiles (left and right sides) and 2 inner profiles to support the top,back,base,speaker and CP areas.
Heres some wood before cutting

And after (ones in the middle are the outside, right are inner profiles. Left side are what Ill be using to house the LCDs)
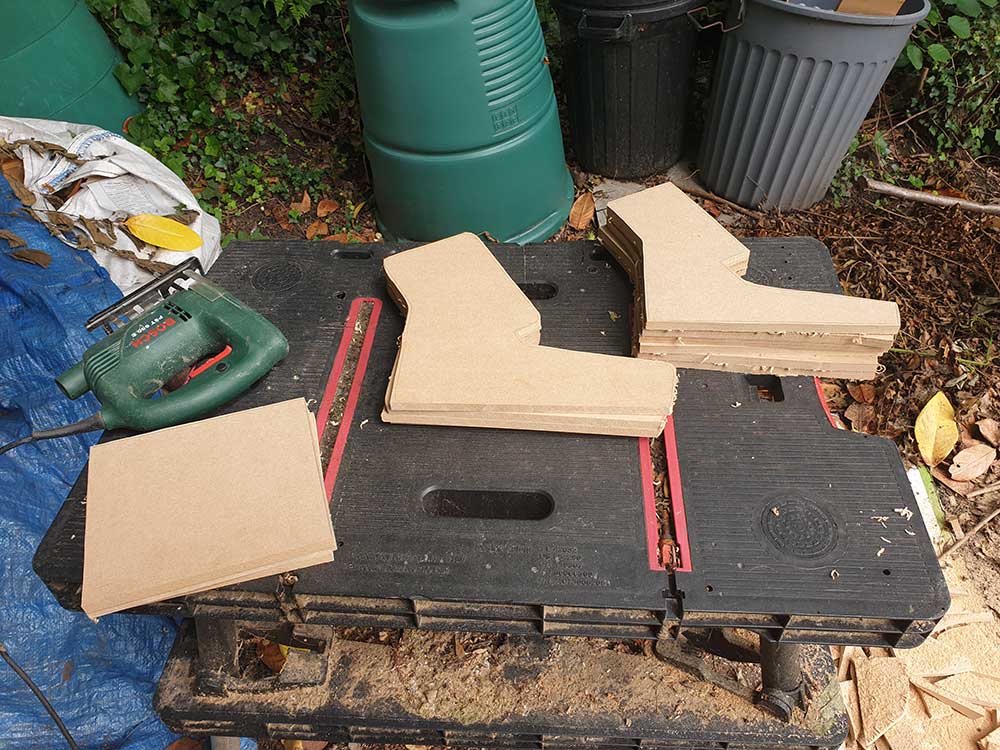
And flush trimmed against a template I made earlier

Some progress made. I've got a bit more done but I need to sort out some pictures for it. Oh, and this thing is really small. 12" x 12" x 9". But I made a mockup of this one including the cabling first!


 Home
Home Help
Help Search
 Login
Login Register

 Send this topic
 Print
Print Topic: Polybius Micro - Complete (Read 13417 times)


