Hey Everyone -
The Mrs. asked for a workbench in some new space we had - so I quickly drew one up in Sketchup.. then adjusted and refined it a bit.
What came out is a really nice 8' bench that costs under $100 to build including glue and screws (less if you technically count I only use 1 1/2 sheets of plywood and not 2)

The design goals were simple create a bench using minimal materials that was sturdy. Our new garage space needed a place to do stuff. It was a good time to fire up Sketchup I had not designed anything in a while and I was a little rusty.

Sheri's Bench
Materials needed:
2 4x8′ Sheets of plywood
Home Depot Plywood3 2×4s
2″ Construction screws
Construction adhesive.
Note: You really only need 1 1/2 sheets of plywood for the bench as you will see.
Step 1: Create a bench kit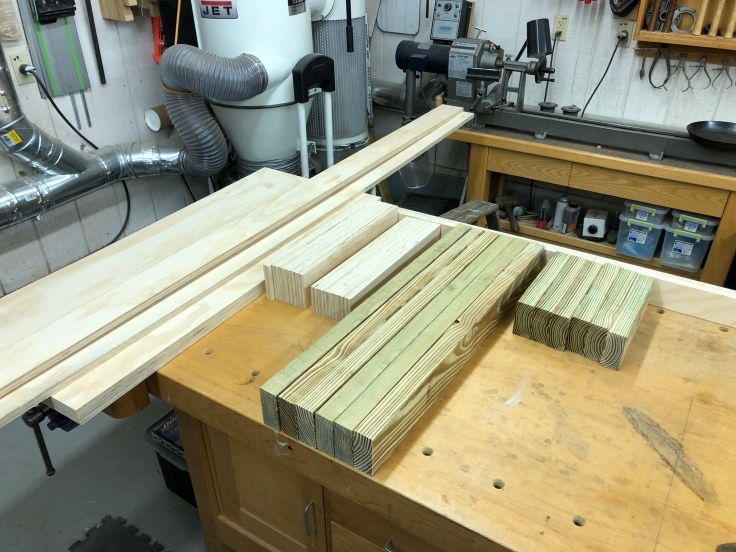
Here are a majority of the components If you have a table saw and a chop saw you can cut all of this in about 20-30 minutes.

Cutting widest to narrowest is the best 21″, 19 1/2″, 6″,
. On the plywood sheets. The only thing to be aware of is the last two 3″ wide strips have a 18″ x 4″ piece at the top. If you cut the 18″ length off first, you can get all of the pieces out of this one sheet. Home Depot in my area just started selling a very affordable and good quality plywood for these benches. Really nice for this project. See materials list above.
The second sheet has just the two shelves and is less than half of the overall sheet of plywood. If you make a second bench you only need one more sheet of plywood!
Once all of the long pieces are sliced out at the tablesaw
a chop saw station with a stop block will make quick work of cutting all of the parts to length.
I used pressure treated 2×4s for the legs because the garage floor this bench will be on has gotten wet a few times. When cutting the legs you should be able to get them all 32″. Depending on the 2×4s, they may end up at 31 7/8″ due to the width of the blade on your saw. As long as all six are the same length you will be good.
You should end up with a stack of components your own bench kit!
Optional Bonus Step: Create drilling guides for the cheek plates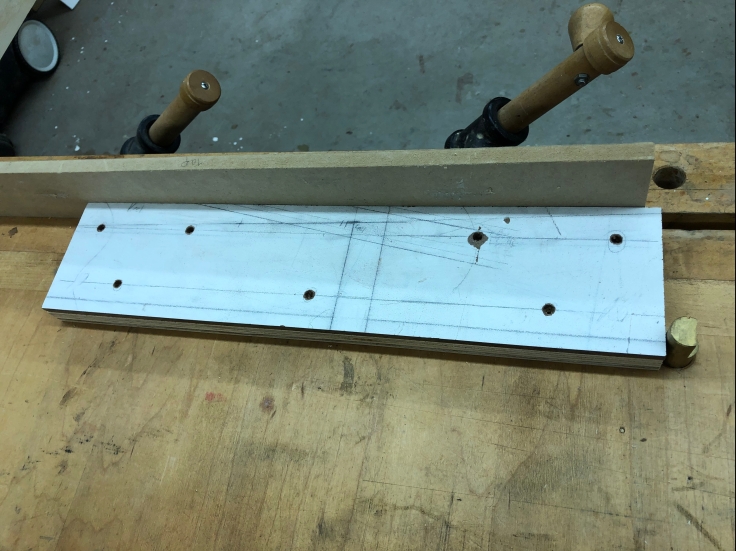
The full plans show screw placement for the cheek plates on the legs. In actuality there is no need to be so formal with the screw placement. However Ive now made three of these benches and creating this template once and pre-drilling all of the holes makes assembly of the legs MUCH quicker. The template above was made on scrap 1/4″ Masonite cut to the same size as the cheeks (4″ x 18″ and 3″ x 18″).
I drilled 1/4″ holes for placement and used my Vix bit drill (below) to drill all of the starter holes in the cheeks. The Vix bit is self centering and makes a nice starter hole for the screws without messing up the template.
A drilling template is not required But I think Ill be making more of these It just speeds things up a lot.
 Starter holes on the top cheek plate perfectly spaced in under 30 seconds.
Repeat for all of the 4″ and 3″ cheek plates.
Step 2: Assemble leg sections
I have a bench with bench dogs and an end vice. Here I have a backer board (top of legs) and the bench dogs holding everything square. Creating this setup on your bench will provide repeat-ability making each leg section.
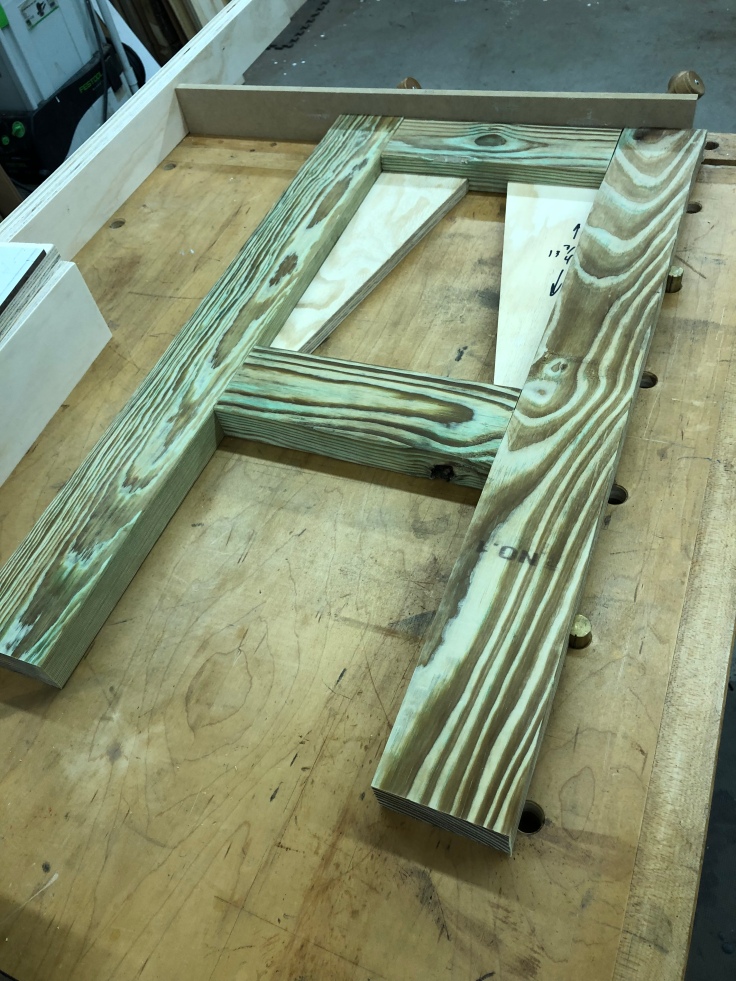
Here is the leg layout again on the bench no thinking or measuring. If you can get the sides and the top square to each other, it will be right every time.
To position the stretcher between the legs I made 2 x 13 3/4″ spacer blocks from scrap. They are on the inside of the legs and guarantee the stretcher will be in the correct place w/o moving.
Here you can see all six helpers:- Two cheek plate drilling guides
- Two inner spacers for the lower stretcher
- Two outer spacers for the lower cheek plate
Big timer saver and makes everything repeatable.
 Back to building: Adding construction adhesive for strength.
The top and middle stretchers are not fastened to the legs. That said I wanted to add some rigidity to the assembly and construction adhesive fits perfectly. Squirt some across the joint and add the upper cheek block .
Quick note:The finished width of the leg assembly should match the finished width of the cheek plates (18″) The pressure treated 2×4s were actually a bit wider than 3.5″ normal 2×4s. To compensate I trimmed the 2"×4″ stretchers length a bit (~1/4″) so that the width of the legs+stretchers matched the width of the cheek plates. A quick test fit before gluing will let you know if you need to make any minor adjustments.
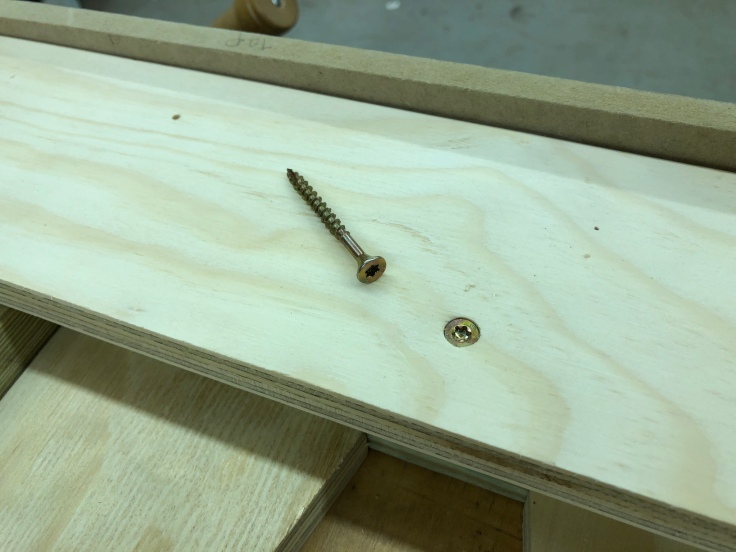
Closeup of Construction screws.These are very tough, inexpensive and easy to drive screws. The box comes with the #25 Torx tip. Use an impact drill to set them and secure away. The starter holes make them go in very easily.
 Position and attach the lower cheek plates.
Here again I made a couple of spacers from scrap so that I did not have to do any measuring or risk the cheeks from sliding around while gluing them. These ones are 14″ long and allow easy attachment of the lower blocking. Once you get the first side done flip and repeat. For the sake of completeness I flipped the cheek plates on the second side so that the screw patterns cover are opposite.
Completed: 3 Sets of legs
I'm still working on the pictures for assembly, etc.
Once its all done - I'll also post a link to the PDF set of plans
More to come..


 Home
Home Help
Help Search
 Login
Login Register

 Send this topic
 Print
Print Topic: Designed a new bench - like it so much I decided to share (Read 9636 times)


