Time for a real update - the cabinet is together.
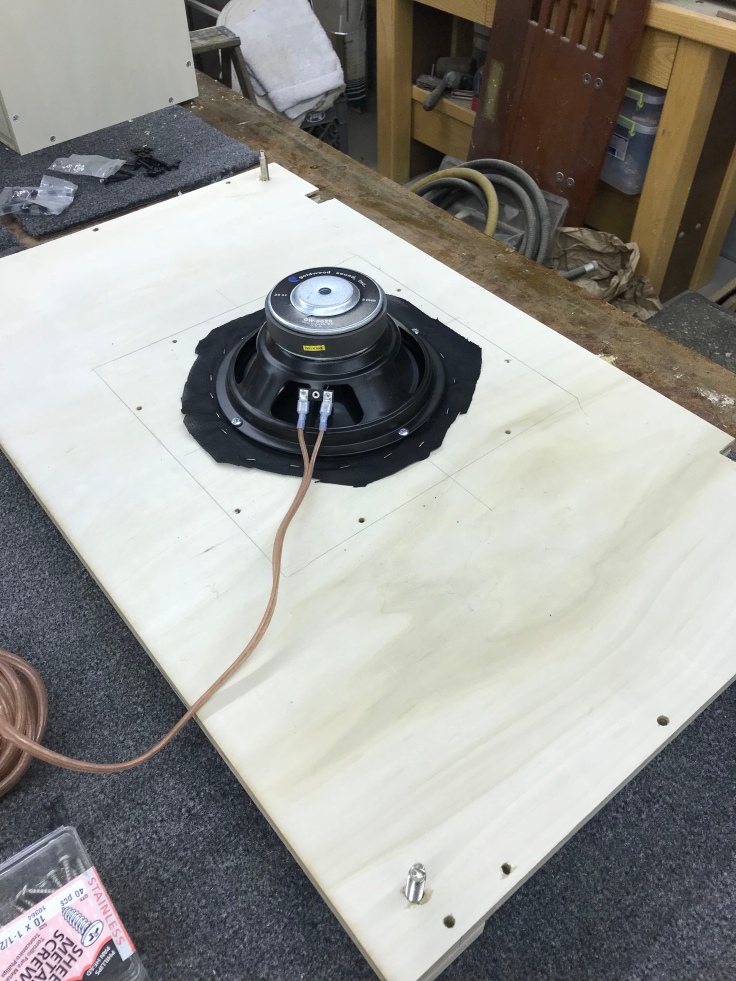
I got started on the bottom panel first.. My cabinet will be for Mame games (maybe others?) but it also has the potential to be a jukebox too.. So I put in an inexpensive subwoofer just in case something in the future can take advantage of it speaker fabric, faced downward, insulation and will be enclosed.
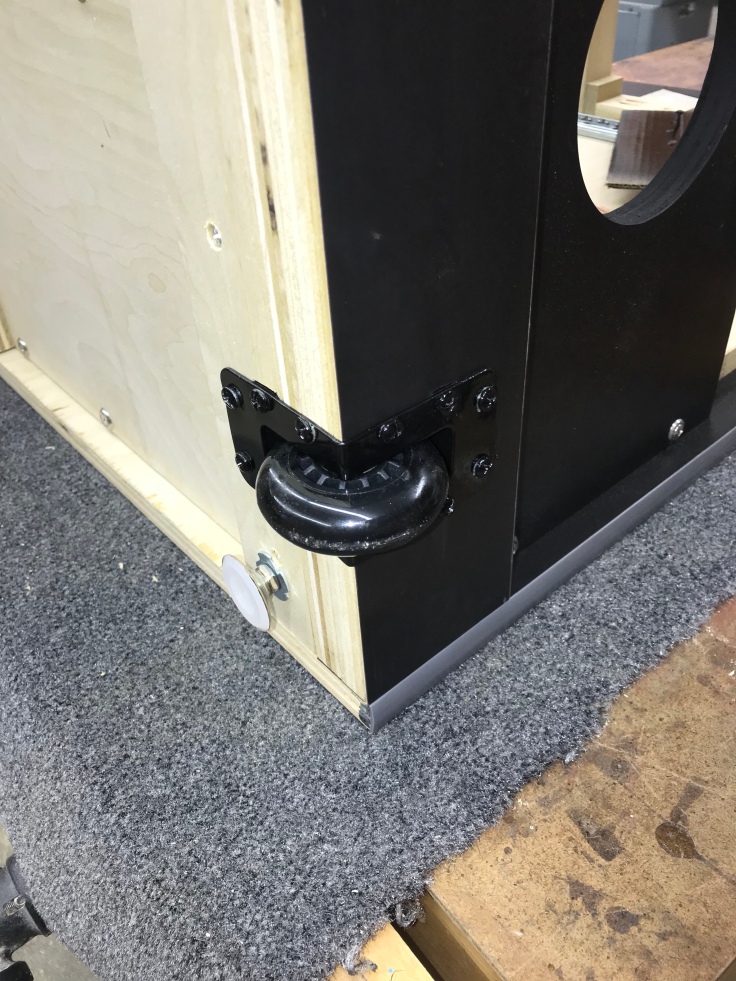
Black screws are hard to find, but simple to make. Just a detail.. These are for the wheels for when I tilt/roll the cabinet.
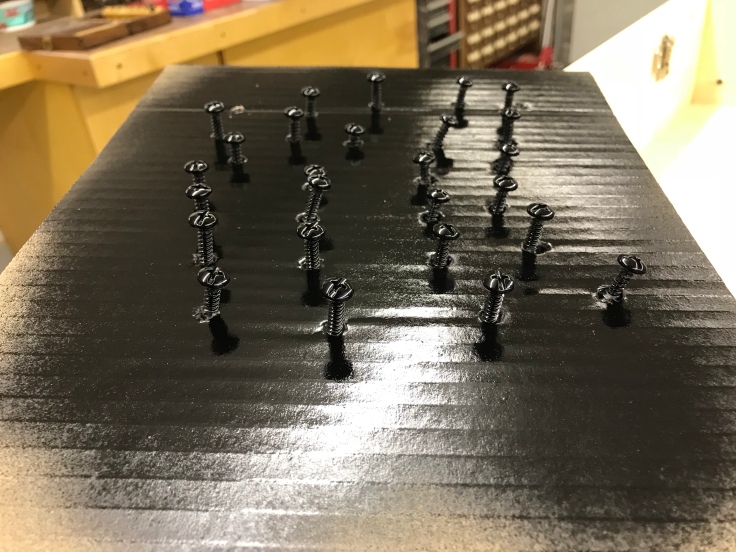
Shiny black screws that no one will ever see much nicer than silver colored screws that no one will ever see.
My top panel has cooling fans and hand holds. Not sure the fans will even be necessary or if it will get hot inside the cabinet.. They are very quiet so it certainly cant hurt.

I didnt take pics of the cabinet going back together all of the parts were fit prior to adding the laminate. Here is a small shelf to mount the PC.. Havent quite decided if Im going to drill holes and screw the PC on .. or just make straps.

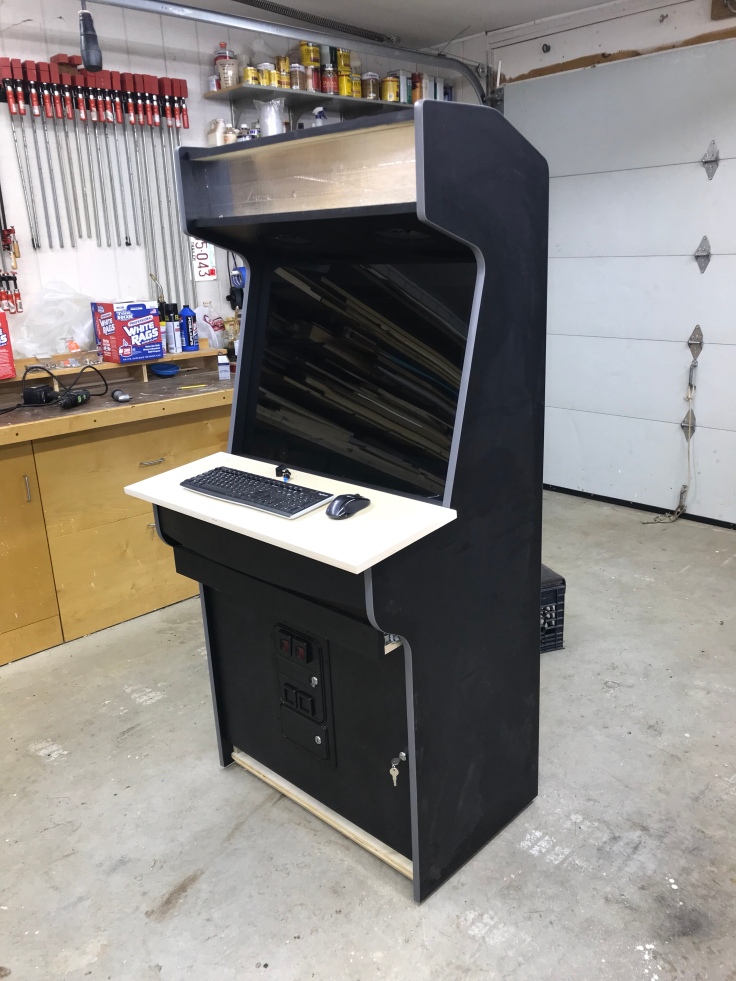
Here is is set up I went with 1/4″ grey tempered glass. Not CHEAP! But it really looks nice.. The control panel blank just clicks in place with the European hinges.
The top speakers will also be insulated and in a box. My monitor mount is quite simple wood clamps to hold it in place. Here I have the power sensing strip in place and the rear power connector set up.

On the lower blocks on the mount I tapped in a couple of bolts as adjusters to level the monitor in the bezel. Left and right adjustment is a matter of just moving it left and right. Then I just tighten all of the mounts to lock it in..

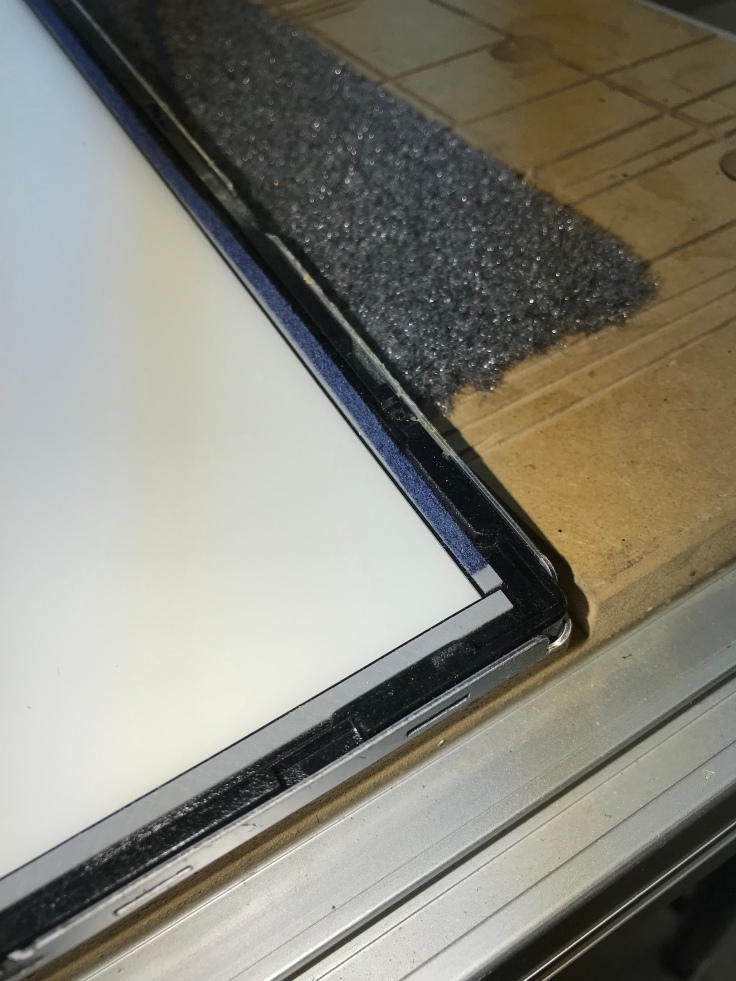
Here is the monitor with the bezel removed and the LCD flipped over off of the backer panel. The LCD was not sitting flush against my bezel and I needed to add a backer to the existing frame to move it out a bit.

Here is a thin 1/8″ strip of adhesive backed felt (blue) that I added to the existing edge gasket. I used compressed air to get every spec of dust out of the monitor, then cleaned the LCD and the tempered glass and quickly got it all together in the cabinet so that there would not be any trapped dust.
Note: The first time around I just mounted the monitor to the bezel. Unfortunately the LCD slides all over the place. So I had to take the monitor back off and tape the edge of the LCD in place so that it could not move.. For this type of monitor and mounting method its a must. I happened to have foil tape (used for duct work but not Duck tape). The foil tape is perfect for this..
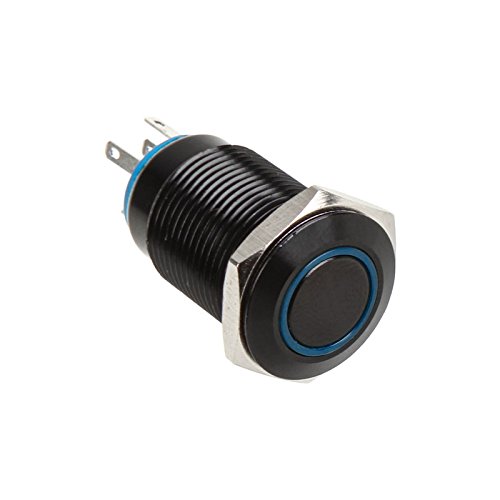
I went with a smart strip and the panel mount switch. Connectors, heat shrink insulation. I rather like this part of the process getting all of the wiring in place.


This next part I will go into a lot of detail not necessarily because it is particularly complicated but because I could not find this information
anywhere I scoured the internet and found nothing on this specific type of power switch.. So Google, Bing and any other search engines find this so it can help some others out!
The PC I got is a Dell Inspiron 3668. My plan is to put a lighted LCD switch below the CP. One switch powers on the PC the power strip senses the power coming on and turns on everything else in the cabinet.
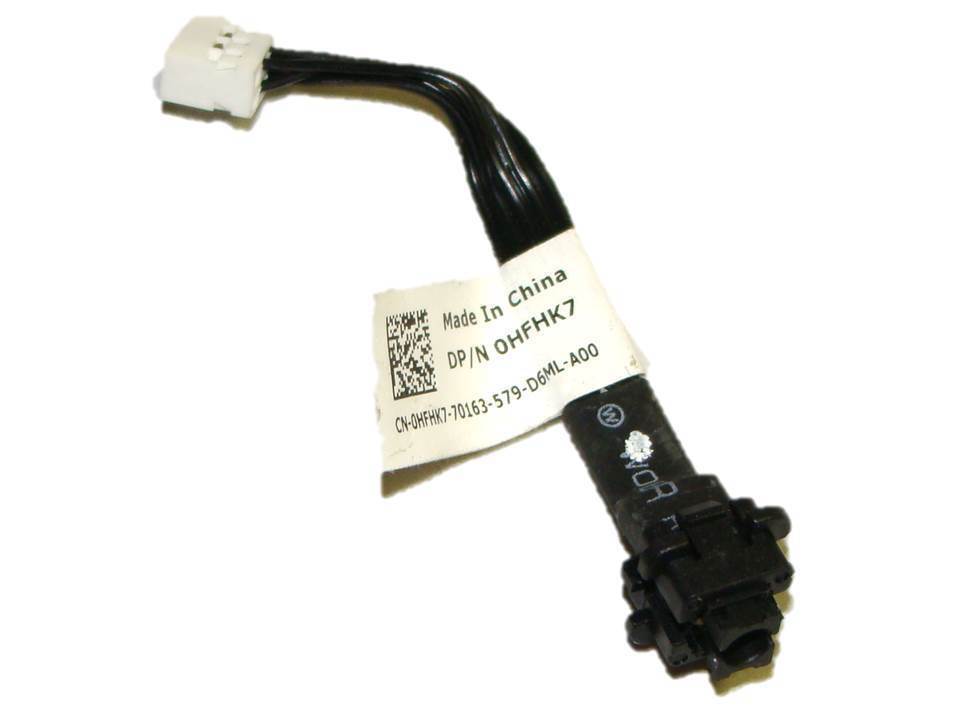
The internal switch on the PC is an 0HKFHK7 (Above). All of the Dell power switch connectors I found documentation on were 10 pins. This is an 8 pin power switch connector.
Below is the connector on the PC for the power switch that I could not find the pinouts for. But
I was able to figure out what the pins do to set up my remote switch.
1 LED negative
2 LED 5V+
3 Momentary switch
4/5 Unused
6/7 Momentary Switch (must be tied together or the BIOS will report defective switch hardware)

I cut the original switch off, saved the connector and added dupont pins. Cutting open the switch and a little testing got this part figured out.
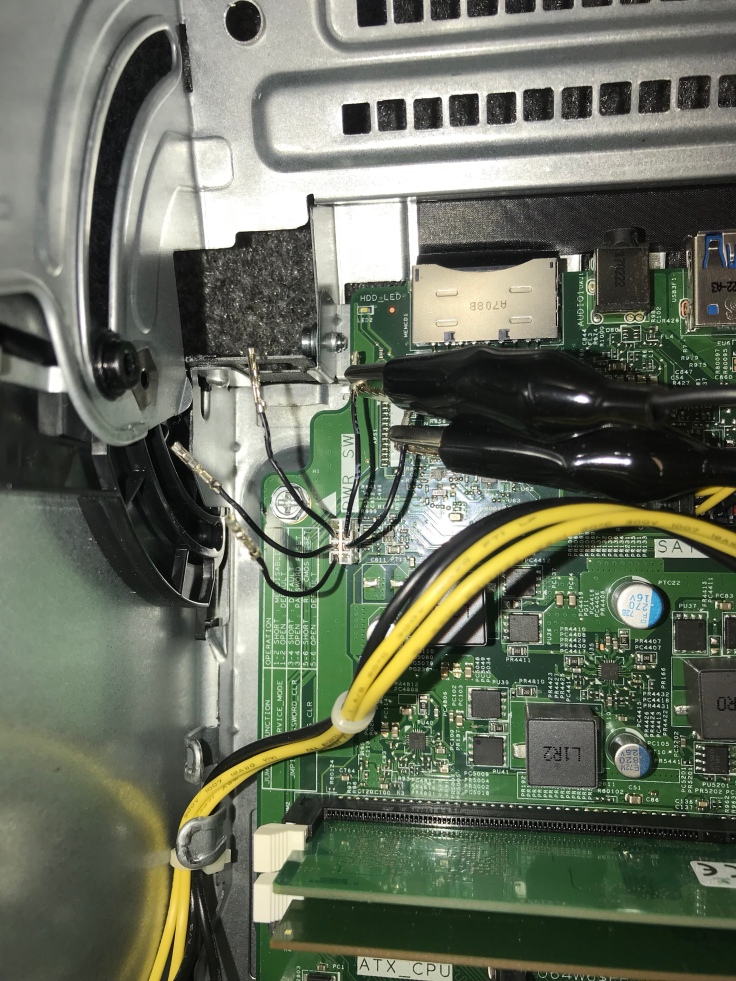
I'll add proper connectors, mount the PC and get the remote switch set up next.
(more to come
)


 Home
Home Help
Help Search
 Login
Login Register

 Send this topic
 Print
Print Topic: New Cabinet Build: Lakeside Arcade - plenty of pics. (Read 159223 times)


