Hey guys!
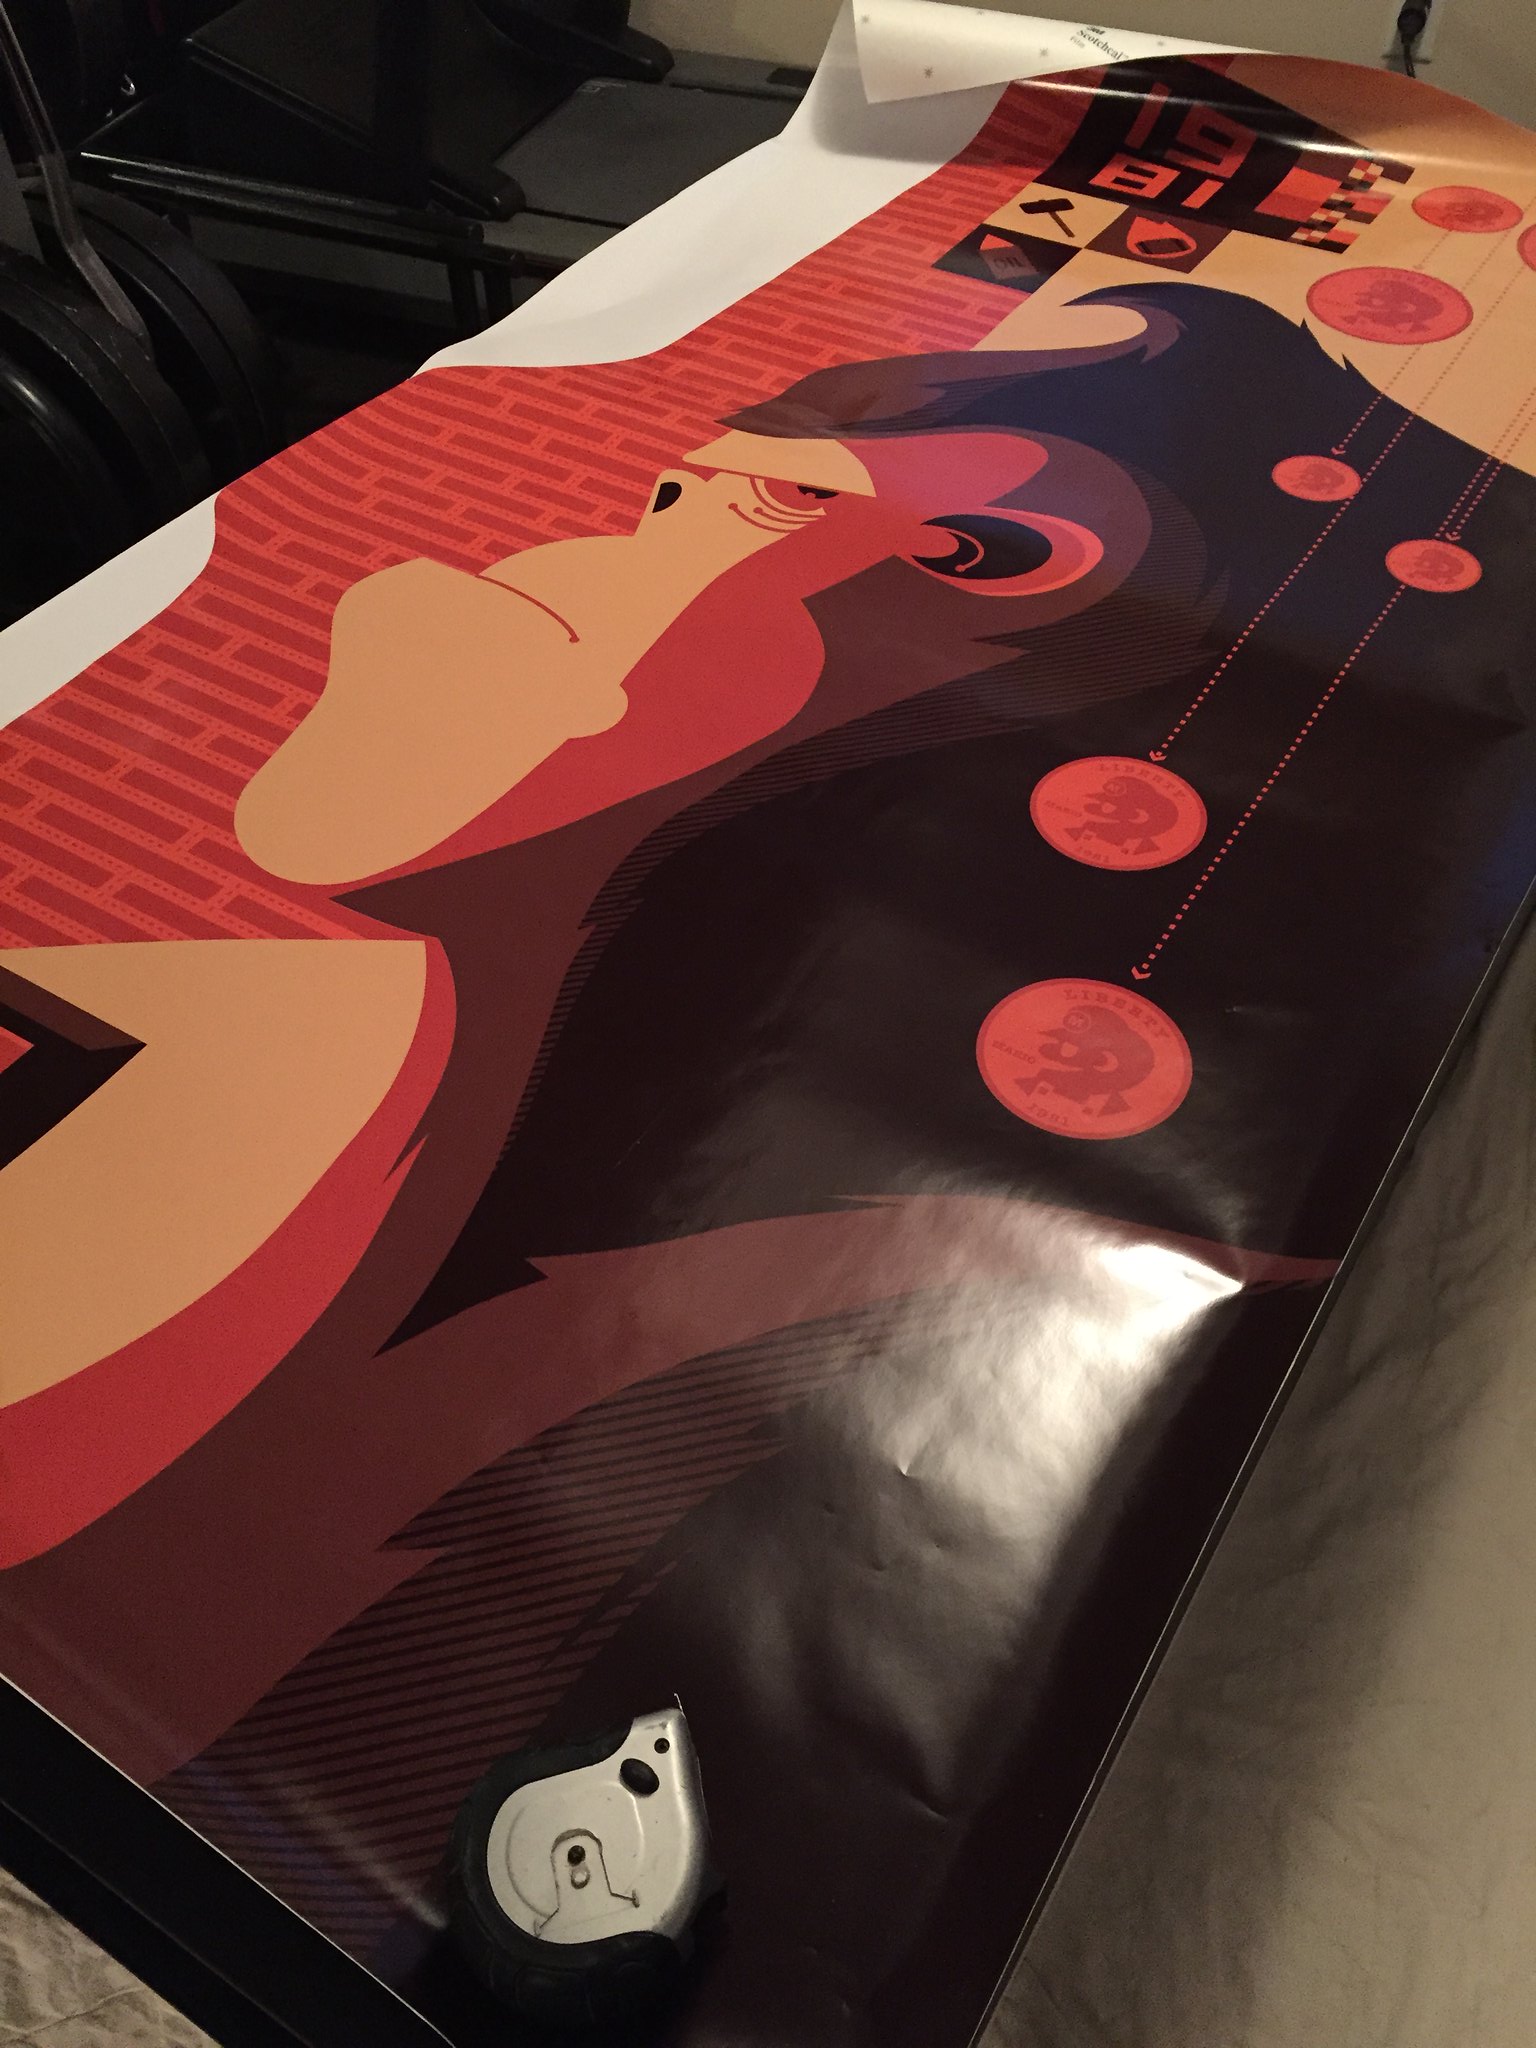
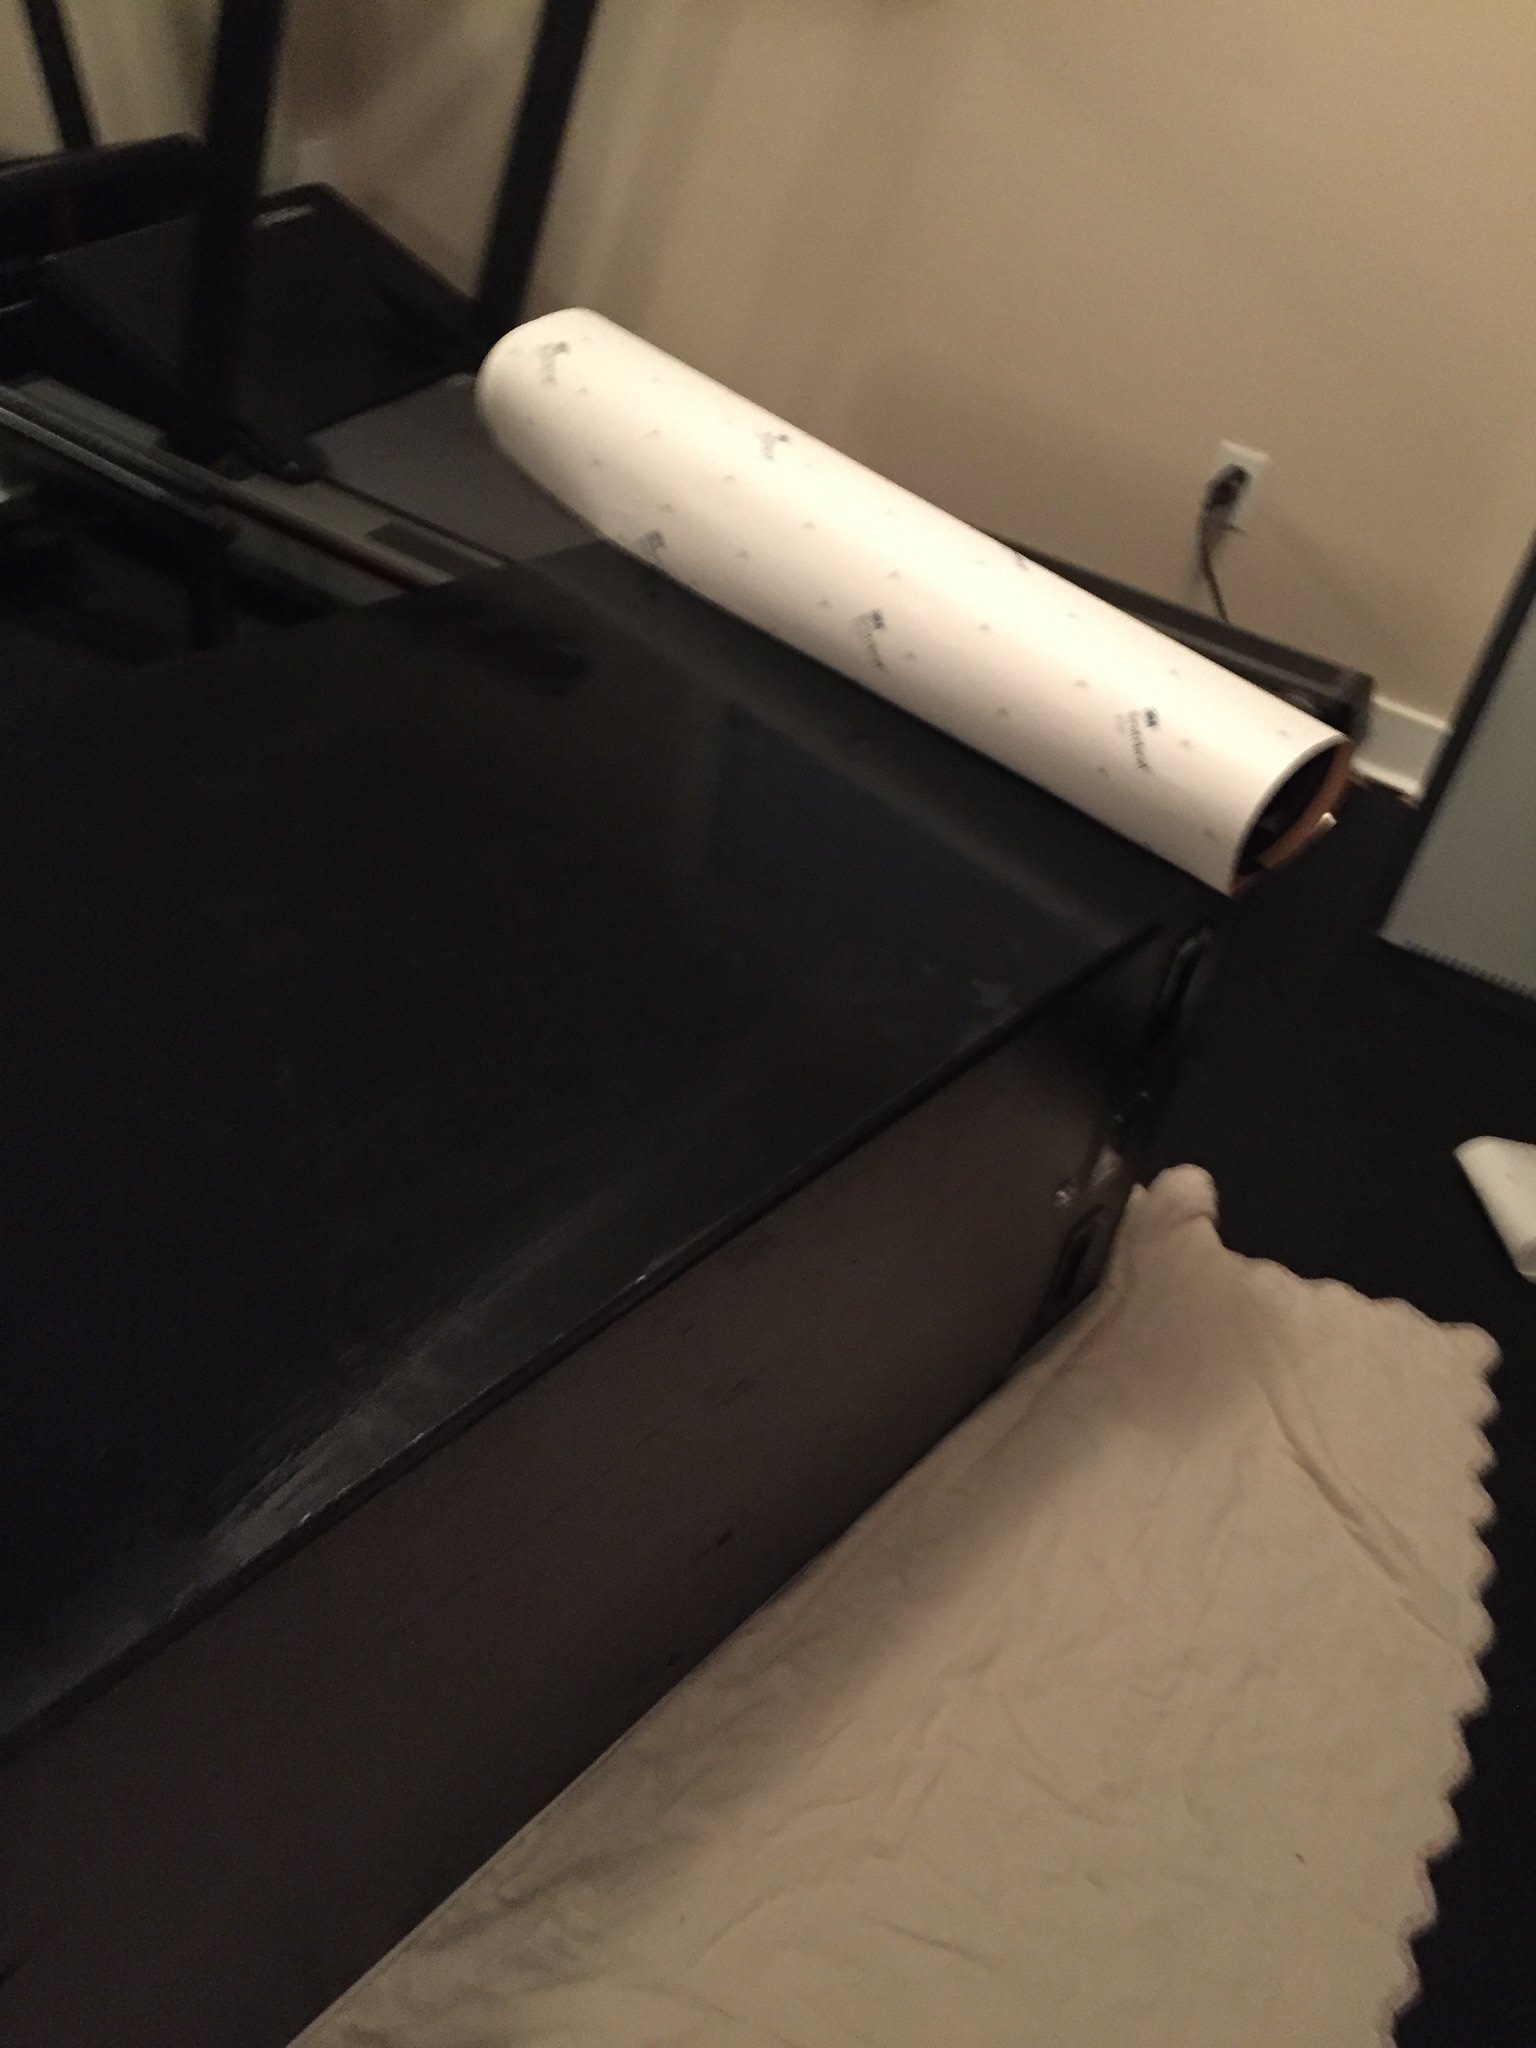
Well, I was at a standstill until the graphics arrived last week. All in all, I'm pretty happy so far. Laying a big piece of 3M was a bit of a task and I learned a few things.
1) My surface was prepped and clean but I failed to think about wiping down the backing paper of the vinyl roll. As I peeled the paper off and put down the vinyl, there was some debris that got stuck underneath... tiny bits of grit in a few spots. Likely no-one will ever scrutinize like I will but it bugs me that I didn't think of this. Anyway, second side went down way better.
2) Get a proper application tool. I wrapped a credit card with a microfiber cloth and it worked 'okay'. A proper 3M squeegy would have been far better I think.
3) To wrap the edges or not. Side one, I just trimmed the vinyl tight. When I tapped in the T-mold, there were a few areas where the pressure pushed against the edge of the vinyl and lifted it. I had to go back and really work the edges for them to lay properly. Side 2, I thought I would wrap the edges and the T-mold would then suck it all nice and tight. However, due to the thickness of the vinyl, wrapping it and tapping the T-mold into place forced the edges to lift as well in some spots. I tried to roll these out but in some places ended up removing the T-mold, trimming as per side 1, and re-attaching. If I were to do this again, I'd just trim the vinyl to the edge of the cab, OR, not use a graphic that spanned right to the edges.
I'm pleased with the results, but it's not 100% perfect. Again - likely something only I'll notice (and now maybe you guys

).
One issue is that the graphics shop cut my bezel the wrong size, so I'm waiting for another to ship. Aside from that, I'm pleased with the quality of the graphics / application on the Lexan.
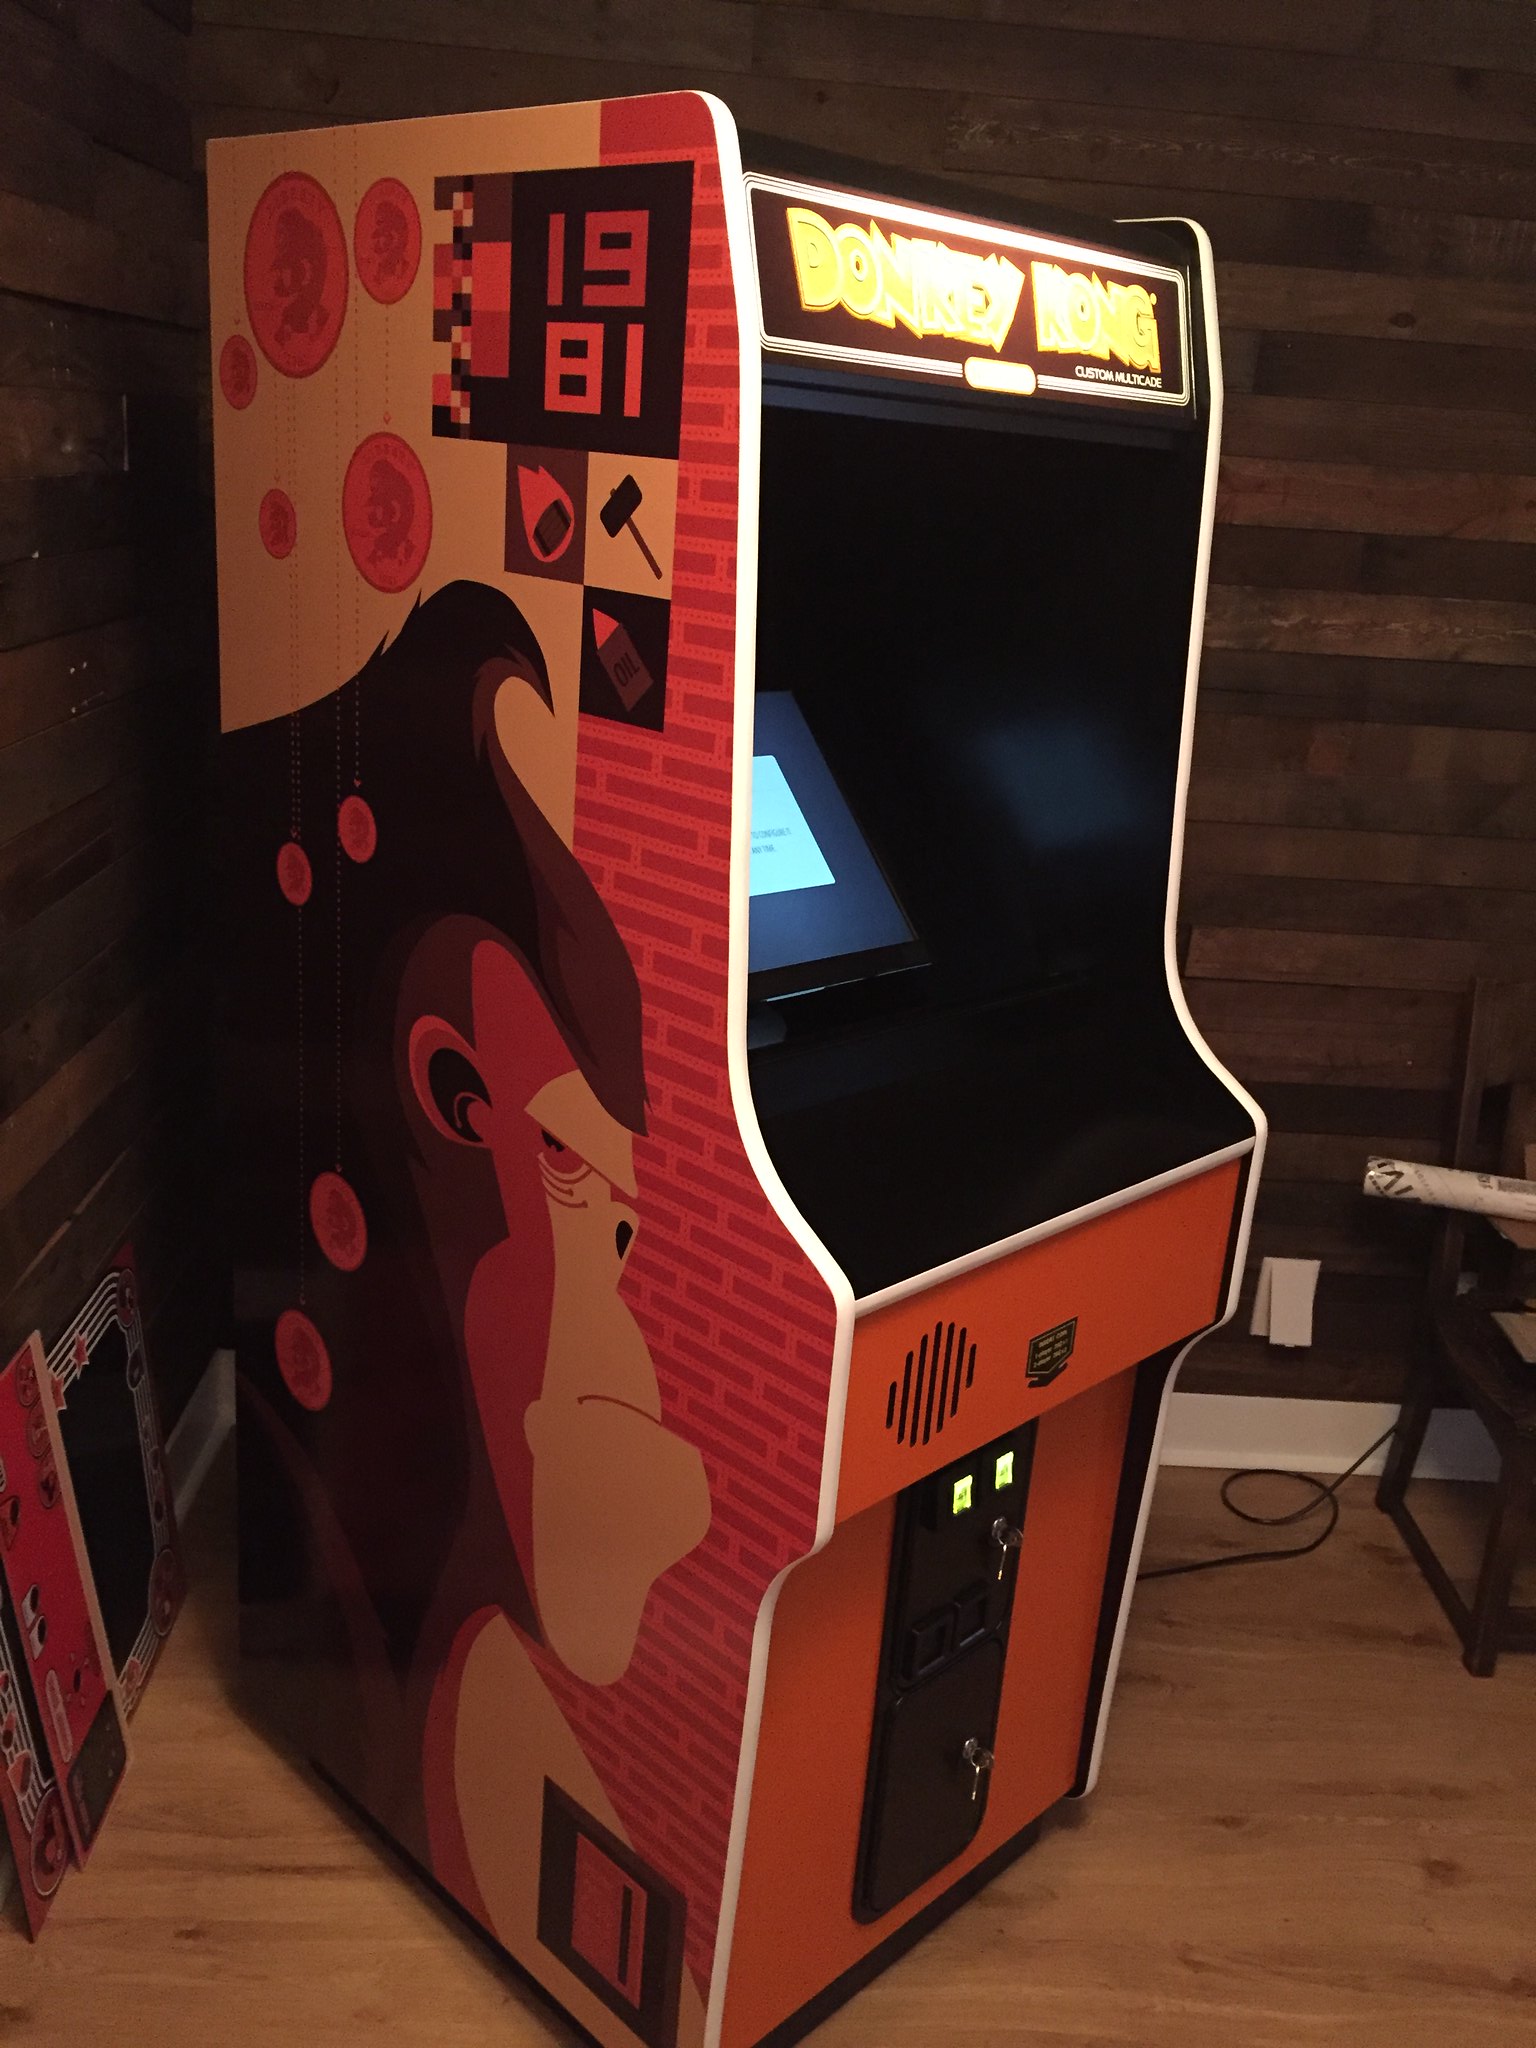
Here's a few shots to date. Once she's done completely, I'll take some 'glamour' shots in better lighting.
Laying the vinyl and sorting out positioning:
Wetting the surface with water/soap solution:
Both sides applied and put back where she's going to live:
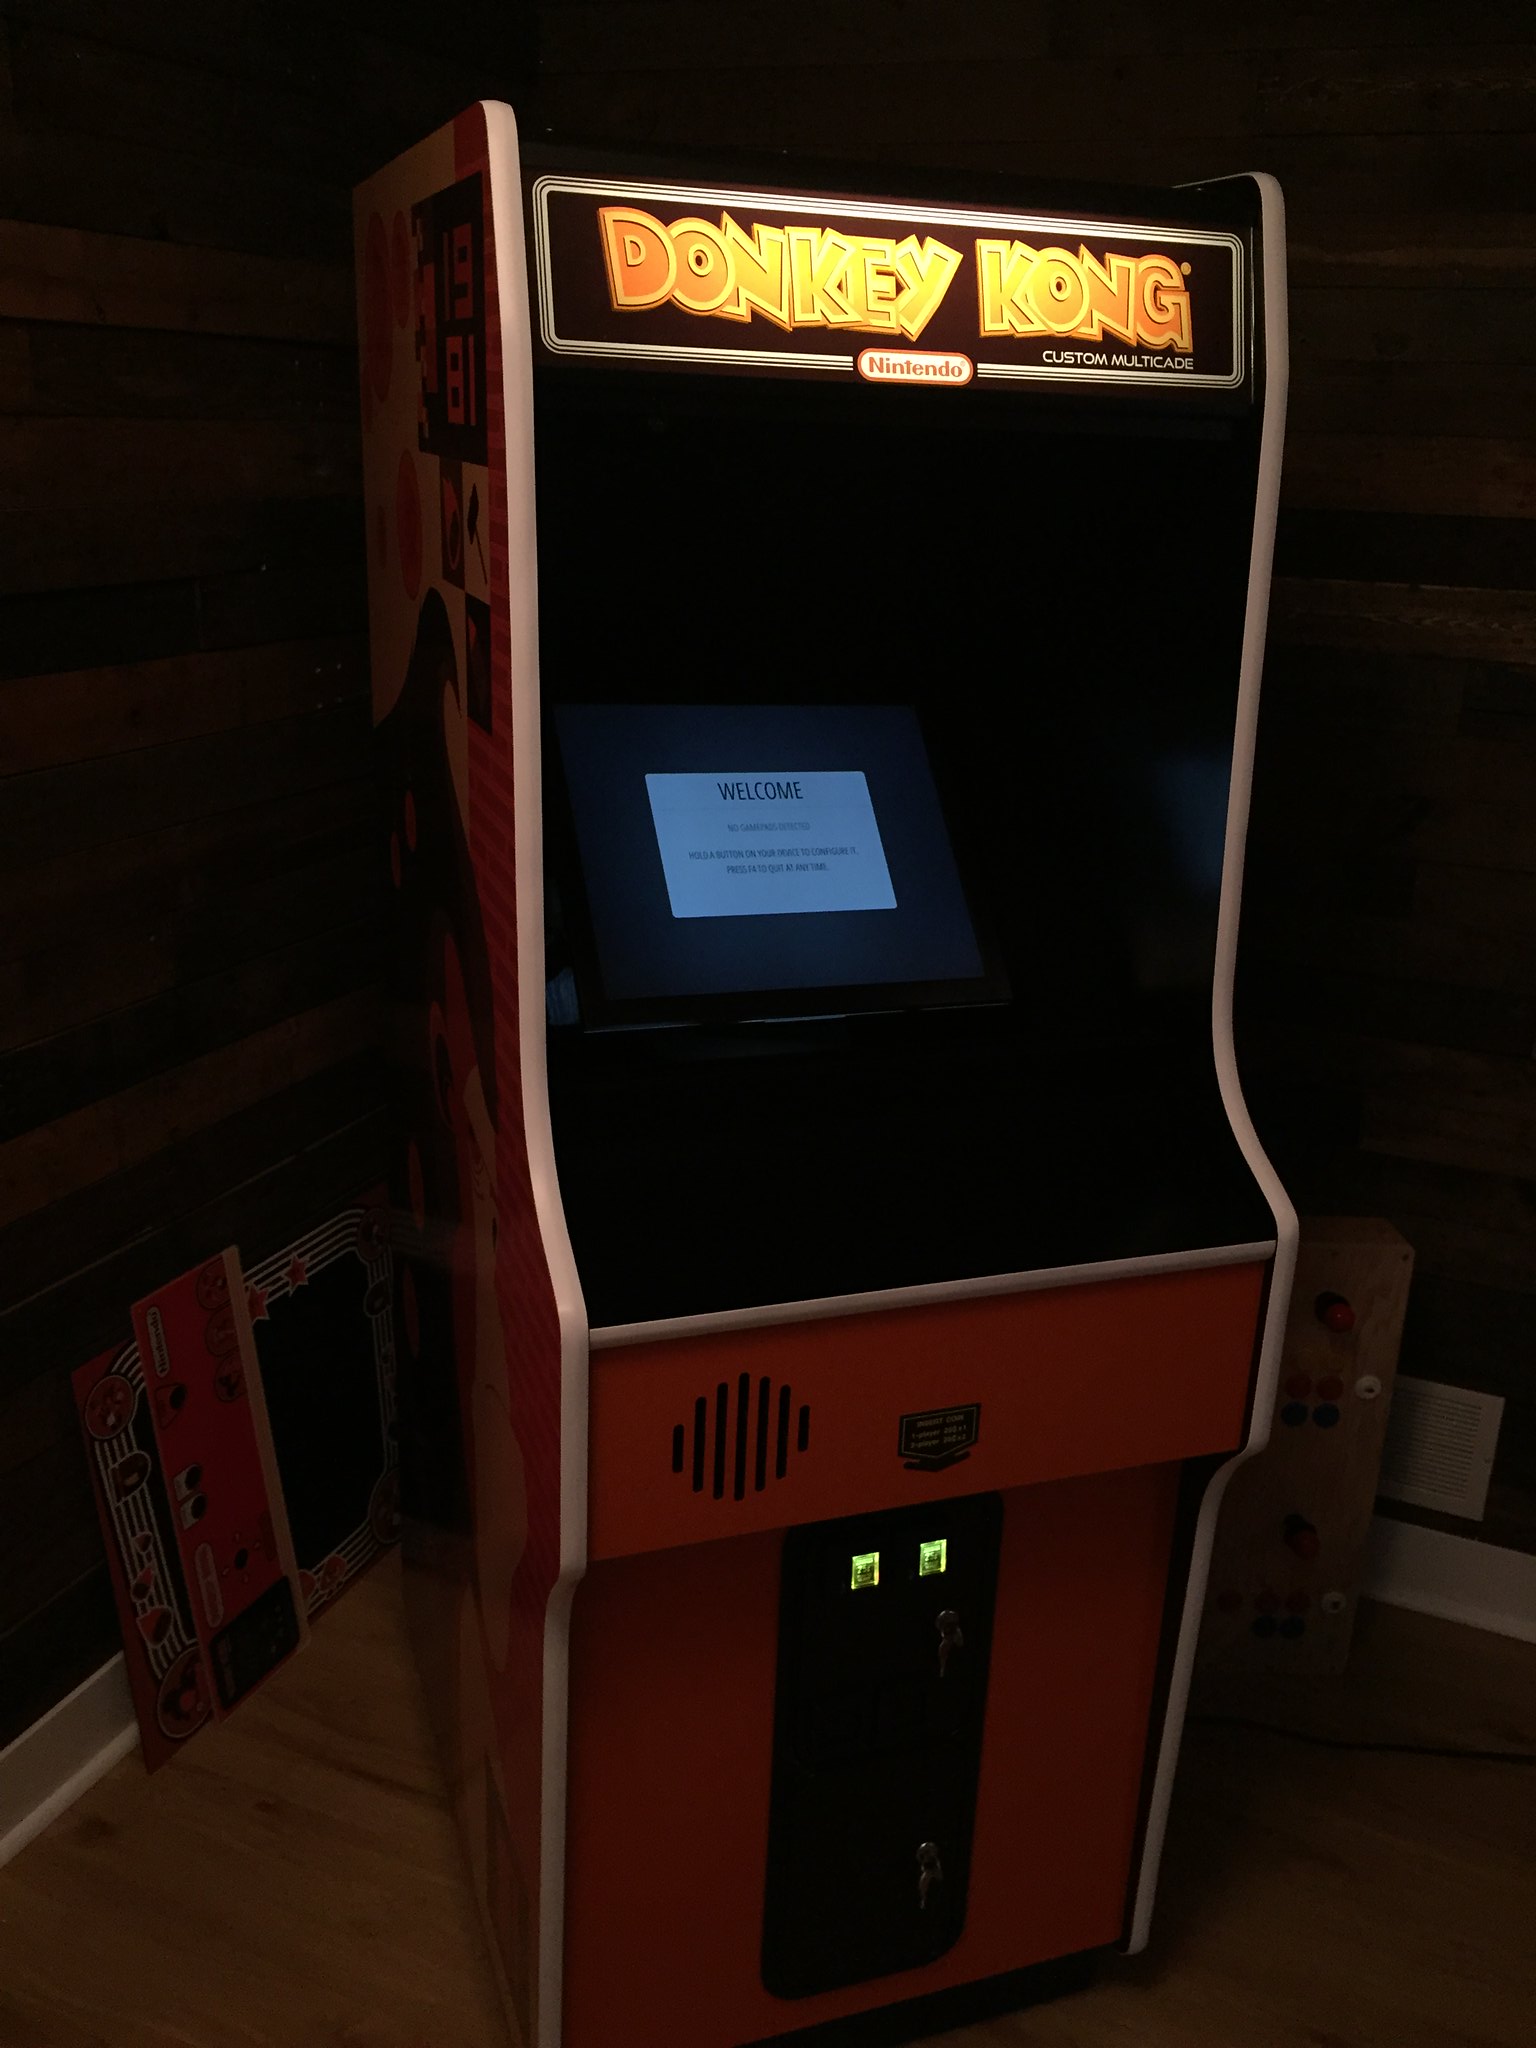
Lighting doesn't do the marquee justice - it actually looks really good in real-life.
CP panel - I've been putting this part off as I'm a bit anxious about drilling out the plexi - just have to go at it when I have a good chunk of time. Another thing I've learned from past projects is not to put a timeframe on things, projects take about twice as long as you estimate, and do go into one phase of a project in a rush
. For this part I have to set a good chunk of time aside and go slow!
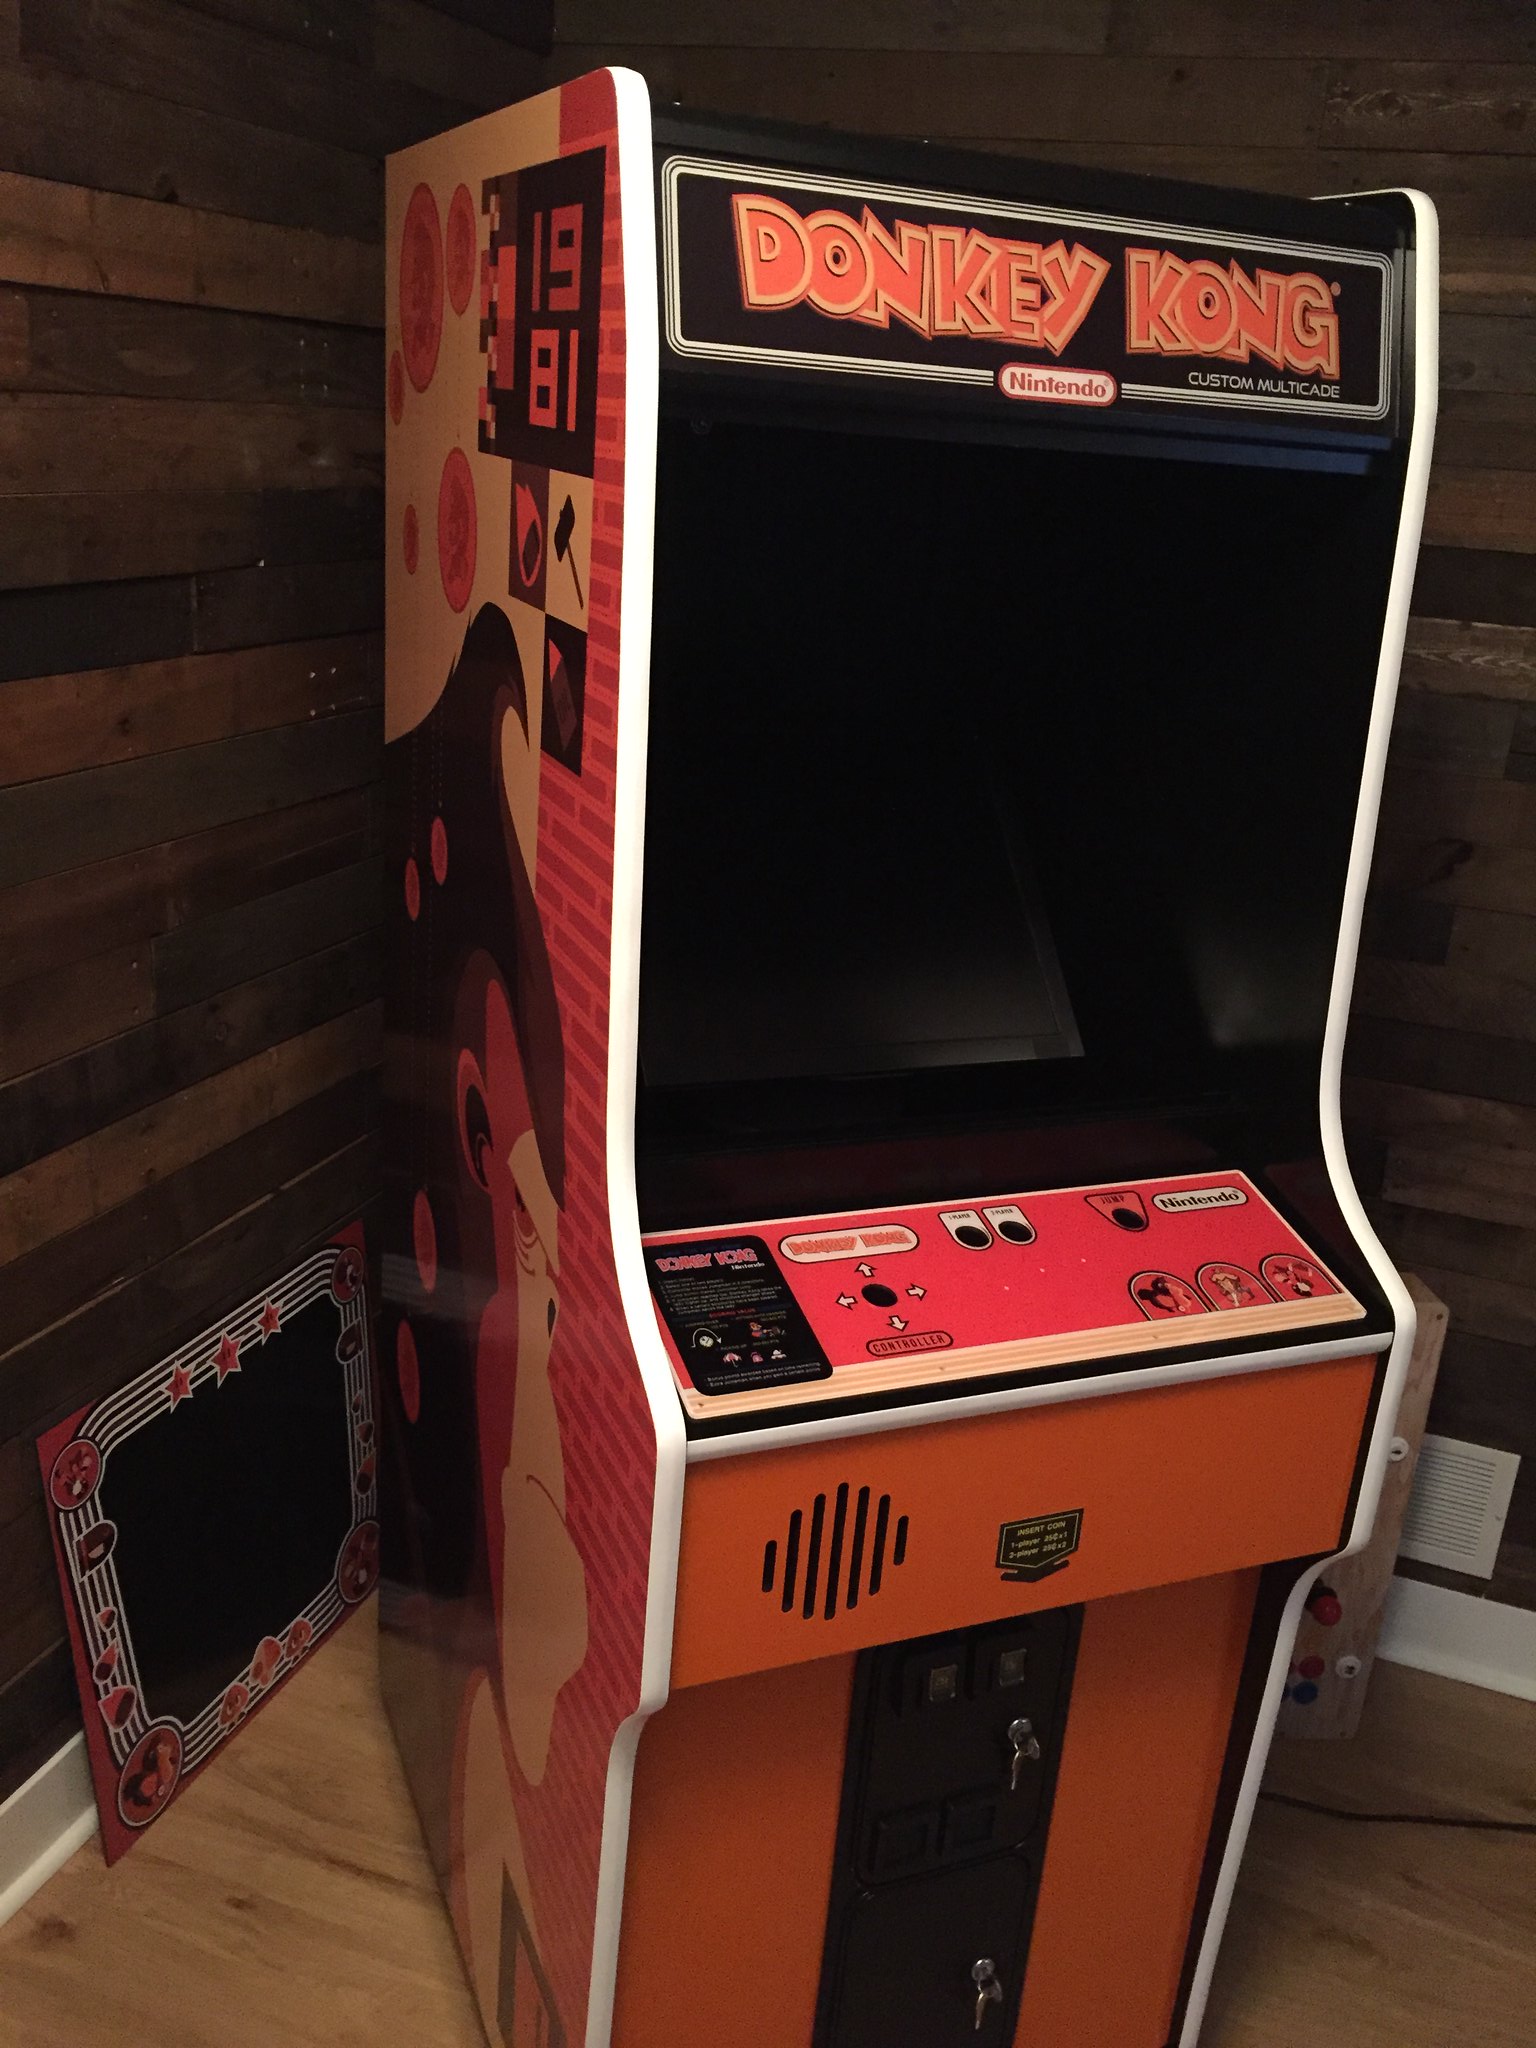
The dark orange on the CP looks off against the orange face but it actually matches the dark orange on the side 'bricks' very closely. I think this variation in orange ties the color palate together well.


 Home
Home Help
Help Search
 Login
Login Register

 Send this topic
 Print
Print Topic: First DK Cabinet Build (Read 41222 times)


