UpdateSo last time I was at my mate's workshop. I had to leave so I could make my 4hr drive home and get home before midnight. We got a lot done and had just applied the LEDs, silicone and t-moulding to the control panel when I had to leave. So the pending items were:
- printing the art work
- applying artwork to control panel, side panels and marquee
- applying LED, silicone and t-moulding to the side panels
- package everything on a pallet ready for pick and delivery
So my friend offered to take care of the rest so that I didn't have to make the trip back. Did I mention he is a top bloke?
While he did manage to get some stuff done, it turns out that he ended up getting swamped with work, he was left on his own to run the business as his parents (who are part owners) had to fly overseas for a family emergency. He ended going to hospital for Kidney stones. So he wasn't having the best of times. So I decided to drive up and help him, once we cleared things up we would finish off what was left.
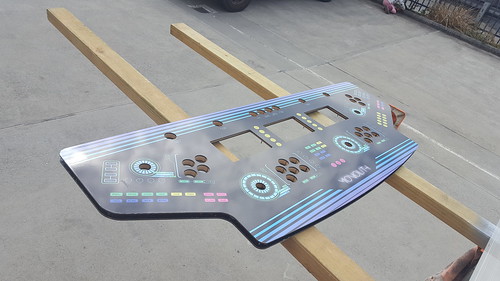
Lessons learnedSo with the control panel, we used a natural cure silicone, which took forever to set! I'm talking about 4-5 weeks. So we switched to an acetic cure silicone which doesn't need air and also sets faster than natural cure. So because we were using a new silicone we weren't sure if the colour of it once set would be different. didn't want the control panel blue to be different to the side panels blue, so we removed the t-moulding and silicone from the control panel and reapplied. came out pretty easily.
Side panelsMy mate had already applied the artwork and trimmed the edges. He also applied masking tape around the edges to protect the art from the process.
like before we embedded the LEDs in the channel and applied the silicone and t-moulding. Doing it in sections, we prepped the t-moulding, added the silicone pinned down the t-moulding and then tapped it down so that it sets nice and firm.
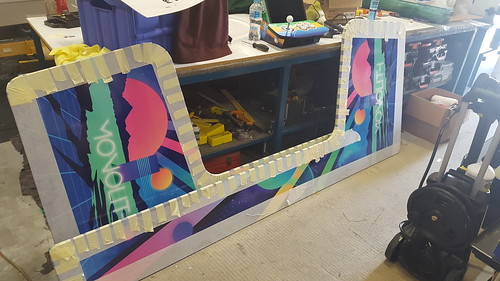
in the photo, you can see the little bartop build which I was also able to finish this weekend.
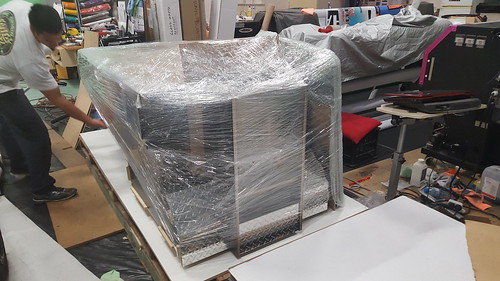
Control PanelSo with the artwork printed, we applied it, trimmed all the edges and then let it dry. Once dried we applied the silicone and t-moulding in the same way as the side panels. Because the control panel has tighter corners and curves we decided the wrap the whole thing in packing shrink so that it would make thing tighter and help hold the t-moulding in place while it set.

And with that, we were done! cabinet is built! although in sections lol. now to get it home and wire everything up.
PackingSo we have another friend who has a huge trailer, and he frequents the journey to where my mate lives and my city. We organised to get his help, he is on holiday at the moment to once he gets back and is settled he will bring it down. In the mean time, the silicone will set so it works out well.
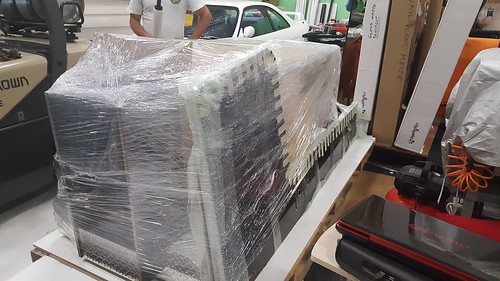
So to get it ready we packed the pallet. once we had everything where we wanted it, we wrapped it in so much shrink wrap to make it as sturdy as possible.


 Home
Home Help
Help Search
 Login
Login Register

 Send this topic
 Print
Print Topic: Monolith - 55inch vertical screen - project name "go for broke" (Read 129276 times)


