Okay, looks like I'm re-posting since the original thread was lost when the servers went down.
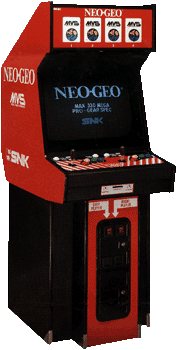
I grew up playing Street Fighter, Mortal Kombat, House of the Dead and Alien vs Predator in the arcades by my house and when I was in college, we had an MVS cabinet in the Student's Union lounge that had Metal Slug 2 on it - I lost an awful lot of time and quarters to that machine. Wanting to have something in my home to recreate that experience, I researched MAME cabinets and I stumbled upon Arcade Controls and some of the project logs on here that inspired me to want to start one of my own.
How hard could it be, it's just a big box, right?
Initially, I wanted to start with a bar-top cabinet and procure a kit from a local business here (Retro Active Arcades in Edmonton, AB). After some careful though, I opted to just go with a full-size cabinet of my own design. Specifically, I landed with a hybrid design from
Jakobud with the NeoGeo MVS-4-25 version 3. I didn't really like how the top of the cabinet was seperate from the bottom though and the massive size of the marquee so I modified the plans to reduce the marquee size and made the side panels flush with the bottom resulting in a design similar to this:
I began collecting components for the machine and concluded with:
- Intel Core i3-2100
- 6GB Memory
- 1TB Hard Drive
- PowerColor Radeon HD 6750
- 24" Sony Trinition CRT TV (KV24FS100)
- CVS287 SCART-component converter
All this running on Windows 7 and Groovymame/ATOM-15.
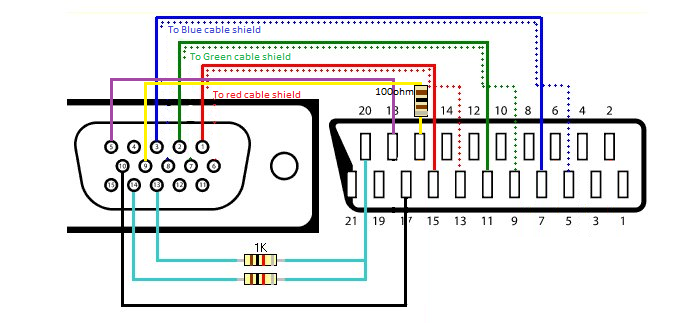
I had to create a custom cable for SCART to VGA and luckly, I had an extra SCART sleeve from a console project I was working on a year ago.
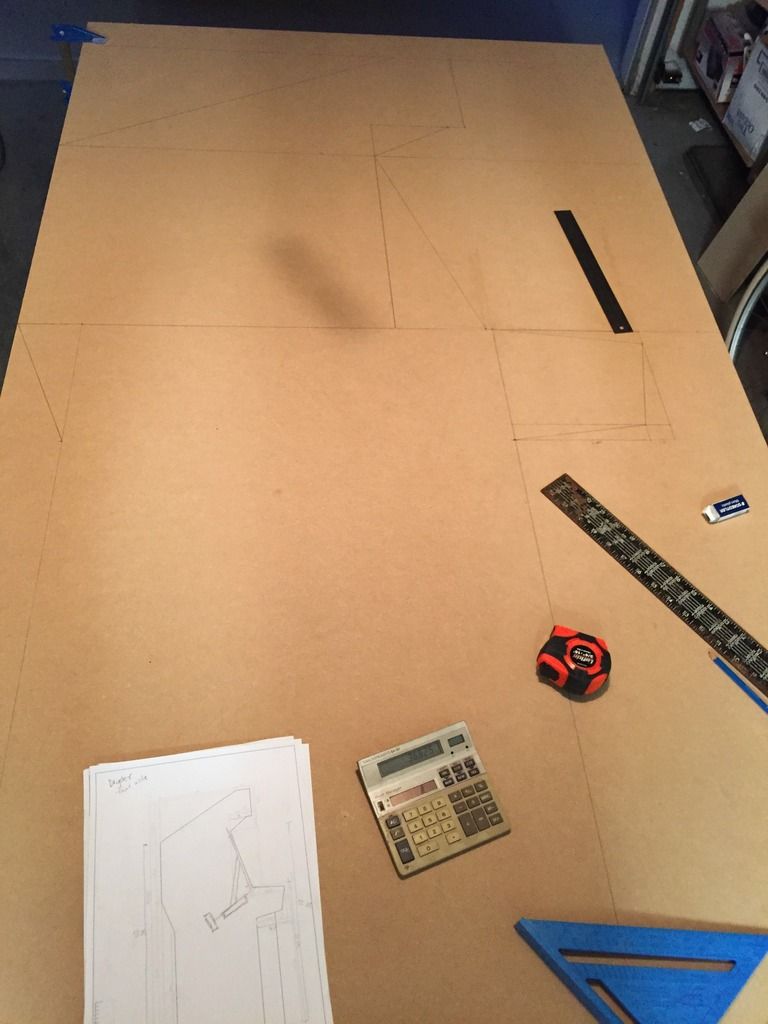
So a few weeks ago, I bought the sheets of 3/4" MDF and began measuring and planning.
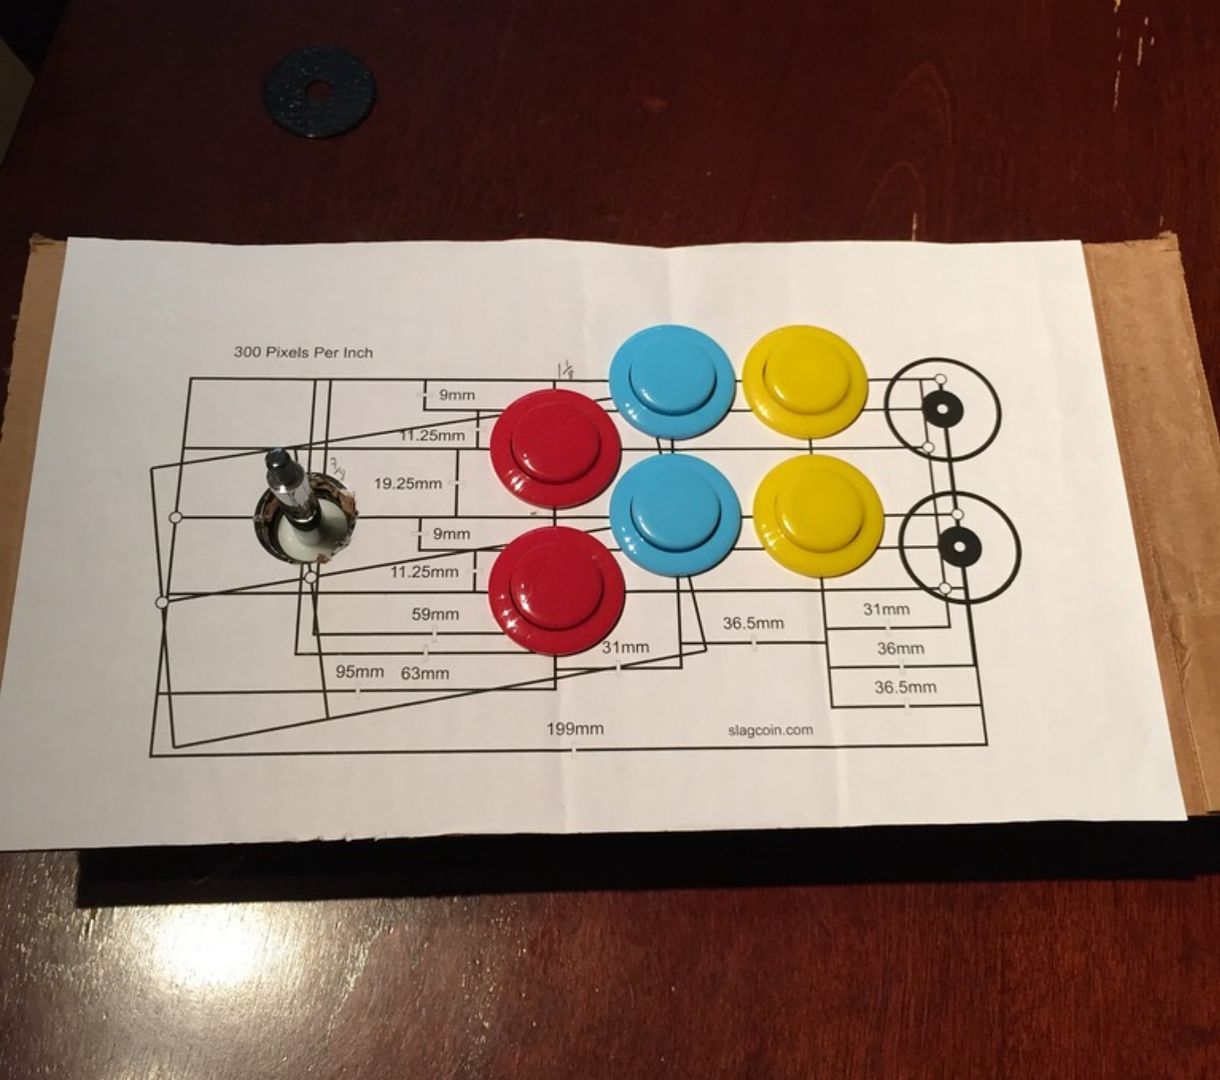
With the primary usage of this cabinet being fighting games and beat-em-ups, I went with a Sanwa JLF with an octagonal restrictor plate, but ran into an issue with buttons.While on vacation in Minneapolis, I visited
Paradise Arcade to test out different buttons. Ultimately, the IL convex buttons won out with cherry switches. Mostly because it felt the closest to the Sanwa OSBF-30 I was used to while allowing a tight screw fit to the 3/4" MDF.
Test fitting the buttons and layout on cardboard:
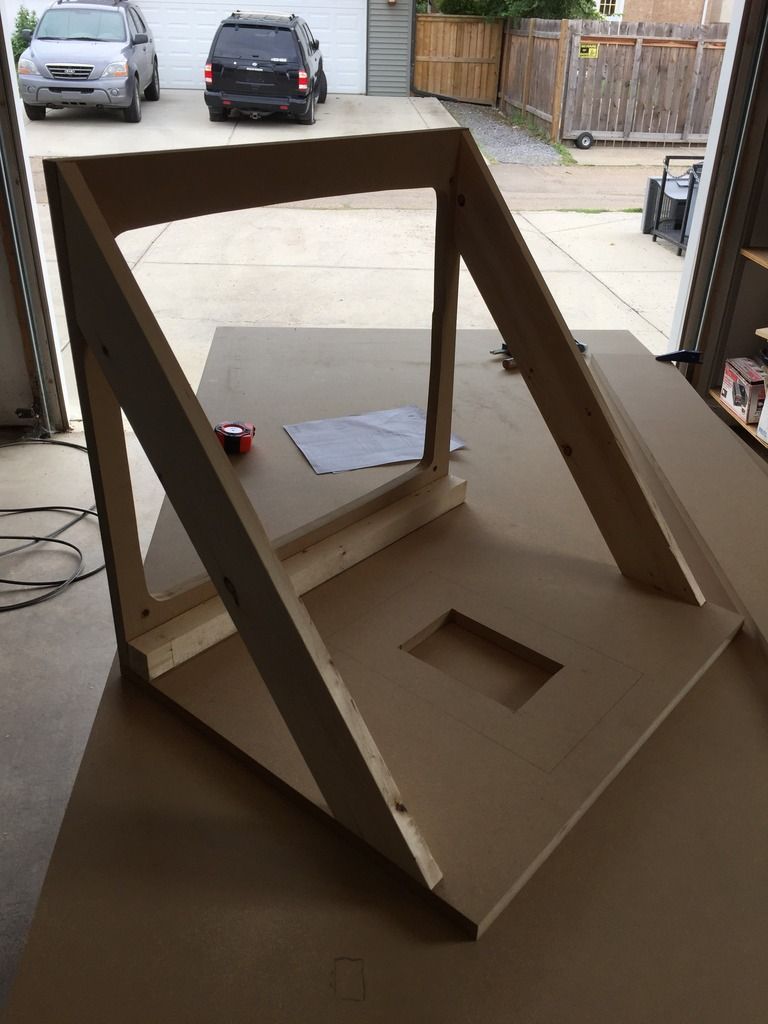
Building the CRT frame and mount (thanks markc74 and your Blip build for the idea!)
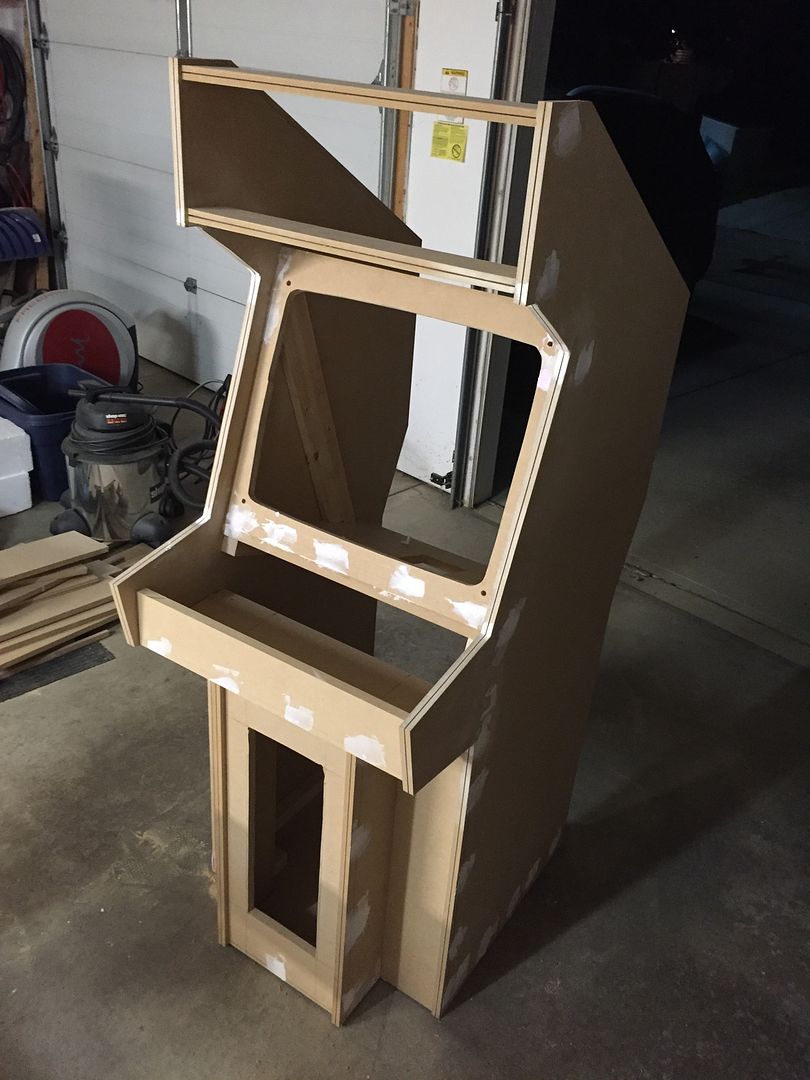
And here's where I am right now:
Pro tip: You can never have to many clamps. Also, buy that router and 1/16" slotting bit - it makes t-moulding grooves a 10 minute job and effortlessly perfect.


 Home
Home Help
Help Search
 Login
Login Register

 Send this topic
 Print
Print Topic: Big Blue MVS (Read 7155 times)


