Okay guys. I know I'm repeating myself but don't expect much out of this topic for the next month. I have gotten the cab to the point where all I need is to find the monitor bezel and pay for and apply the artwork. I just jumped on to give some quick responses and post the pictures I took (finally) of the coin door up close.
WP - Wow. That is a real drastic difference from the color I have on my cab. My paint color was taken from Choppers paint colors which he found on his cab when he was refurbishing it.
Nice DK cab. LCD doesnt look bad behind the plexi either... What paint codes did you use for your blue??

I removed the control/speaker panel side and took the whole piece in to SW. Underneath one of the corner blocks was a great area to match from that had not seen the light of day since built..
The only thing I can really think of is that your paint has faded over the years. I'm just wondering if there is a hidden place on your cab you can find that has been protected and will show a different shade of blue.
Santoro - Thanks for the kind words. I took my time on this cab and I am really happy with it so far. It even plays well. I can't wait to get the artwork on and call it finished.
koolmoecraig - I was really happy on the way the serial plate turned out. It wasn't hard for me to replicate the DK serial plate and put my own spin on it. I want to thank CoreyBee also for the excellent, quick, and easy tutorial he has on making these beauties. Sorry I didn't respond to your earlier questions but it looks like meyer980 more than helped with that. Kudos to him.
ridicrick - Love the artwork man. I'm glad you have ventured into doing something original with the artwork. We have already talked over PM and I think once you get the monitor bezel's worked up I am going to order one for my cab.
pinballsmith - I've played the leaked version and I have to agree that the leaked version is almost tedious to play. I never got a chance to play it in the park (too far in either direction) but the leaked version gives me the feeling that I am playing Pong. Fun? Yes. Not really demanding and tedious? You bet. Also thanks for posting a picture of the cab. I was going to go with a tinted monitor bezel but now that I know the originals aren't tinted I can just go with plain ol' lexan. I avoided painting the entire inside of my cab. I wanted to give it the feel of the DK cab which is not entirely painted and I also didn't want the sides to distort in case the paint soaked in and distorted the sides of the cab.
404 - With all of your luck I think it should be more than fair for someone to 'linger' you a copy.

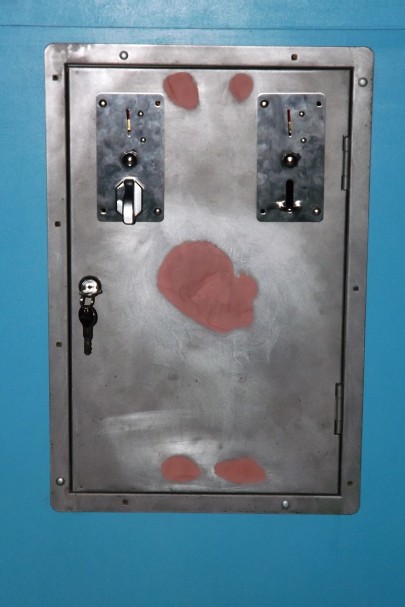
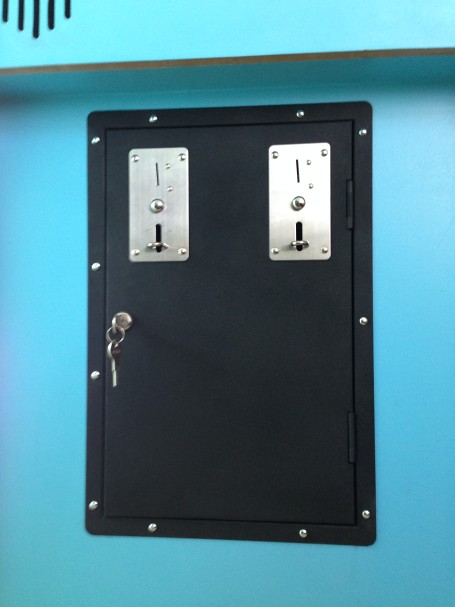
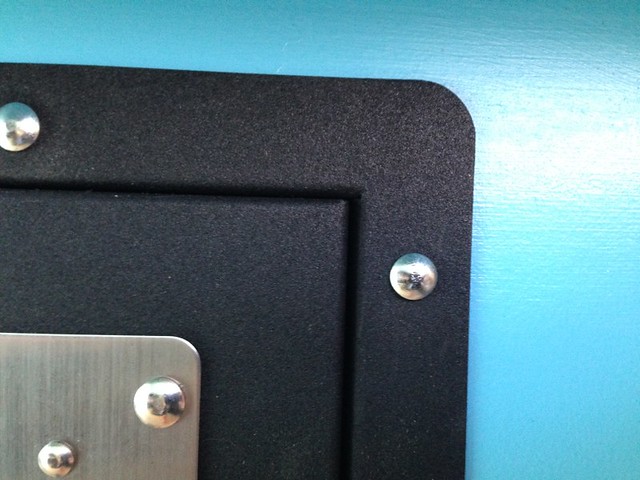
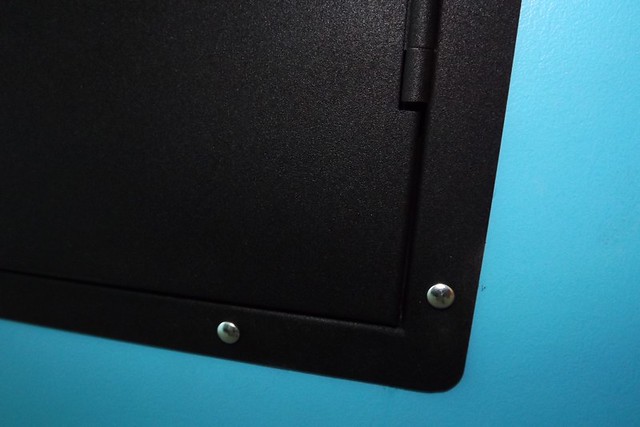
Finally just a few quick pictures of the coin door. I couldn't get a good shot in my dark basement but my brother in law helped me move the cab upstairs and I snapped some pictures in a well lit room to show not only how well the textured paint came out but also the Bondo filler worked. The paint may not be what was on the coin door originally but I really like how it turned out.
Before: (Dents,scratches, stickers, and bends.)
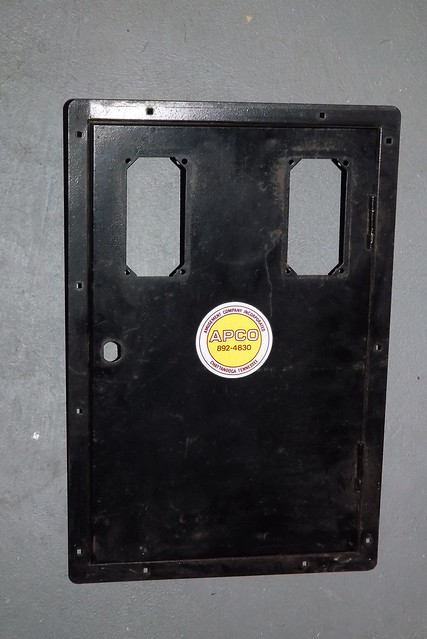
There was a gigantic dent in the middle of the door underneath the sticker. I filled it with my Bondo filler and after paint it's like it never even existed.
After:
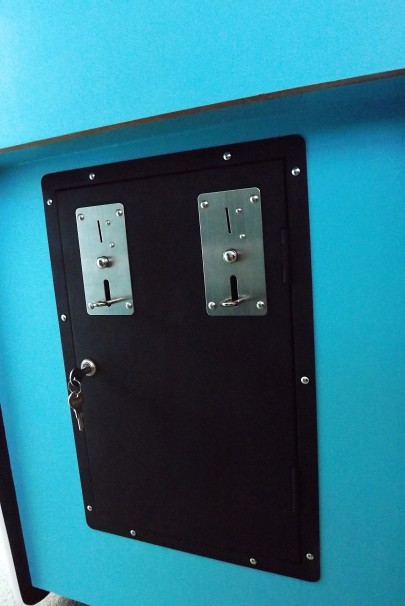
Close up goodness:
I really like how well the coin face plates and coin door look together.
Thats all for now. I will still be haunting the forums so don't be afraid to ask any questions. I will always check on the topic. I just won't be posting that many updates. I just hope it doesn't take me another month to update.


 Home
Home Help
Help Search
 Login
Login Register

 Send this topic
 Print
Print Topic: An Original Fix It Felix Build --- 100% Complete! (Read 83807 times)


