I'm new here and I didn't really see any intro thread so I figured I'd introduce myself by showing off my recently finished KI2 cabinet restoration.
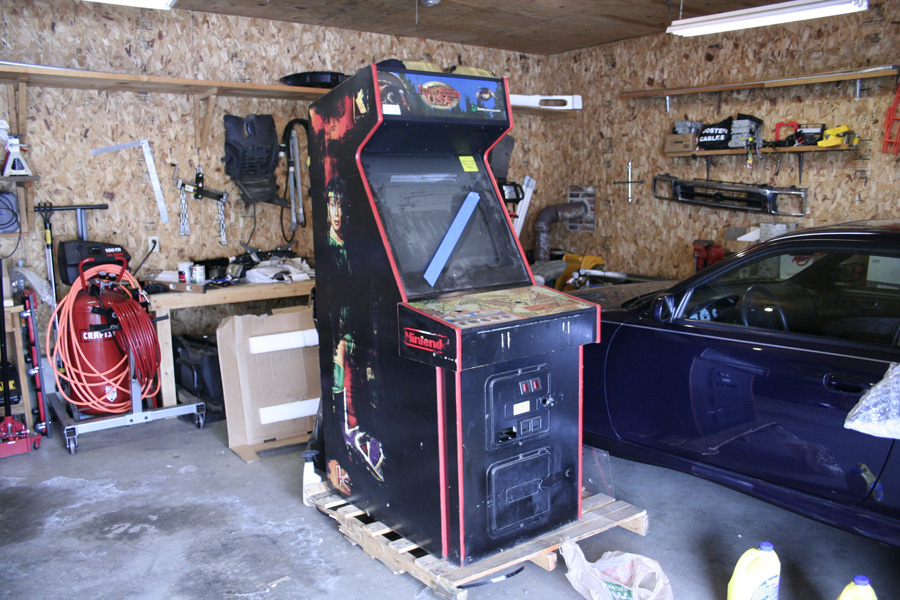
Killer Instinct 2 is my all-time favorite arcade game, they're pretty uncommon to find in arcades these days and they seem to be fairly uncommon among collectors as many were converted to other games and most collectors seem to prefer KI1. I bought this cabinet on eBay for $200 +another $150 or so for freight shipping. It had been converted to "Turkey Hunter USA" and had the turkey hunter controls and PCB removed so it was just a cabinet and monitor with Turkey hunter art work. Kind of spendy for essentially an empty cabinet but I enjoy a good project and being able to restore my favorite game from this shameful state gives me a great sense of pride.

Here is an unboxing video I made that shows the machine as I received it:
 Paint Removal/Cabinet:
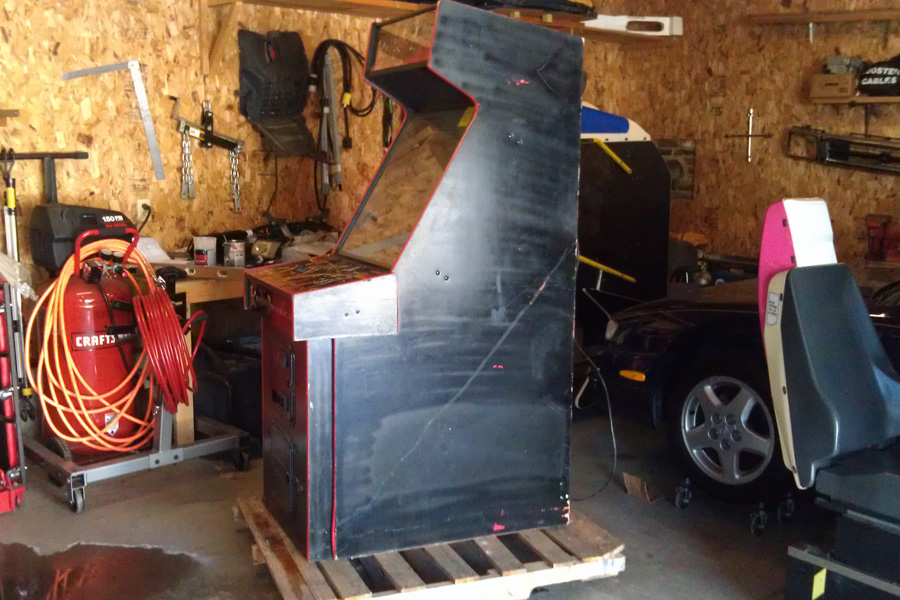
First thing was getting the paint removed off the original artwork, this was first because I wanted to get it done out in the garage before moving the machine indoors. I first tried a product called Lift-Off, which worked but not very well, I then switched to a different product called Citri-Strip, which was fantastic. The results:

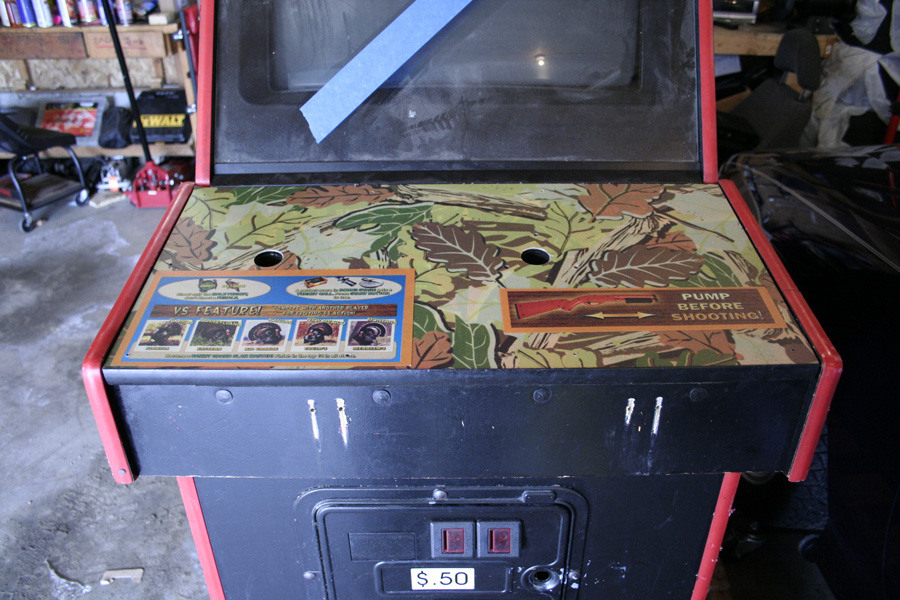
I also attempted to remove the Turkey hunter control panel graphics, after unbolting the plastic overlay I tried both a heat gun and goo-gone to separate the new control panel art from the original control panel art, the results, sadly, weren't that great:
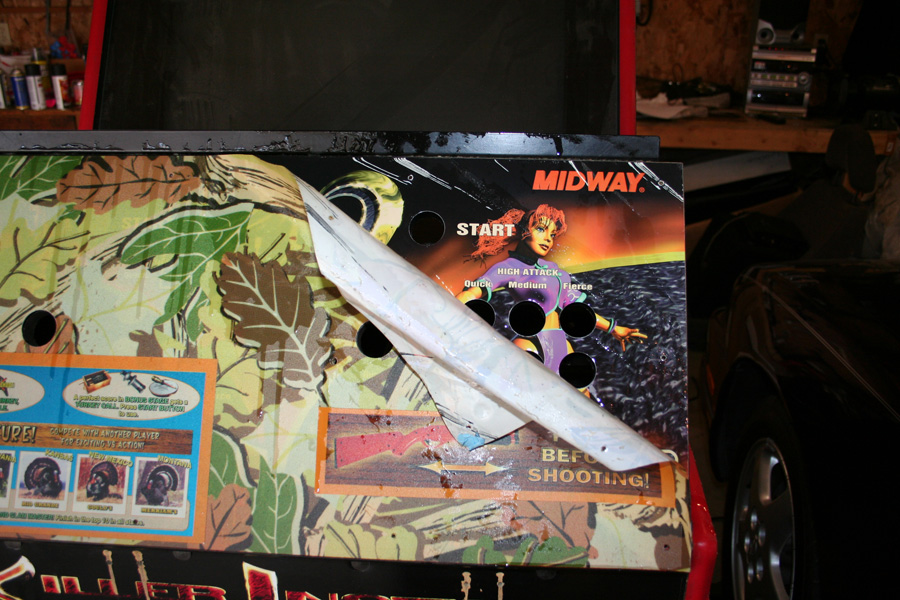
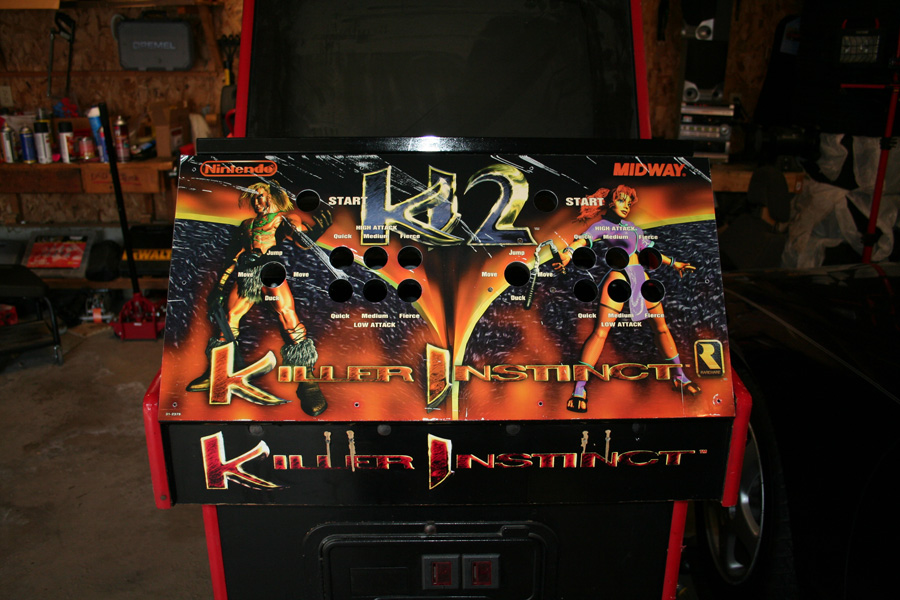
You can see that the new art work pulled up some of the paint from the original art, leaving nasty white lines of missing graphics. Even if that wasn't the case there were three additional holes drilled in the original overlay around the player 2 joystick and the colors were all faded and dingy (the Killer Instinct logo on the Control panel top is supposed to be red just like the Killer Instinct logo on the control panel front).
I managed to find a new, never used Killer Instinct 2 marquee, which made for the easiest and best looking part of the cabinet "deconversion" so far.

Of course even this took some work, the marquee was for a conversion kit (meaning for people who wanted convert a non Killer Instinct machine to Killer Instinct 2) so it needed to be trimmed to size.
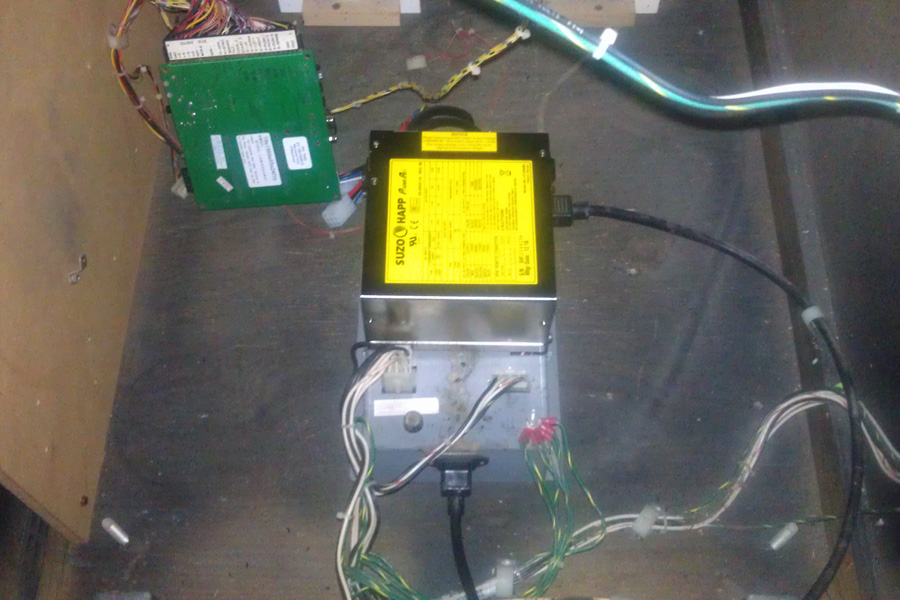
Electronics:The power supply was making some horrid noises, it wasn't even the original power supply. I pulled it and bench tested it and found that the output voltages were way off so it was getting junked. The monitor was making some horrible noises too, the PCB I put int to test it wouldn't boot (due to the bad power supply) so I couldn't determine if it worked or not.
For some odd reason there were hundreds of finishing nails among other bits of hardware on the floor so I cleaned all of that up to prevent any electrical shorts and I bought a new power supply, then modified it to fit in the original mounting location (the junk one that came with the cabinet wasn't original and had just been screwed into the floor)
This let me boot it up but sadly the monitor wasn't showing a clear image
I pulled the monitor chassis and bought all new capacitors and a new flyback, I also planned to replace a few small parts related to image sync to fix the horizontal sync issue the monitor seems to be having. Here is the chassis with all of the new parts installed:

No good, after reinstalling the image quality was better but the monitor couldn't hold a sync; it was even worse than before. After getting advice from a few experts they told me to check that I hadn't installed one of the new parts backwards... after pulling the board back out again and checking I found that the part in question wasn't in backwards but the solder joint wasn't strong enough, fixing that, and reinstalling the board I get a nice stable picture. Some small adjustments still need to be made but on a whole the picture looks great.
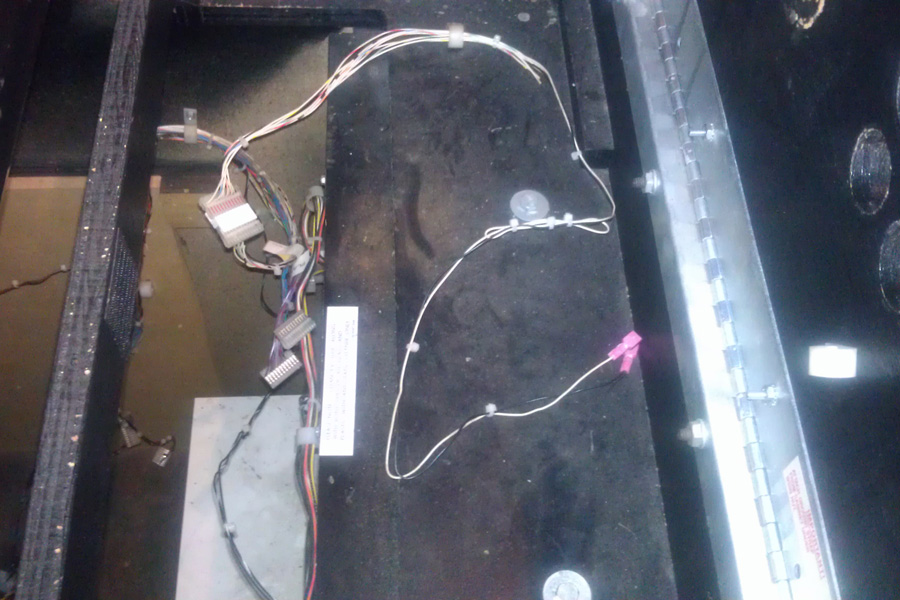
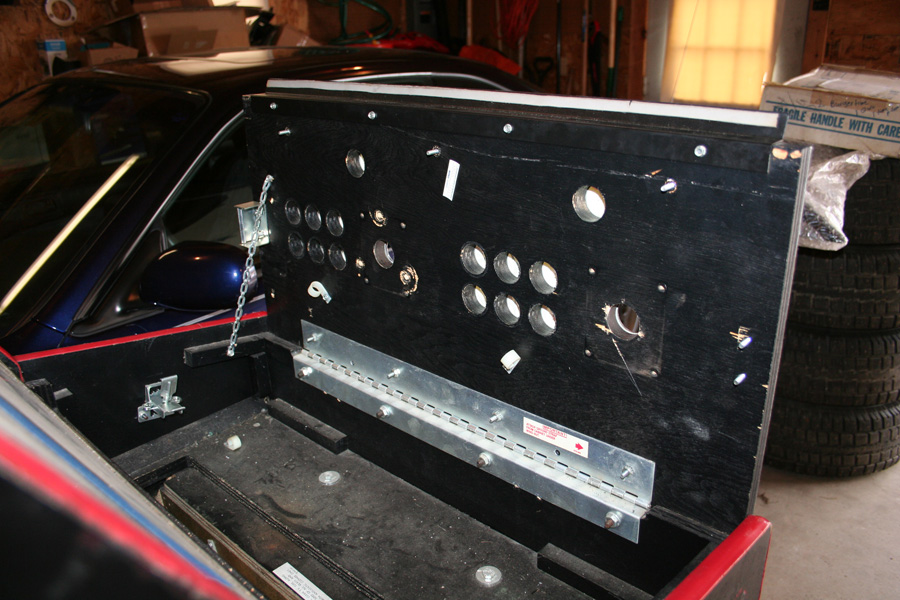
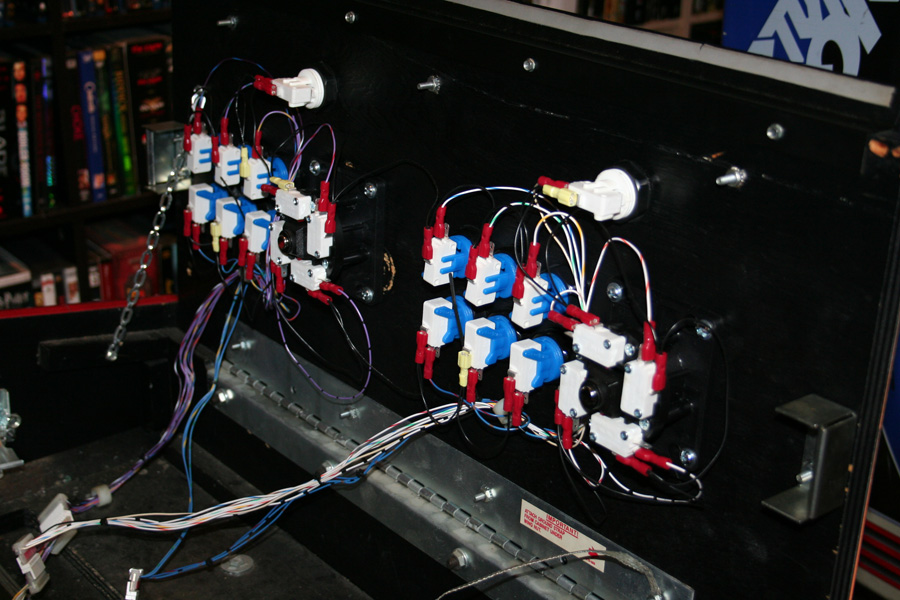
Control Panel:Not only was the original control panel gutted and then drilled out when it was converted but all of the original control panel wiring had been cut out of the machine as well. I had to completely disassemble the control panel and install new tee-nuts for the joysticks. I bought all new buttons, joysticks and switches. I couldn't find a Killer Instinct 2 control panel harness for sale so I would have to build one. I found a harness for a different Midway game that used the same style connectors and wiring colors so I bought it. Repinned the connectors for Killer Instinct and then routed, trimmed, and crimped a disconnect onto each wire. Here is what I started with (just 2 wires!), and what I built:
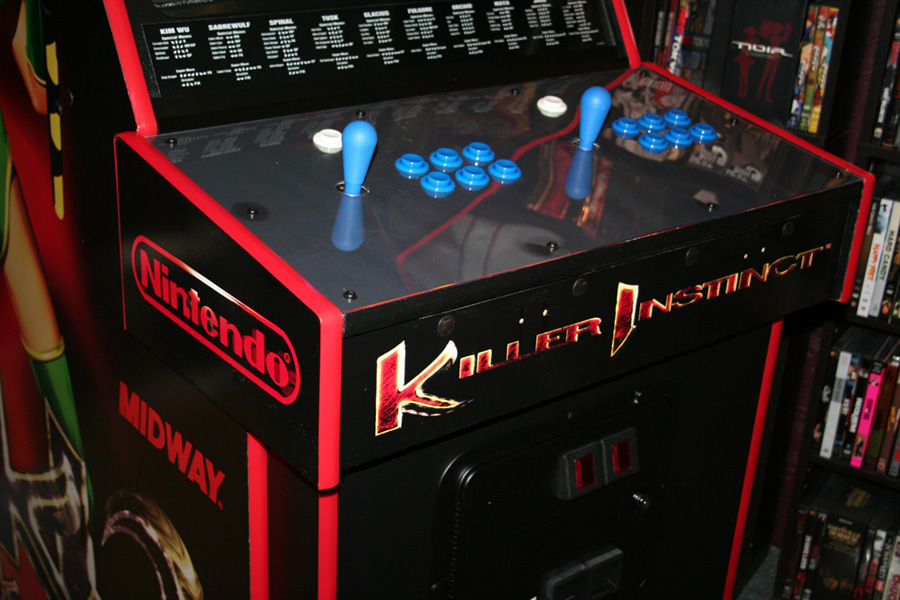
 Control Panel Overlay and Monitor Bezel:
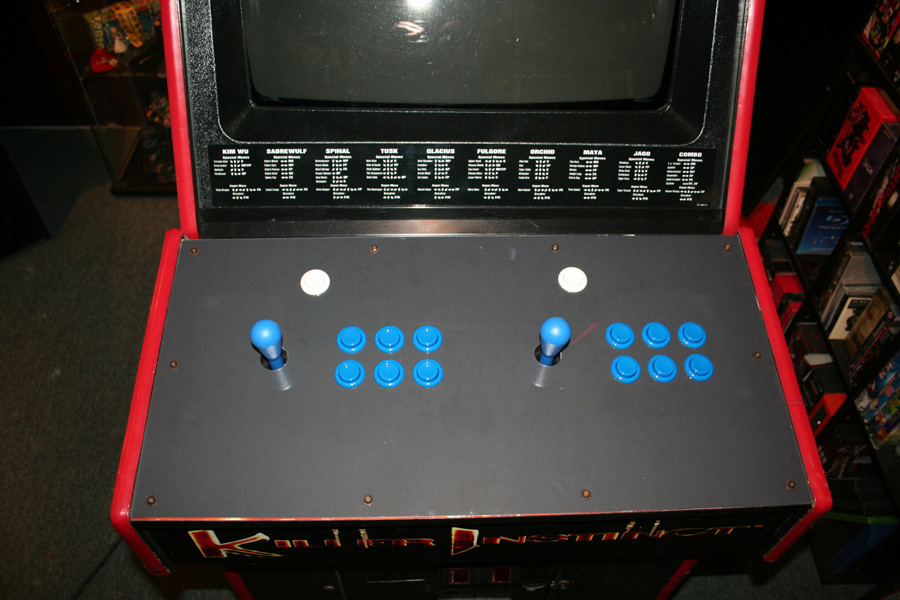
I still haven't been able to find new control panel art, so I made myself an temporary cover-up out of some black poster board. I also bought a reproduction laser-cut lexan control panel overlay and I had new monitor bezel stickers printed from some scans that I found online.
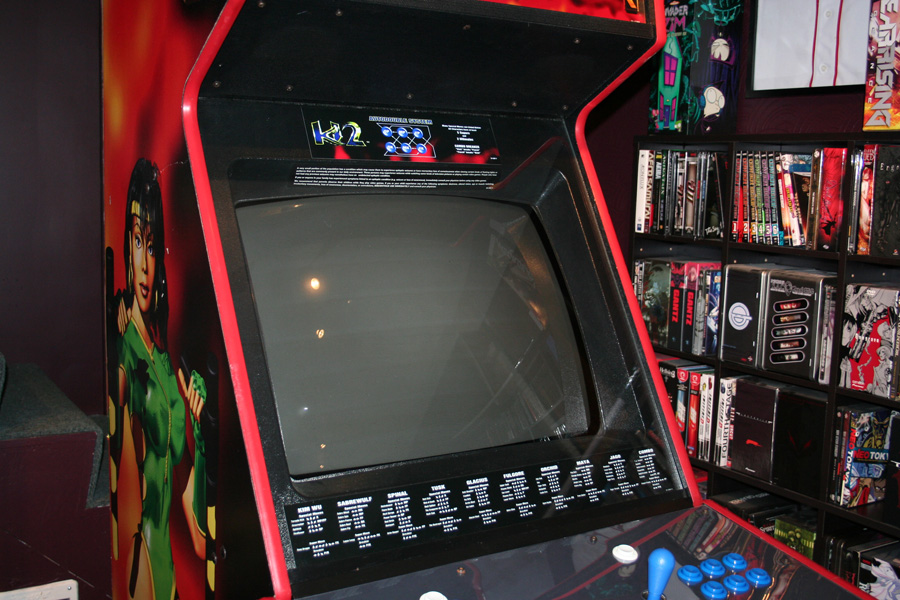
 Fully Playable!
So I've got all of the electronics fixed and rebuilt the cabinet has been washed clean of all the Turkey Hunter conversion stink, the last bit is to plug in the Killer Instinct 2 PCB I bought and fire it up:
Most people would stop here, but I'm not most people... I need things to be PERFECT...
Tuning the monitor.The convergence on the monitor was way out of whack because the yoke was lose (missing a few wedges) I replaced the wedges aligned the monitor and build some homemade convergence strips to improve the image. I couldn't get the convergence perfect but it's better than it was and everything is secured properly now so it wont be falling out of adjustment again. I also manually degaussed the monitor because it needed it badly.
Adding a light shield above the monitor glassit bugged me that the marquee light was leaking into the monitor glass, a small strip of poster-board and some staples fixed that easily.
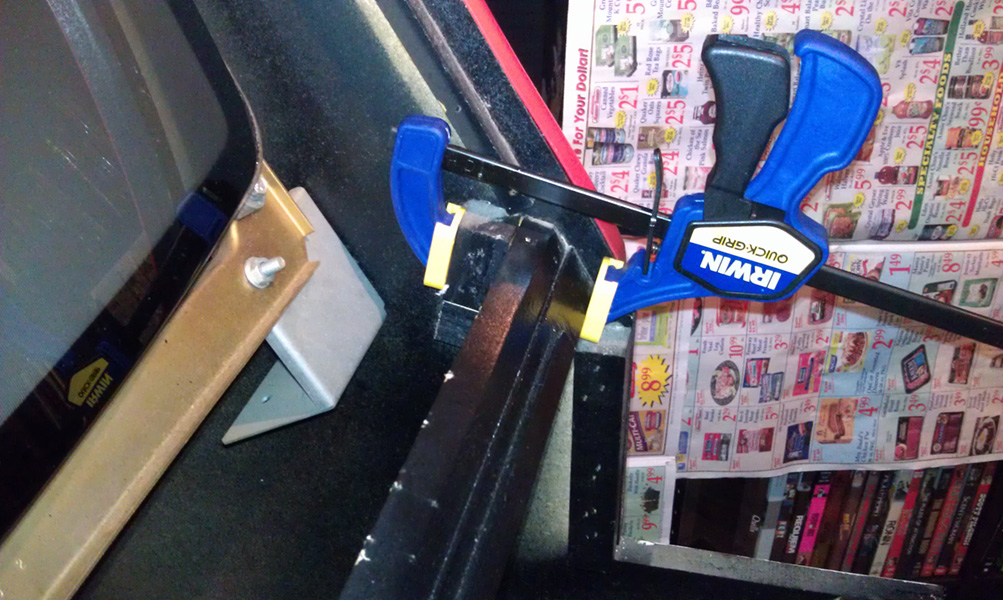
 Repaired some of the structural wood that was lose
this picture is of the monitor bezel and glass support, it was coming lose and twisting so I pulled it, put fresh nails in it one size larger and then glued it in place. Now the bezel even lines up with the monitor better than it did before.
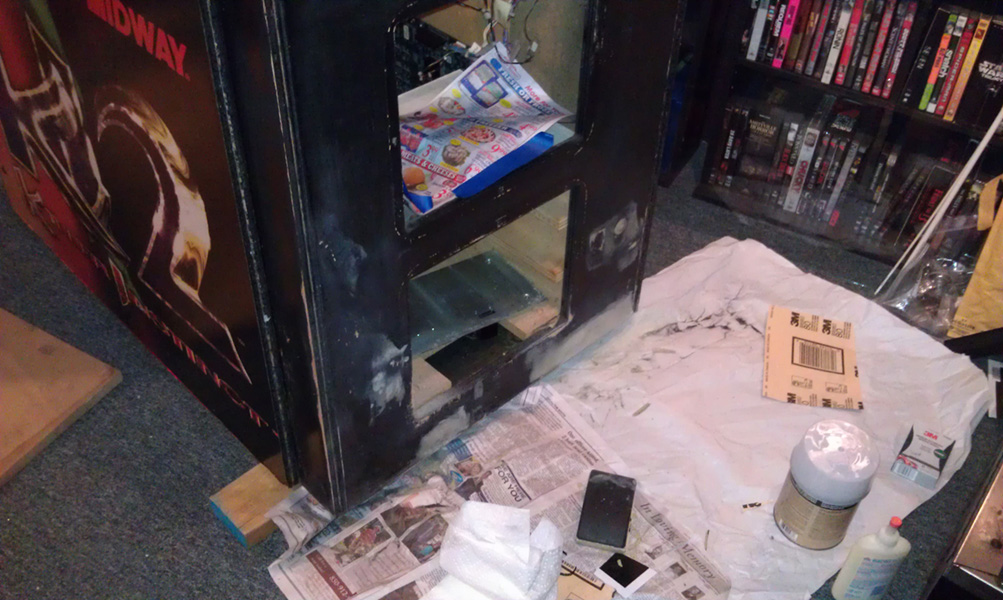
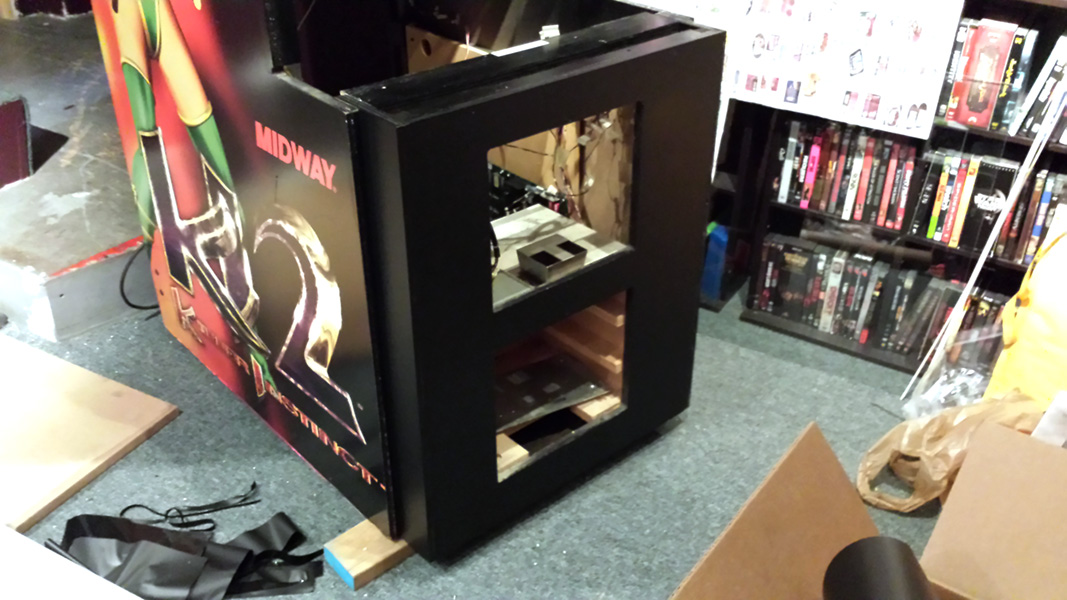
 Kick panel fill, smooth and wrap
.
I glued wooden dowels into the holes left from a lock bar, then I bondoed them smooth and filled some rough edges along the bottom. Sanded that and the black portion of the sides smooth. Once everything was dry and smooth I wrapped it in Matte-Black 3M Di-Noc Vinyl (the same stuff they use to wrap cars).

 Coin doors rebuilt
I sent all of the coin door parts off to a powder coater to be sand blasted and repainted. The rest of the parts I the parts cleaned and rebuilt, even put some fresh bulbs and new locks in there.
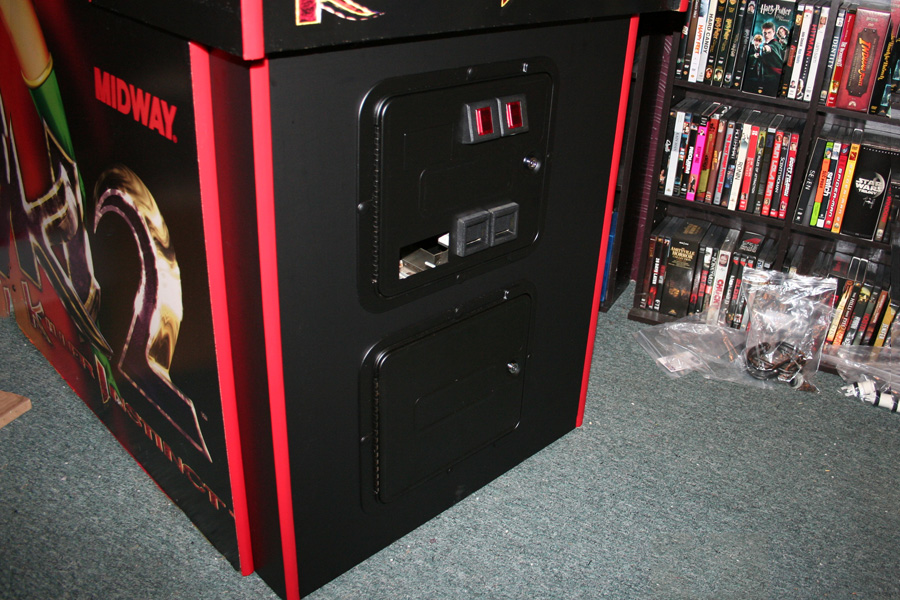
I also sent out the metal monitor glass brackets to get stripped and repainted and replaced the foam cushion here as well so now there is a perfect ridge for stacking your quarters on the glass
 Touch up paint
I used Elmers paint pens to fill in some gouges, scuffs, and scratches on the side art and control panel box. I'd like to replace the control panel box art but I can't find any NOS art or anyone who sells repos so for now the touch up paint will have to do.
for reference here is what it looks like before the touch up paint:
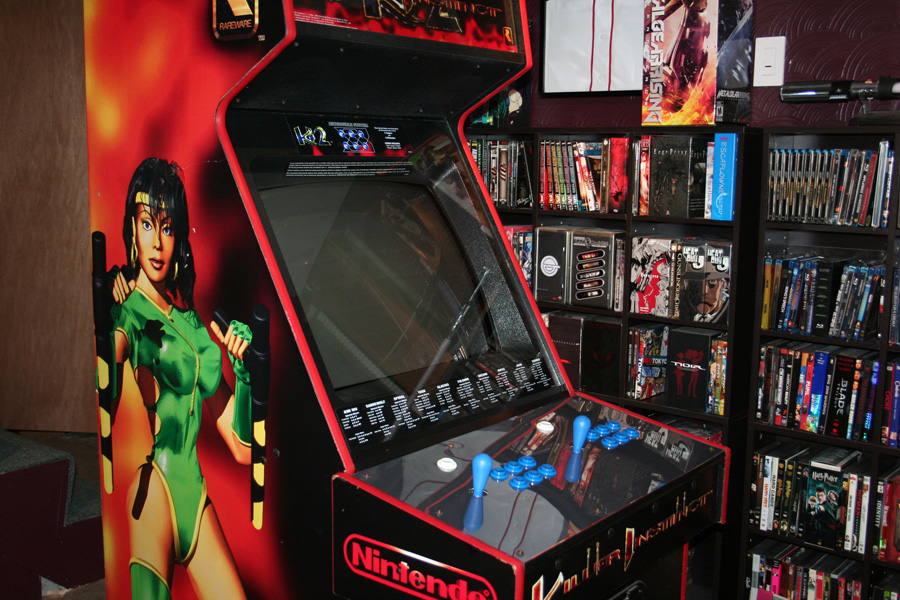
 All new fresh T-Molding
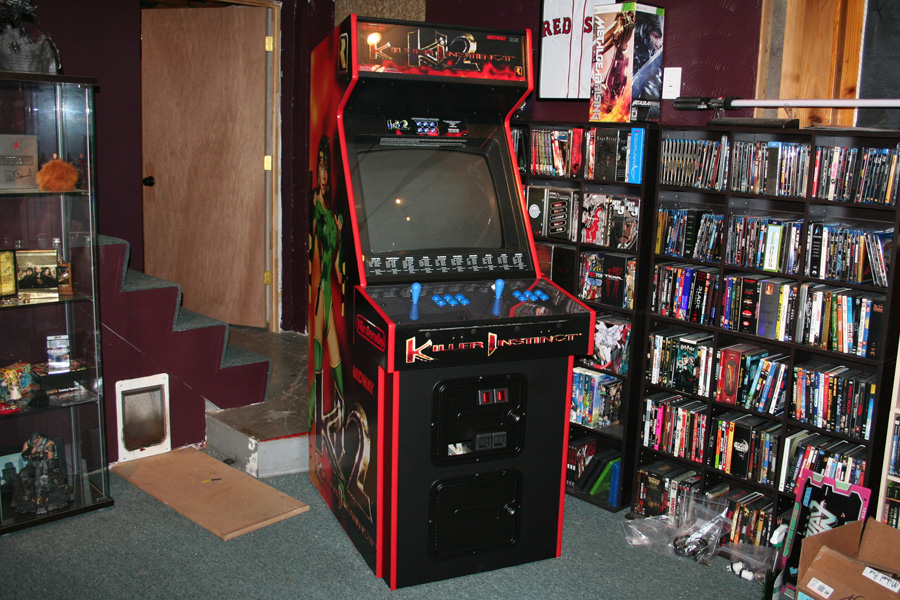
There is where I'm stopping for now, there are a few things that still need to be done but I can't do them until I find the parts...
- I need a coin door blank to fill in the bill validator slot
- I need a control panel overlay to replace the matte black placeholder I have there now (I'm currently working with ThisOldGame on this)
- I need a midway 120mm fan mount for the cooling fan (I may try to design one in CAD and have it 3D printed)
- Not needed but I'd like new graphics for the control panel box front and sides
Sadly none of those parts are readily available so I'll simply have to keep an eye out and buy them if and when I see them pop up for sale.
Thanks for reading


 Home
Home Help
Help Search
 Login
Login Register

 Send this topic
 Print
Print Topic: Killer Instinct 2 Deconversion (Restoration) (Read 21706 times)


