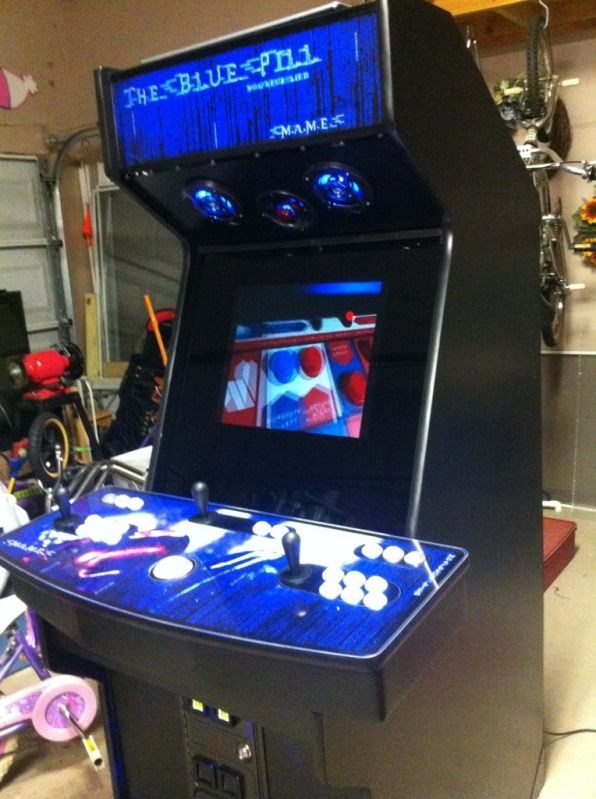
Just a quick update...a couple things happened over the last week. First, my plexi arrived from TAP Plastics. I got the 3/16" solar grey. When I say this made all the difference, I mean THIS MADE ALL THE DIFFERENCE. From what it was....a project in my garage....

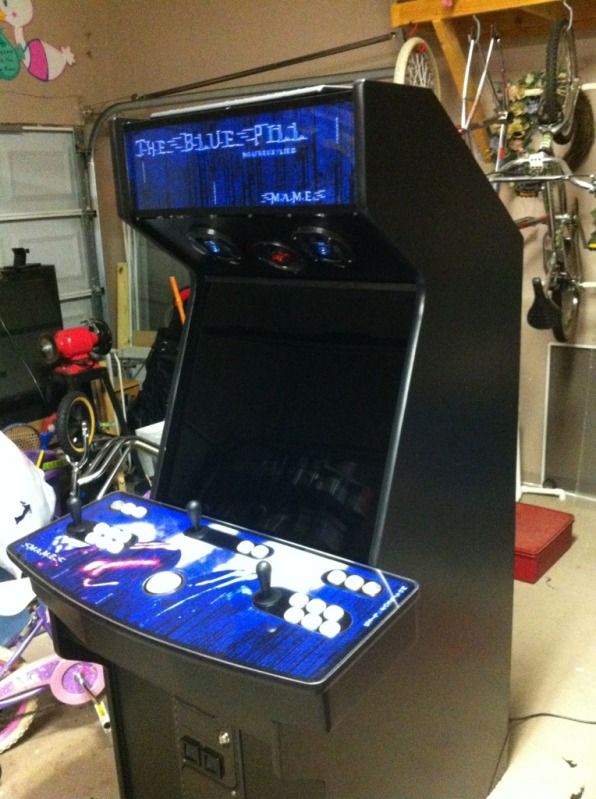
To something that my neighbors keep thinking is a purchased cabinet, or at the very least, a kit...
For those that have been paying attention...the LCD mount was a knohbody design (it came from his bartop see here:
http://forum.arcadecontrols.com/index.php?topic=116253.0)
My idea was to create an entirely modular LCD mount that comes out as one piece, including the glass. So, I used knohbody's idea of using the 3/4" MDF as the actual bezel, routing the back to accept the monitor almost flush, then mounting the glass to it. This allows me to pop out the entire monitor mount after just unplugging the VGA and power cable to the LCD. Look further up the build thread for specifics about the mounting process.
The glass will be held on with 1/4" J-channel found in your local Lowes bathroom section. (
http://www.lowes.com/pd_197443-13437-5042_0__?productId=3019540&Ntt=mirror+channel&pl=1¤tURL=%2Fpl__0__s%3FNtt%3Dmirror%2Bchannel&facetInfo=)It's normally used to hang mirror on a wall. I got 4 feet for $4.88. It was cut, then painted with (what else) Rustoleum Hammered Black.
Remember, I installed the mount so that it would exit this way:
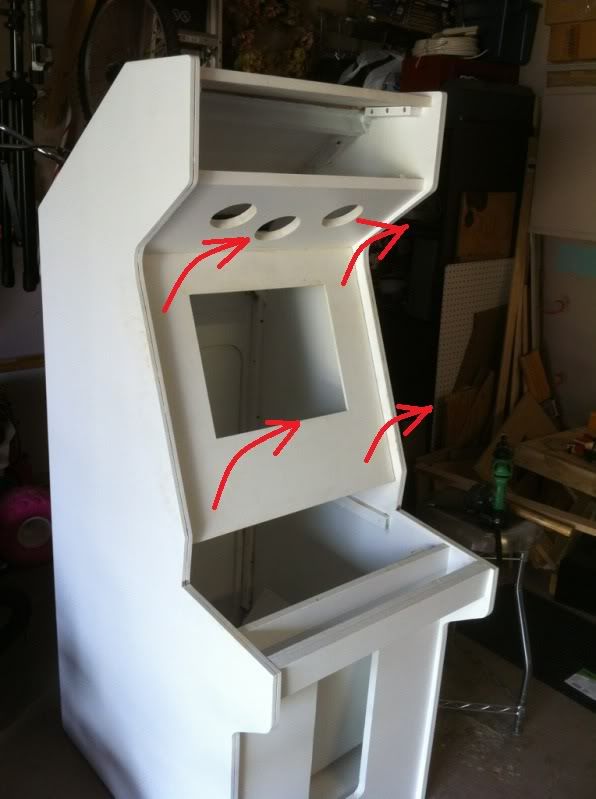
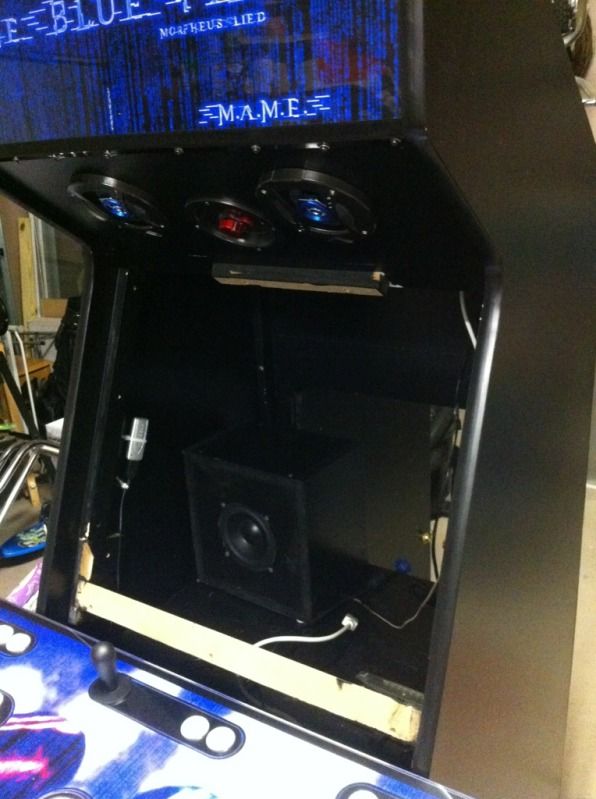
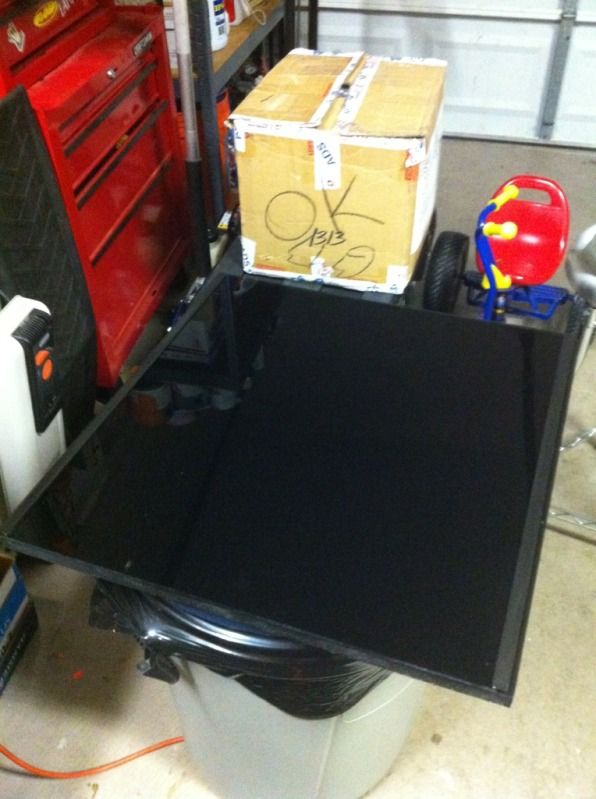
So, after I remove the mount, I get a hole (that silver thing on the wall of the cab is a Netgear USB wireless adapter):
And here's the actual mount.
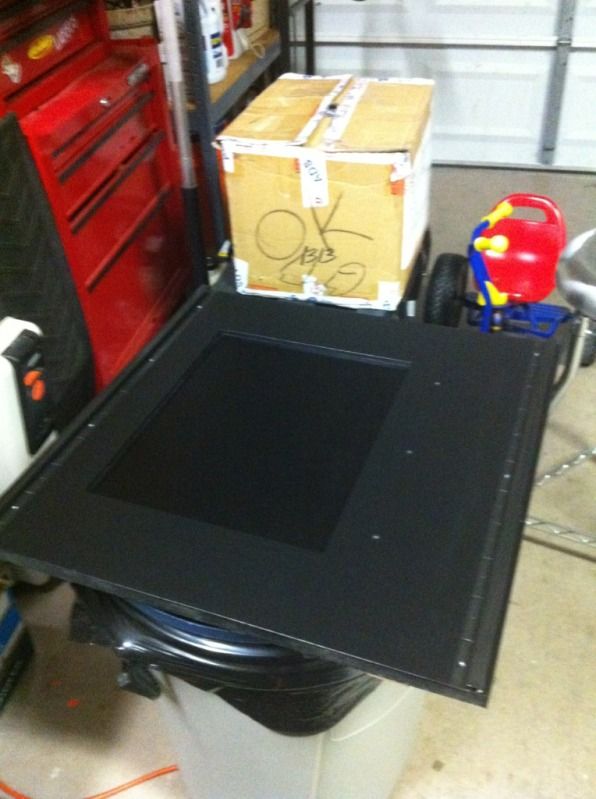
The glass is then simply slipped into the J-channel from the side...
Then, the mount is simply installed back into the machine...
I was going to put 2 buttons through the bezel and plexi....one Pause button and one Esc button, but I decided against it. Since we've been using it without those buttons and using shifted buttons, the kids are used to the shifted buttons now. I'm glad because I think the plexi is def.
After getting the monitor brightness and contrast set, here's the end product.
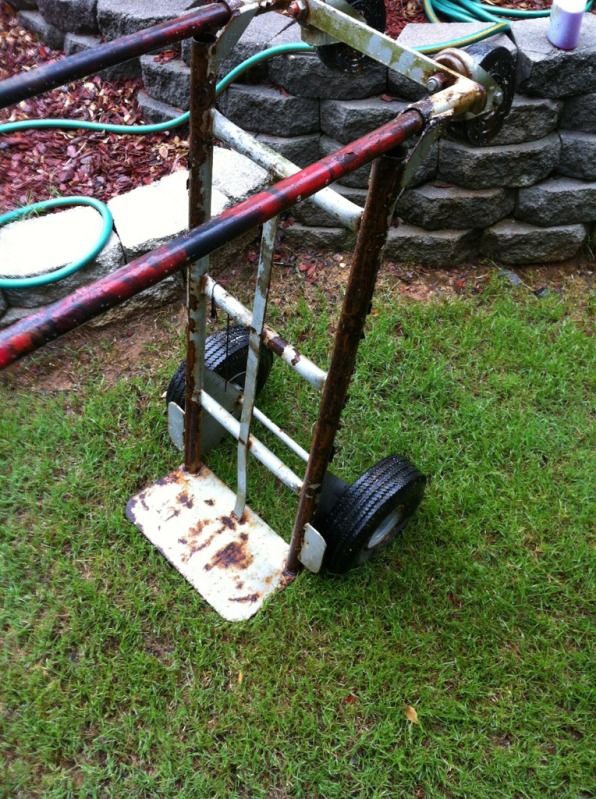
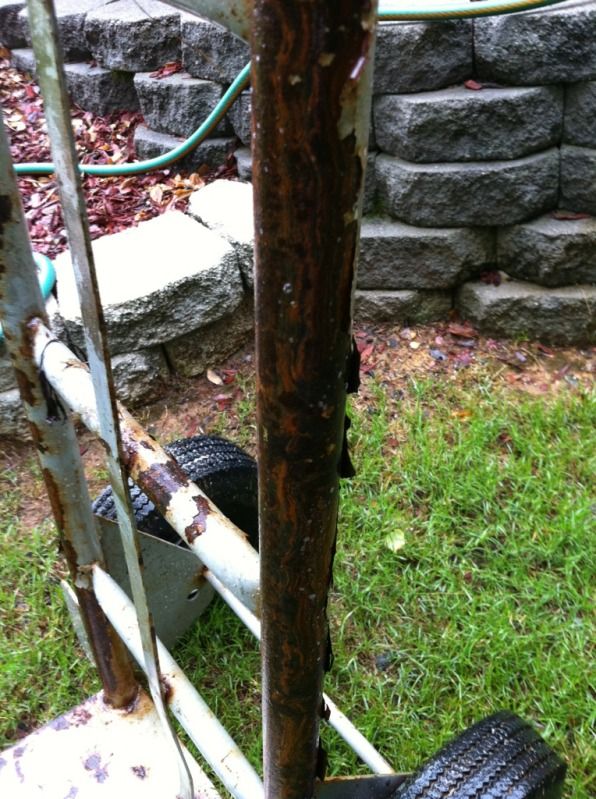
I've also completed the restoration of the Blue Pill Mobility Device. It was pretty much a wreck...

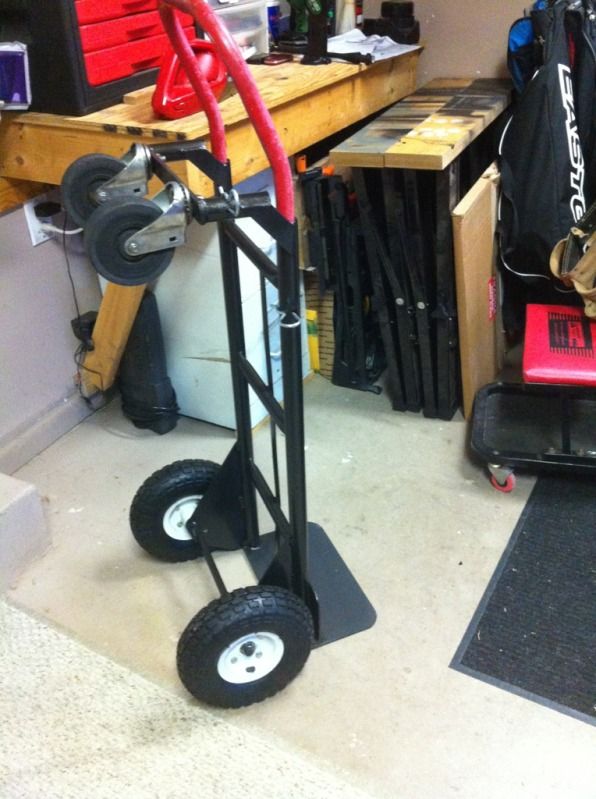
But, with an excellent $4.89 coupon for 10" tires from Harbor Freight, a half empty can of Aircraft Stripper and a leftover can of Rustoleum Hammered Black, I now have the ultimate Blue Pill Mobility Device....hahahaha. No wonder my wife and neighbors think I'm nutz.

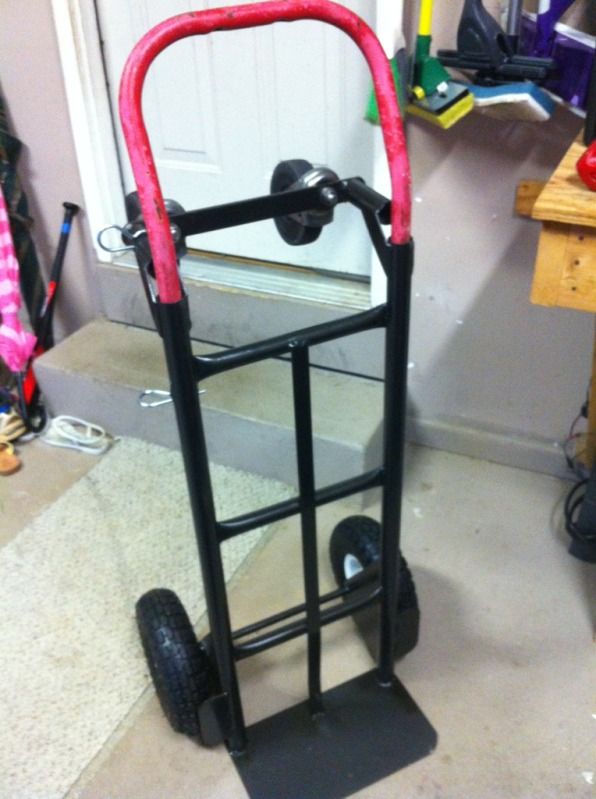
I mean c'mon....would you put The Blue Pill on this thing?
I'm working right now on my "reveal" video. Yet another thing I have to learn. I'm thinking I'll do some short 3 minute jobs highlighting the unusual or unique stuff I did (as well as how to be cheap.

) and one final video highlighting the overall build.
Thanks all! Looking forward to my next one!
AJ


 Home
Home Help
Help Search
 Login
Login Register

 Send this topic
 Print
Print Topic: The Blue Pill (Morpheus Lied)...Complete after 4 months!! With VIDEOS!! (Read 39582 times)


