I had to take a knee and face out for 10 days or so as far as construction progress goes because I was nearing the end of the semester and had a lot of meaningless unimportant papers to turn in so I can graduate this summer. All I have left now is finals so plenty of time to work on the project. By the way, I'm totally calling this Micro Star Wars now instead of Mini. After working on this yoke and discovering I'd rather be rubbing my face against the the pavement I feel that mini doesn't do the scale justice but nano would make me seem melodramatic. Micro it is.
Updates:
Yoke construction was an absolute ---smurfette--- and is ongoing. Due to the gauge of wire vs diameter of available tubing combined with length of X axis axle needed to fit everything and still have it turn freely with wires hanging the sides of it I had to assemble onto the cab. Still I am thrilled with how it is coming out. Let's look at some pics.
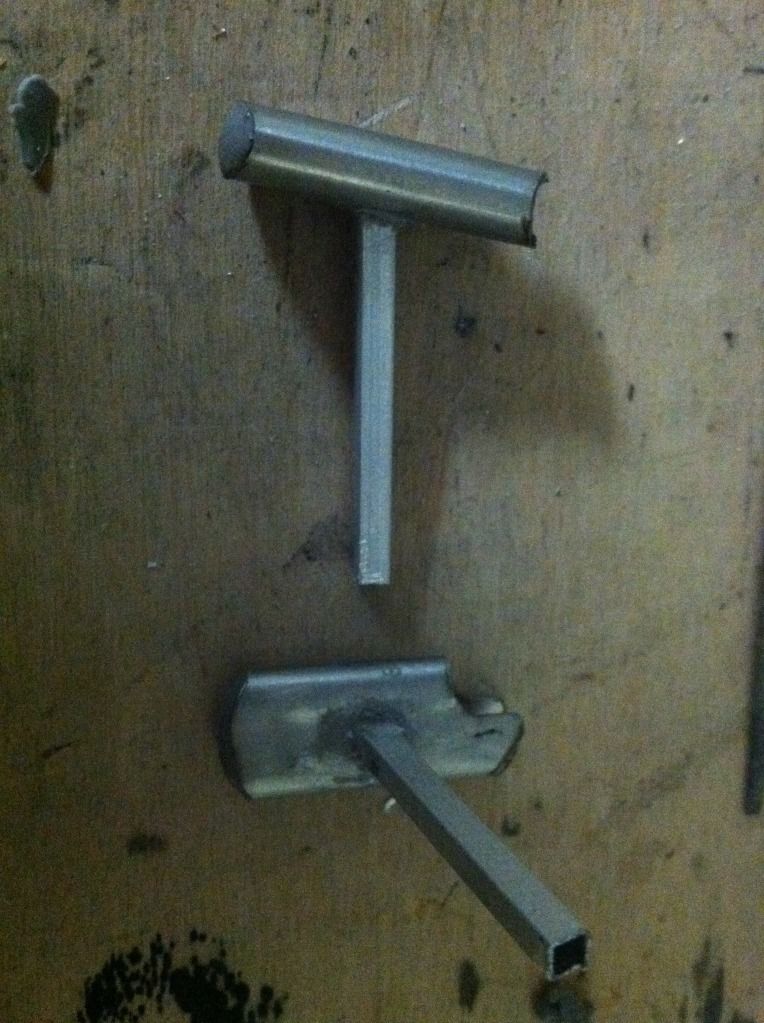
These are the handles I ended up making, they are compressed tubing with the butts filled in with sculpy and baked. The switch will feed in through the top and then be caped off with some two part air cure modeling compound. The last bit of touch up painting will have to be done on the cab so I will have to do a good tape job when the time comes.
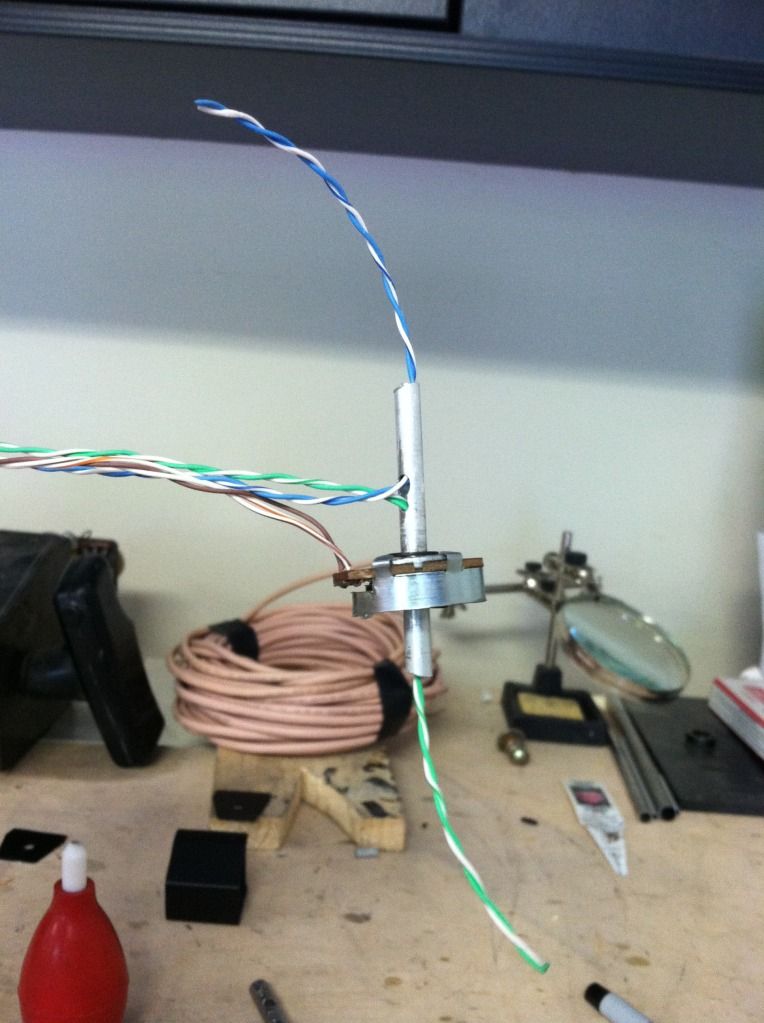
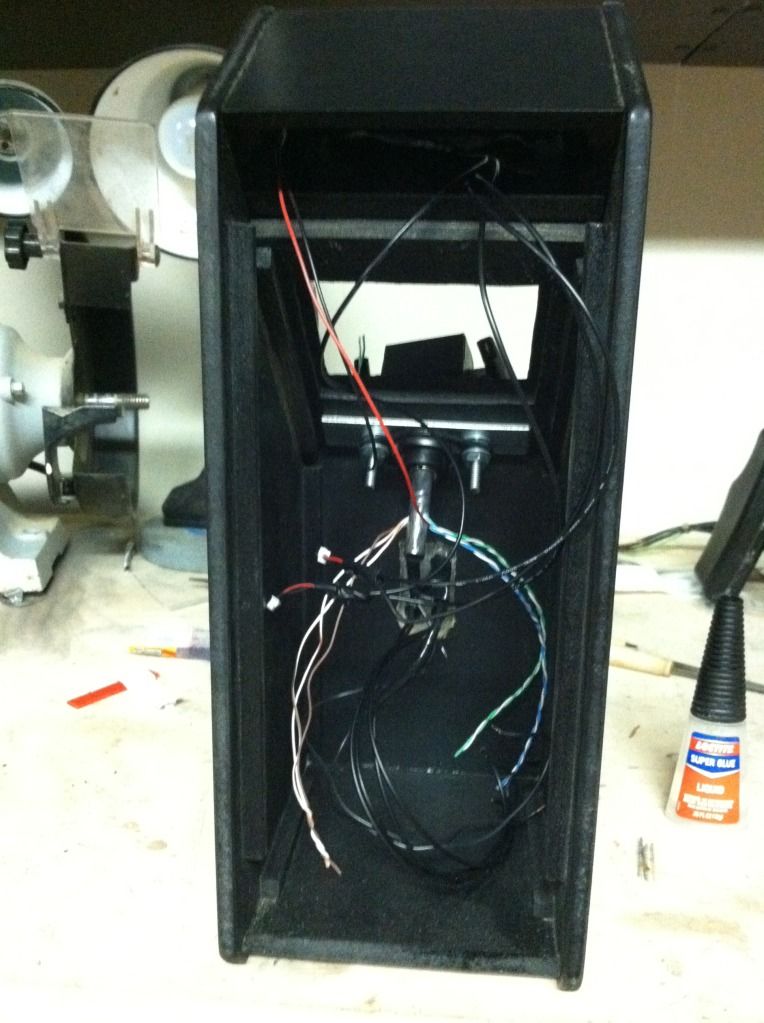
This is how the Y axis axel, pot, and trigger wiring looks out of the yoke. The green and blue cables and to be removed and threaded once installed so I could get the X axis axle onto the Y. Confused? So am I.
I stopped in the middle of wiring to get a quick pic. This took me a surprisingly long time to get everything threaded.
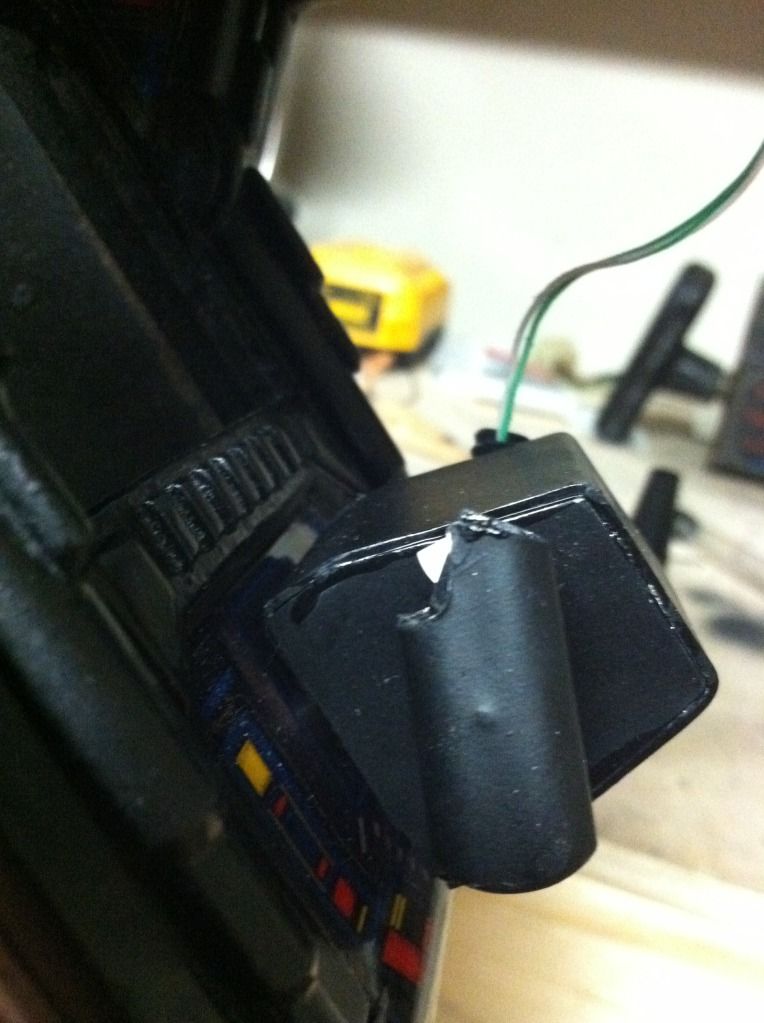
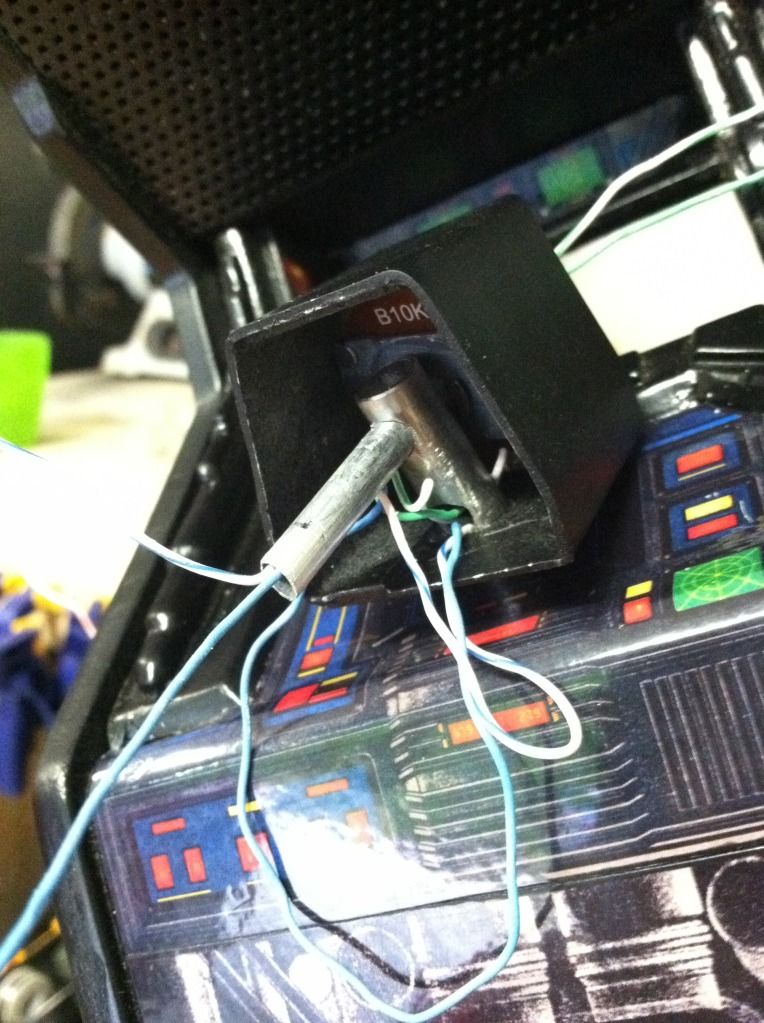
Here's one handle and trigger installed waiting to be puttied. The yoke body also needs another sanding to clean up glue marks and will catch a fresh coat of paint with the handles.
I've got the marquee light bar, speakers, and coin door installed and ready to wire onto the main board. The X axle needs to have the X pot attached at the end and I need to fabricate a bracket to attach to the collar bolts to keep the pot body from turning. That should be fairly simple tho. I did test fit the monitor and board, everything will go in well and the board will be against the left hand side of the cab with the battery on the floor.

So this is where I am so far. The other trigger switch seems to have up and walked the ---fudgesicle--- away so I'll be dropping by RS to pick up another. Still a lot to do but starting to see light at the end of the tunnel.


 Home
Home Help
Help Search
 Login
Login Register

 Send this topic
 Print
Print Topic: STAR WARS MICRO Complete with video! (Read 140013 times)


