It's not arcade related, but I figured that since we're all geeks to one extent or another someone might be interested in this. I finished this back in December, but couldn't find the time to put all the pics together. enjoy!
So I decided to build myself an MP3 player as a little project. It ended up taking more time than I hoped it would, but it turned out pretty good. Its an NES controller with a 4GB Coby MP3 player gutted and transplanted inside. I know this is not original at all, its been done before but I really took my time on it and I think its turned out better than any other ones Ive seen online.
On to the progress pics
(Im a crappy photographer.. )
Heres the controller in its original state. I decided to try out something Ive wanted to do for awhile. I mixed up some RetroBrite,
http://retr0bright.wikispaces.com/. This stuff is supposed to work wonders for getting the yellow out of old consumer electronics. It worked pretty well for me (although it wasnt in very bad shape to start with.
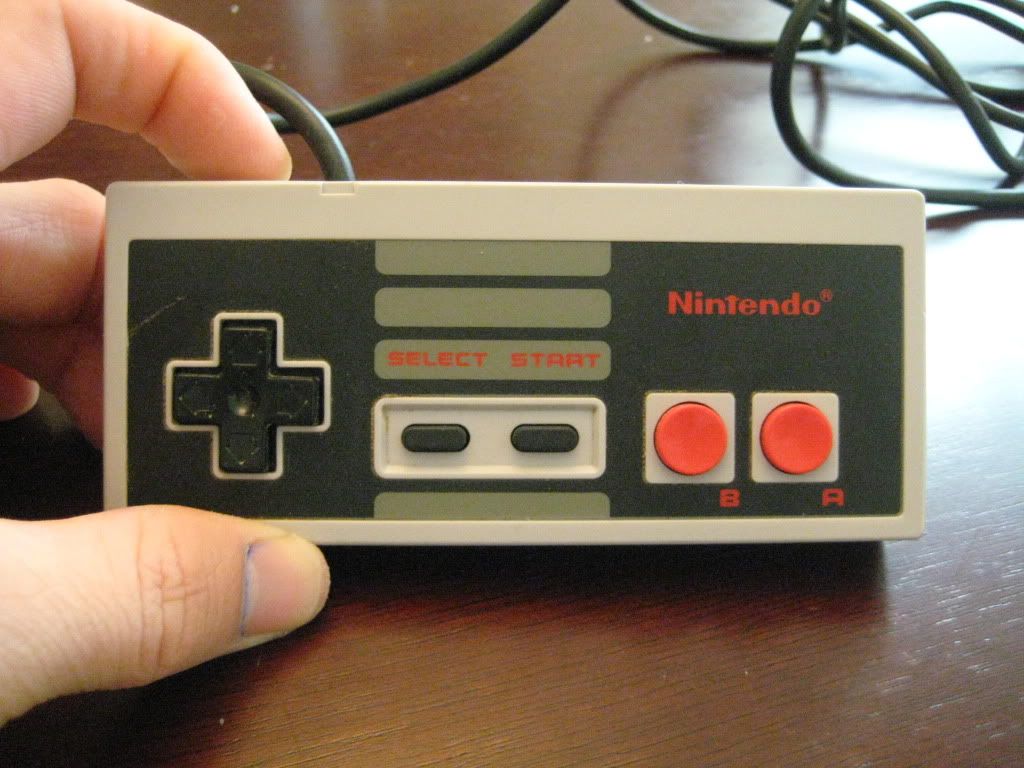
sitting in the sun waiting for reaction to work its magic

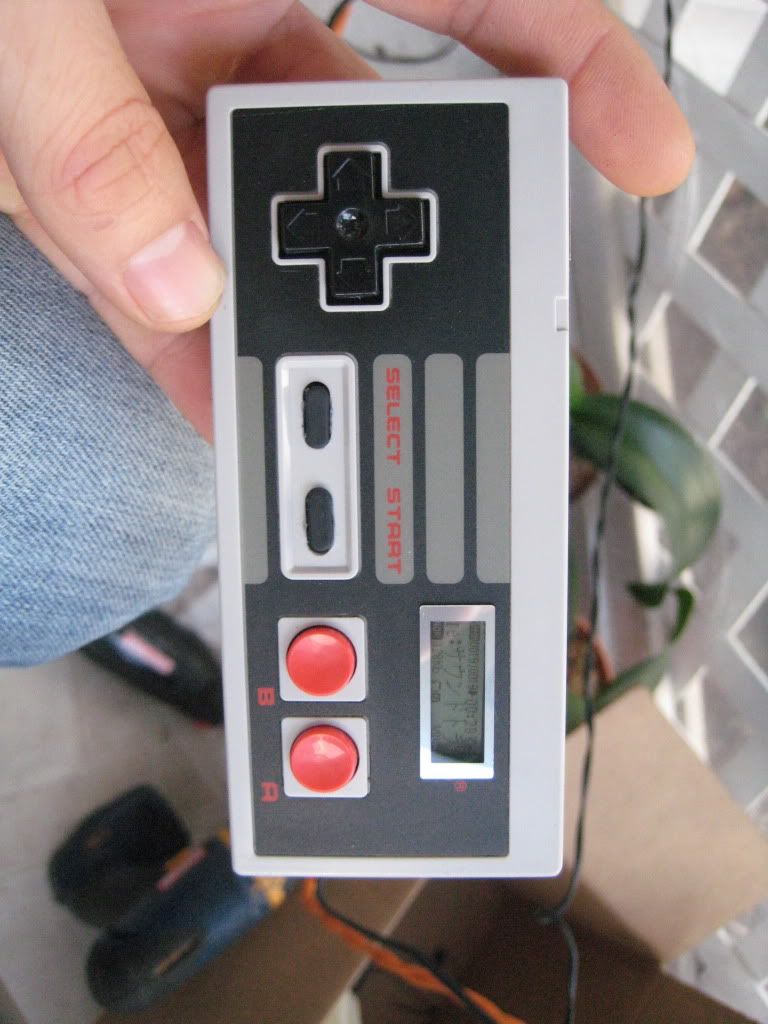
finished product
original MPS player (Coby 4GB, $20 ebay)

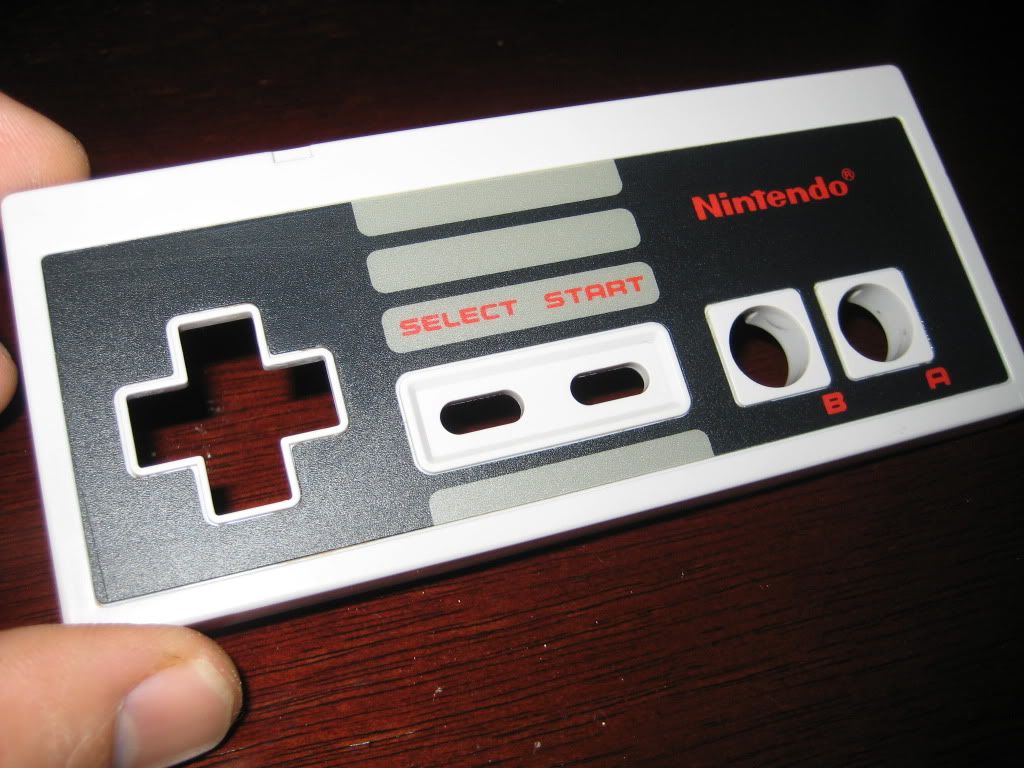
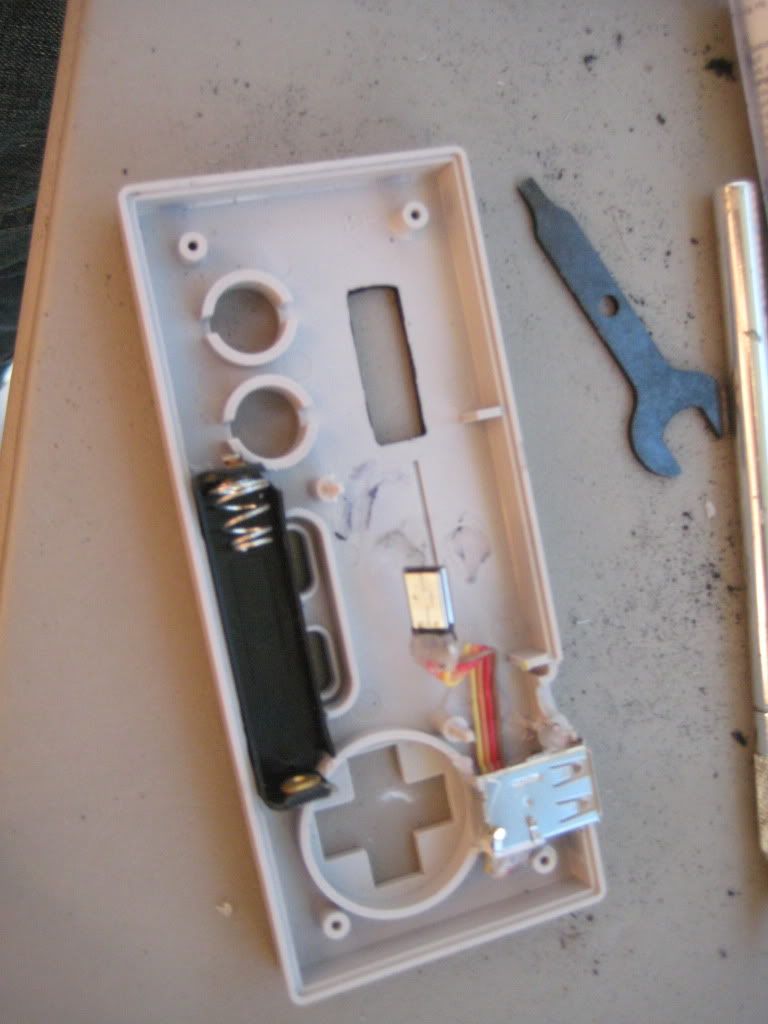
innards exposed
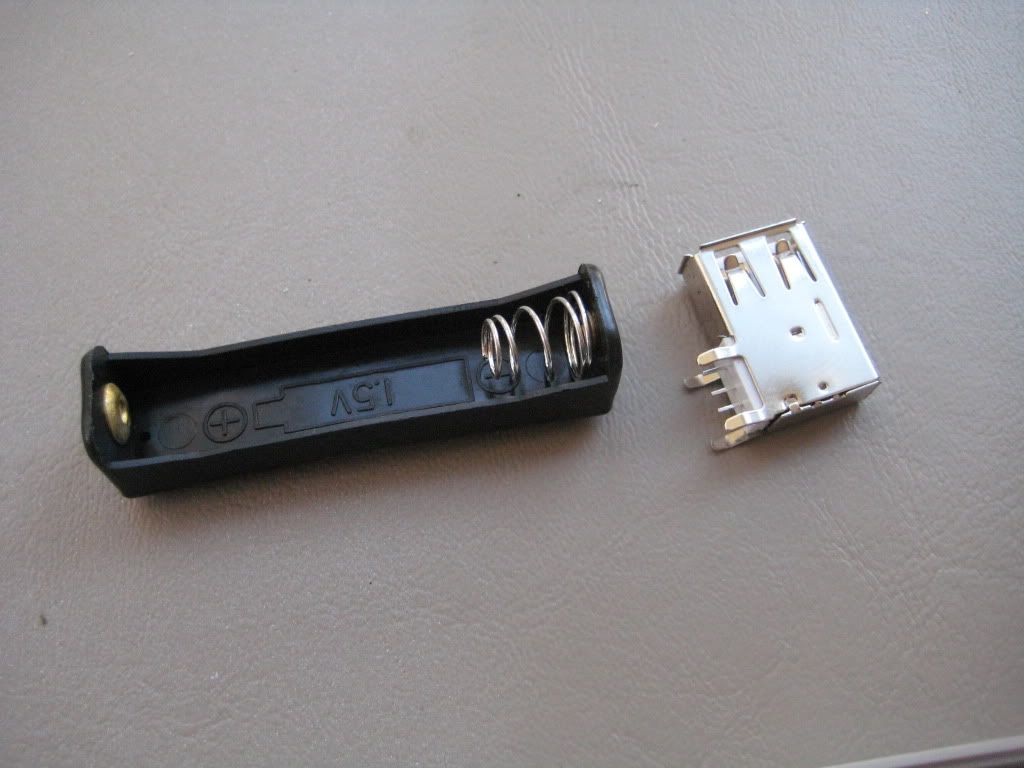
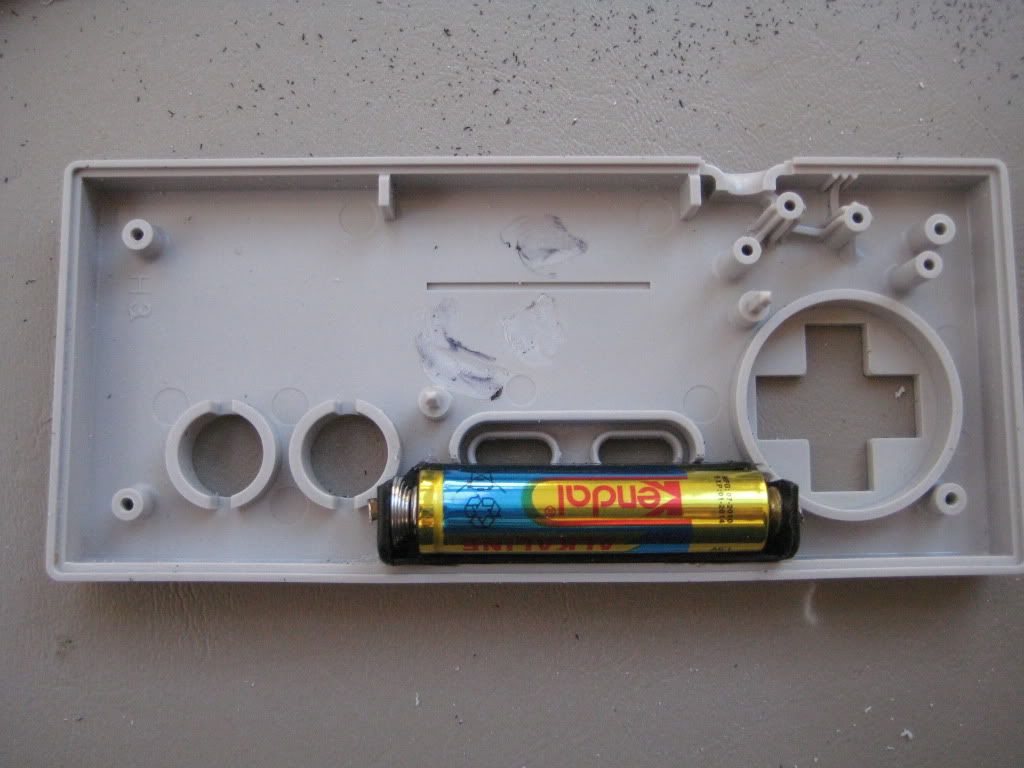
battery holder and USB jack
feeling out the battery placement. Some plastic removed with the Dremel.
hole cut out for USB port (slow and steady with the Dremel. I like to use some masking tape, and draw my line on the tape with a Sharpie. The tape is there to save the plastic if your hand slips at all). Always measure 23 times before you cut! Headphone jack just fits right where the cord used to be.

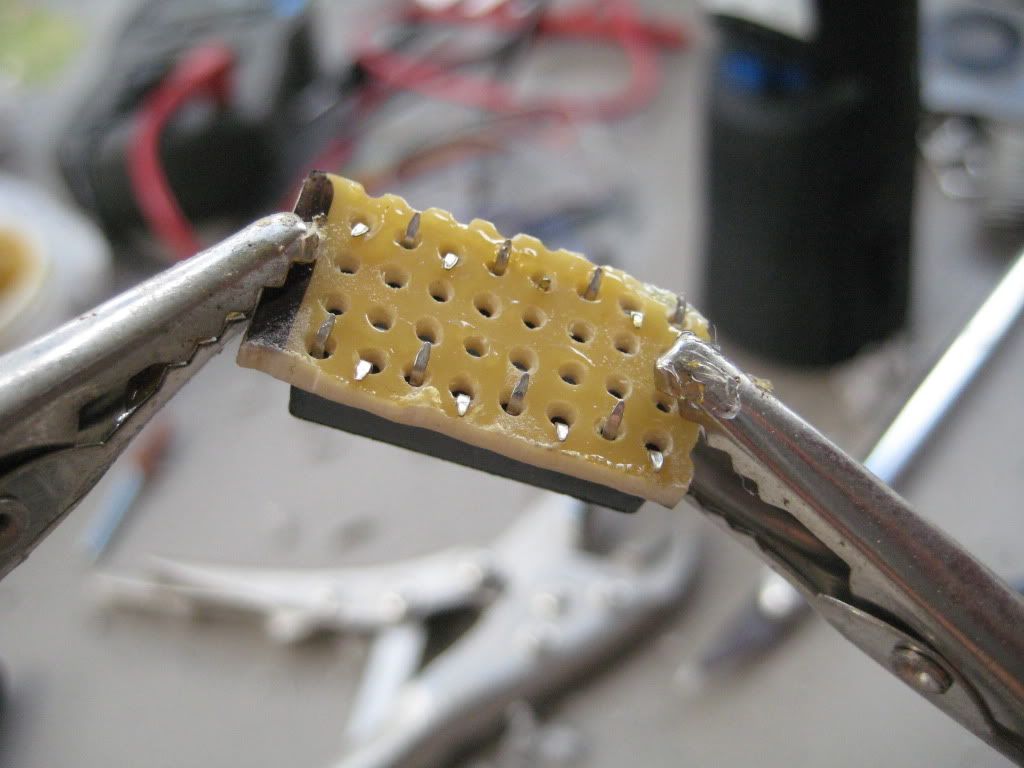
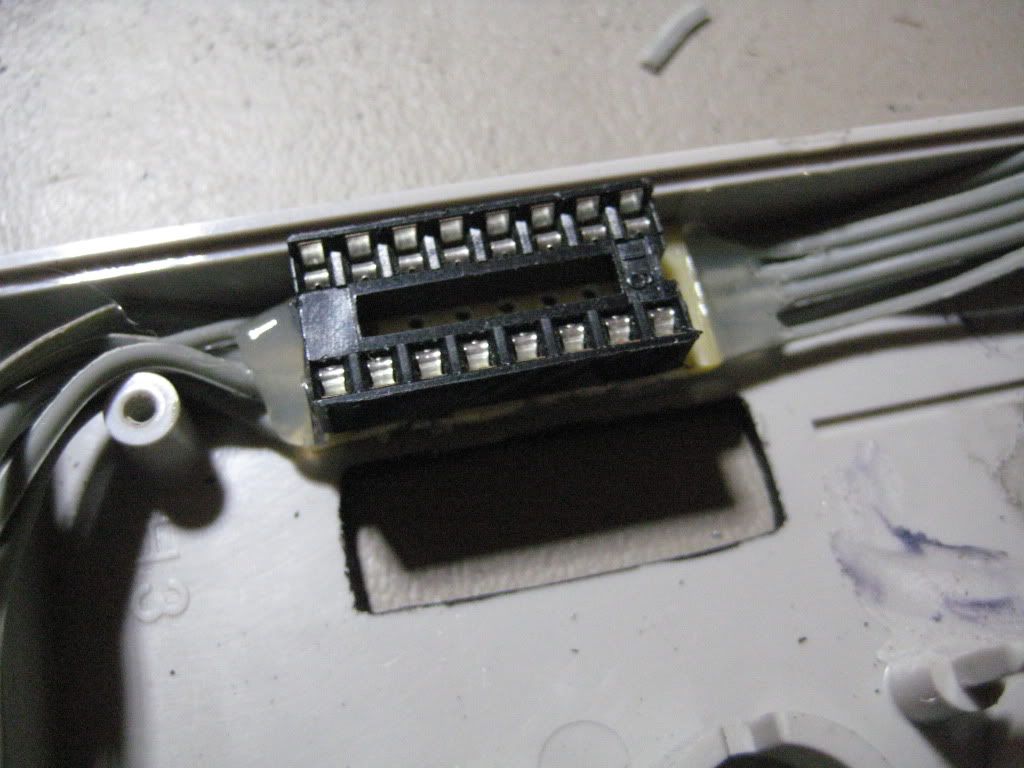
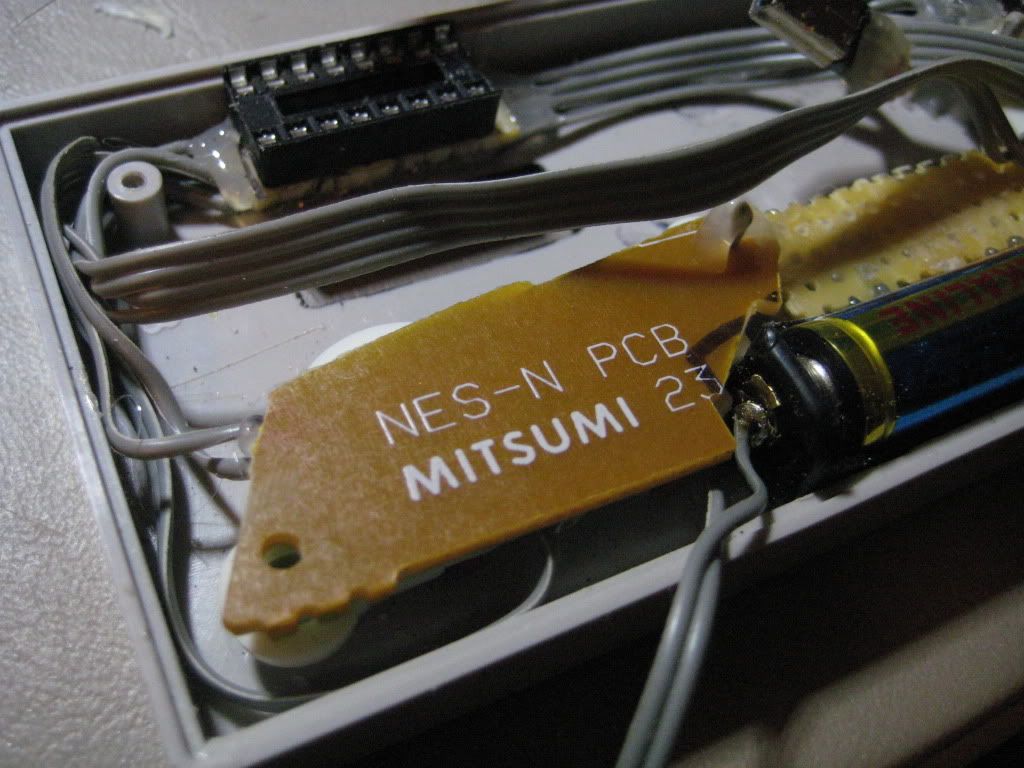
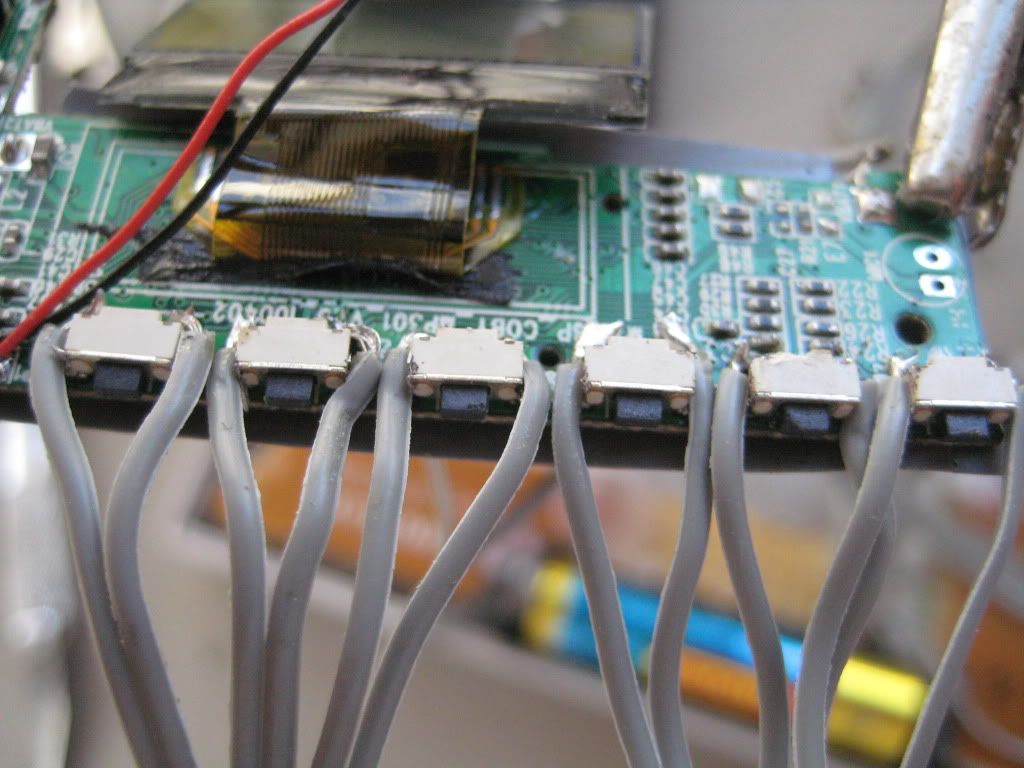
used a 16 pin IC holder as a way to organize wiring a little bit. The wires from all the NES buttons are soldered to the pins that sticking through the board. On the other side the wires to the MP3 PCB. This might make sense later.
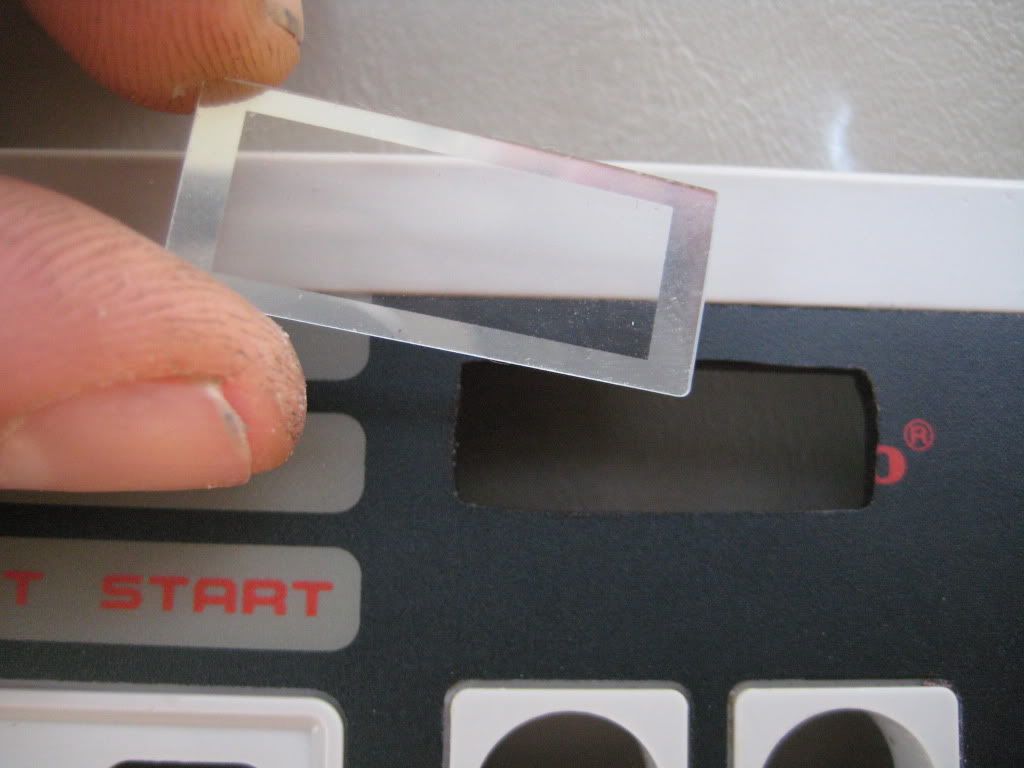
plastic window scavenged from the MP3 player. The silver bezel hides the imperfect cut.
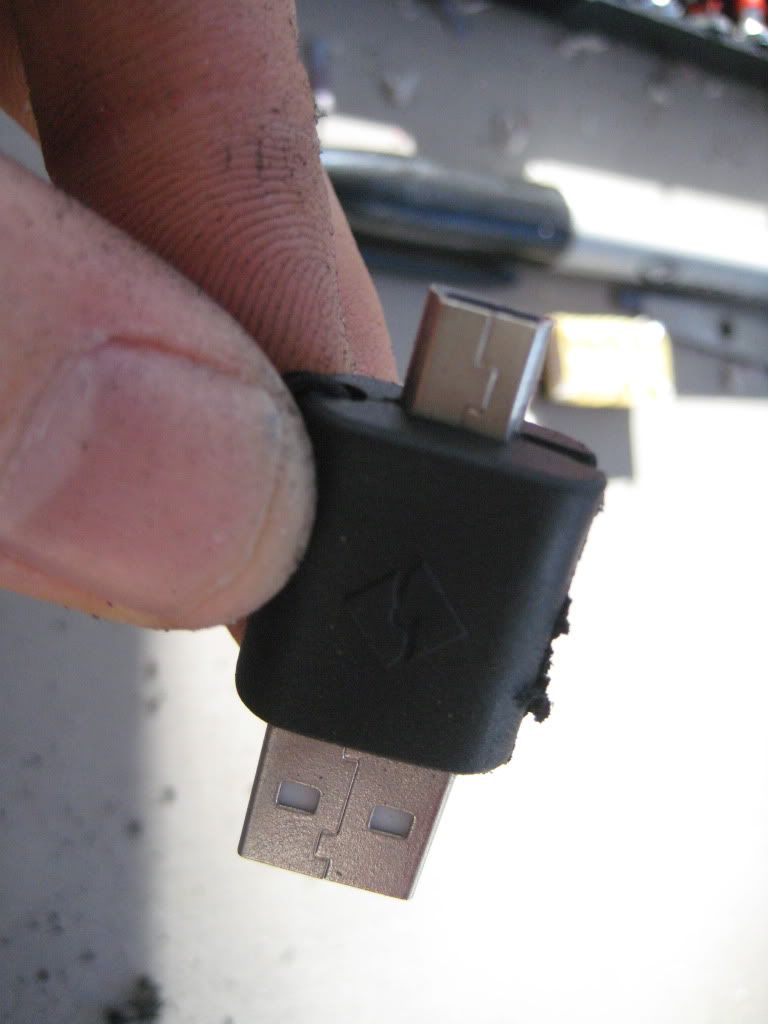
The player has a mini USB jack. Its way too small for me to try and wire directly to. So I scavenged the Mini USB plug from this adapter that came with the player. I cut away the plastic to expose the leads underneath. Wires go from the Mini USB plug to the regular USB jack pictured earlier. Then the Mini USB plug goes into the jack on the player.
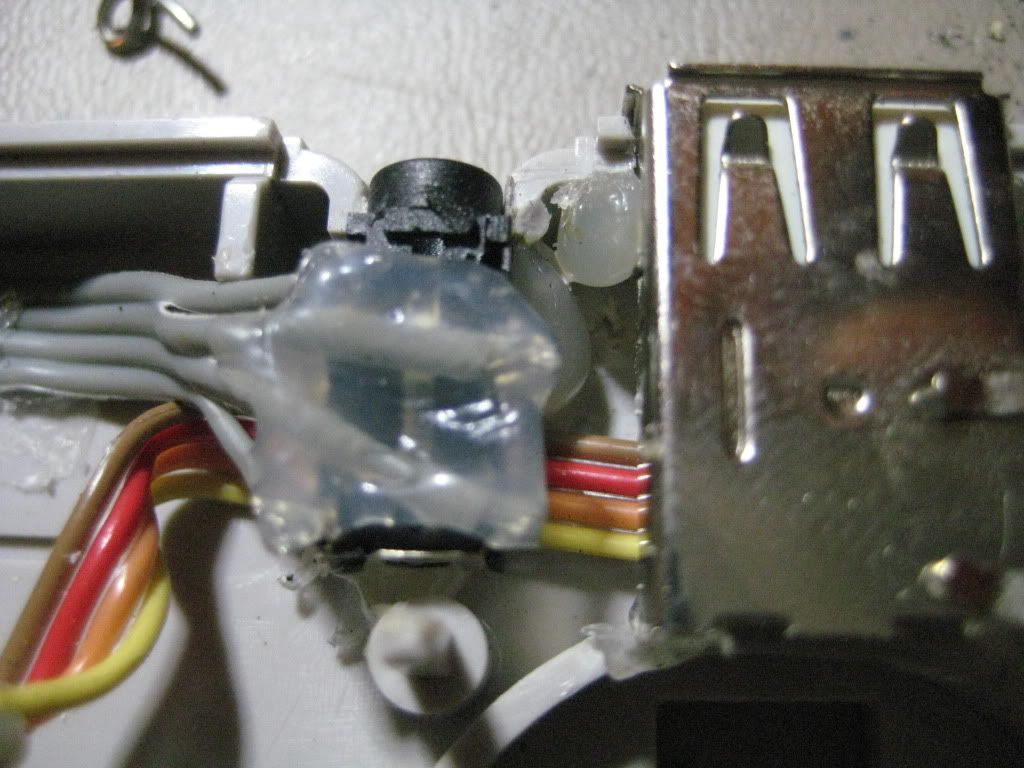
close up of headphone jack and USB jack wired up. Hot glue is essential!
Ive done one of these before but I used small tact switches for the buttons. They work great, but it doesnt feel like an NES controller. So this time I wanted to keep that same feel. So I cannibalized the NES PCB (did I mention I used a broken controller? Dont worry I wouldnt ruin a good working one.) Originally I thought that if I just wired up to the contacts that the buttons would just work (2 wires per button, the player PCB isnt common ground. I found that out the hard way the first time I built one of these).
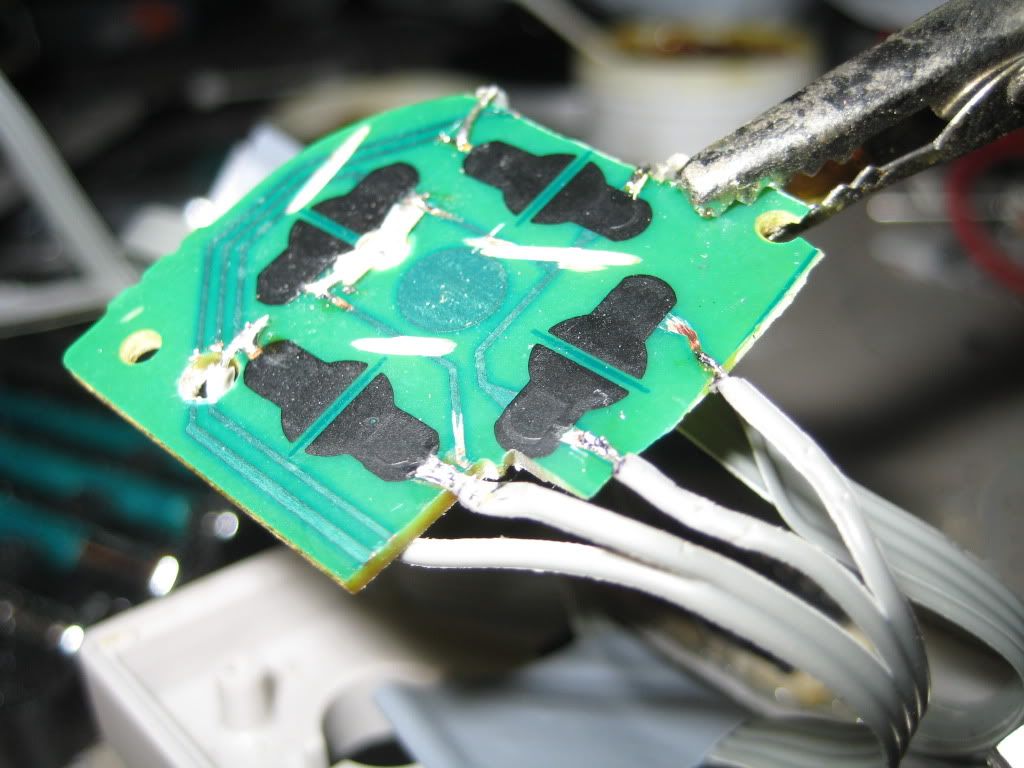
That didnt end up working. I dont know exactly why, but I came up with a pretty good workaround. I just scraped off all that black stuff from the contacts to expose the bare copper.
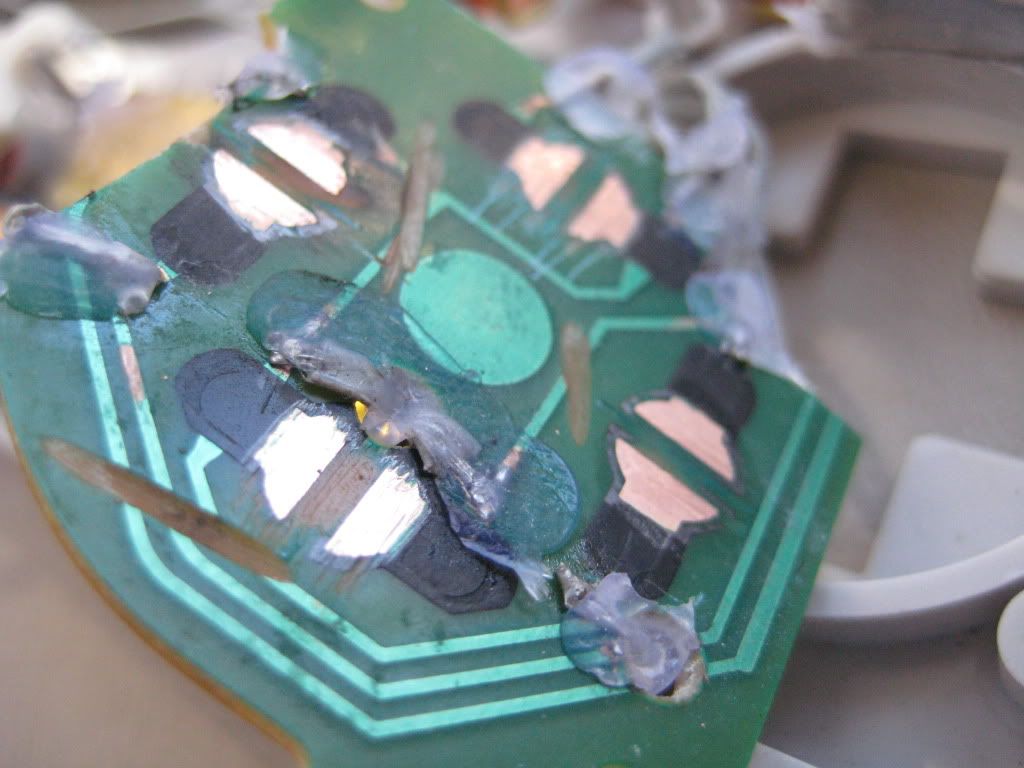
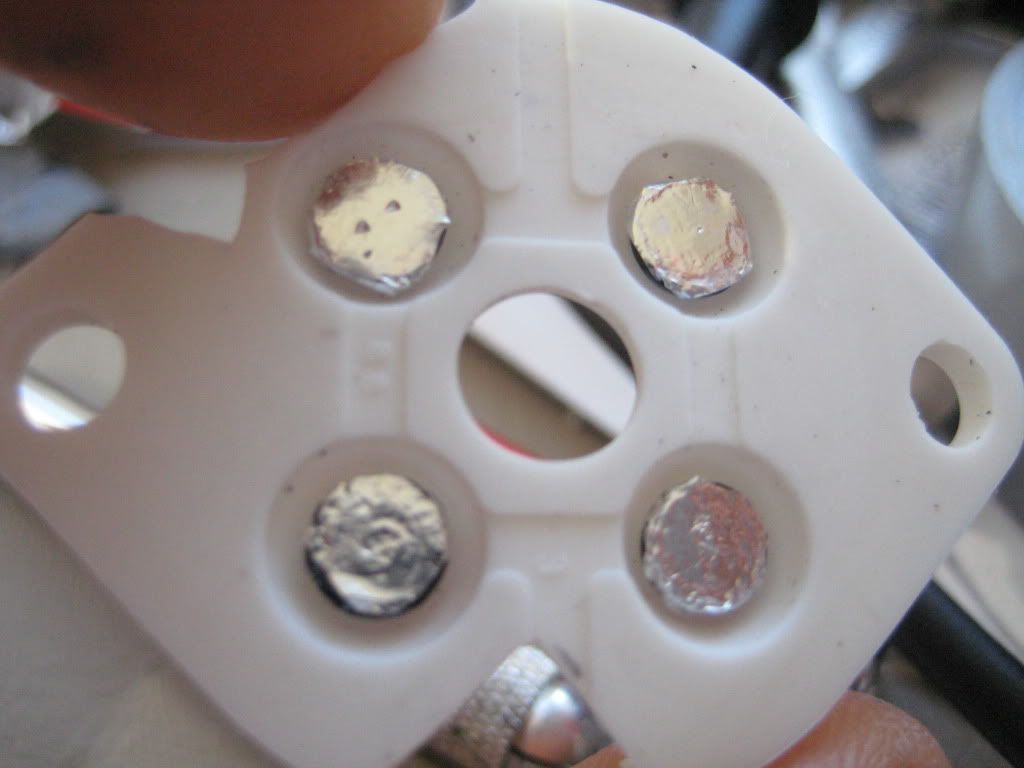
then I cut out little circles of aluminum foil and superglued them to the rubber pads that depress when you push a button.
directions and A,B wired up and in place
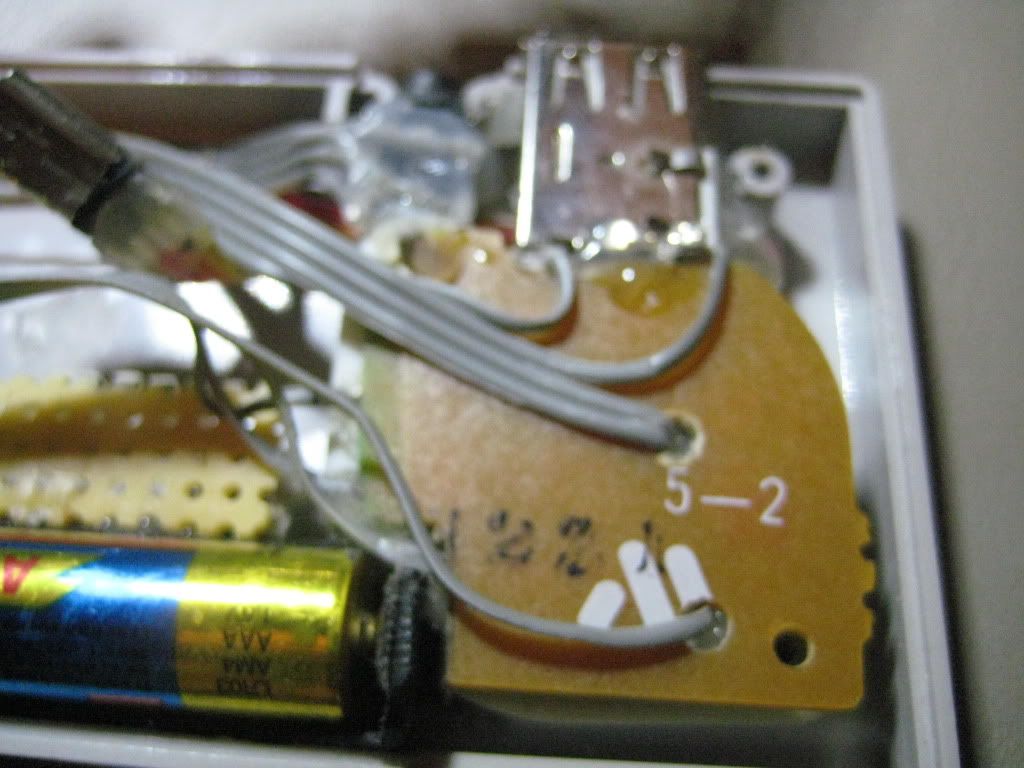
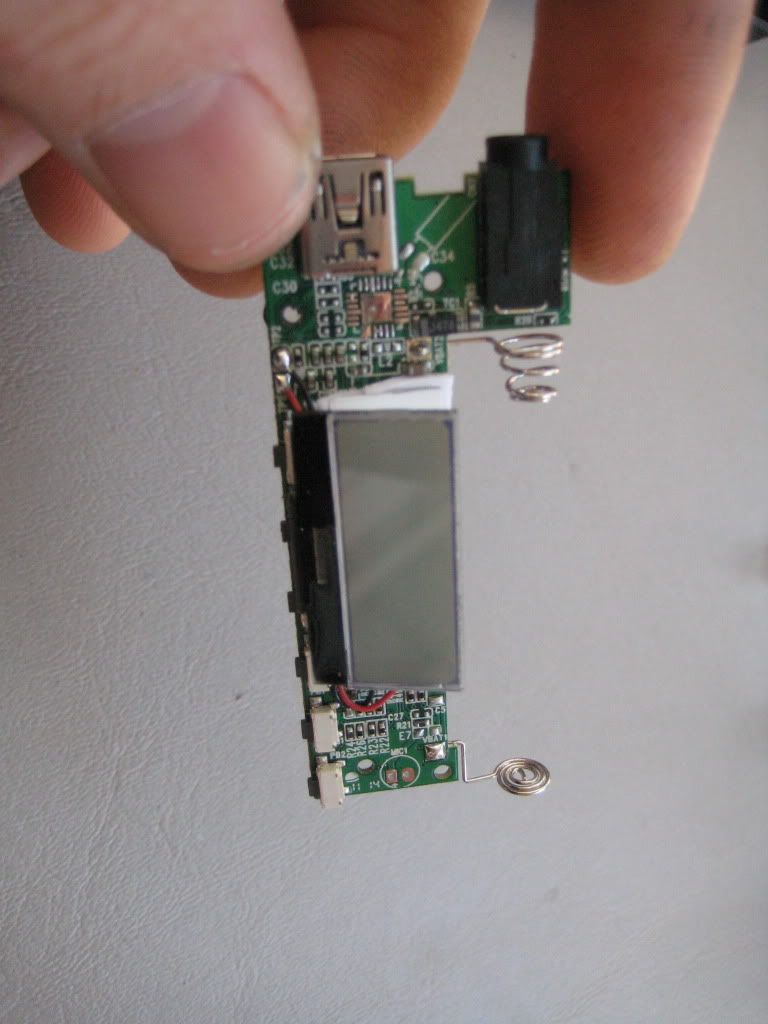
wired up to MP3 PCB
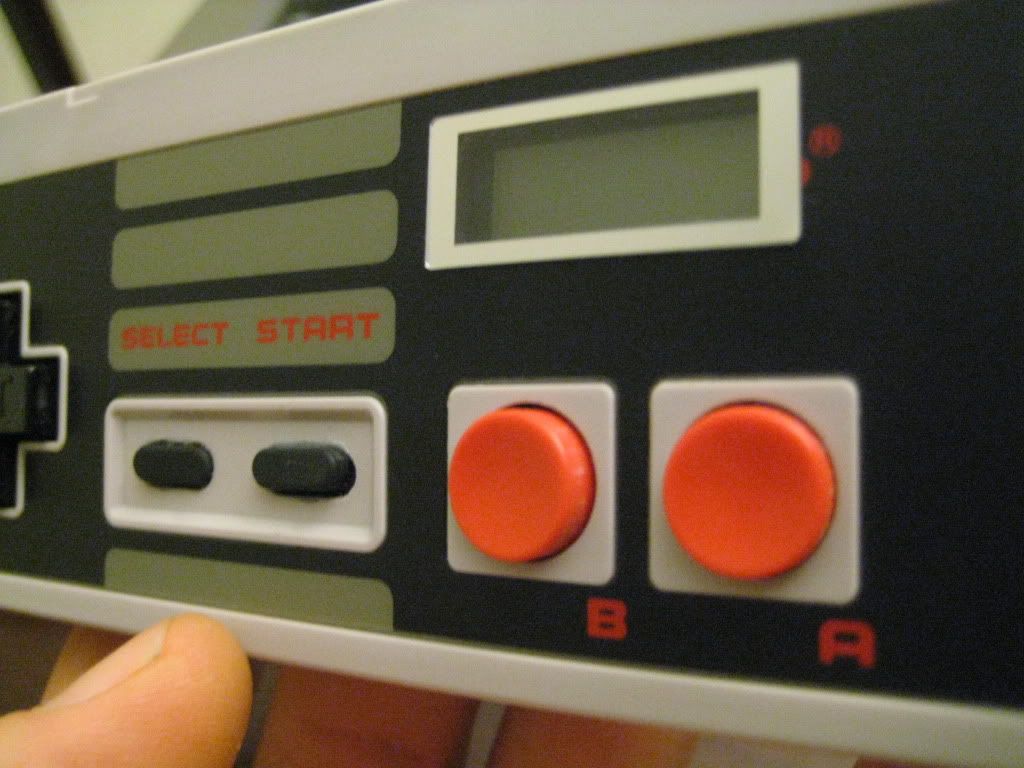
PCB lifted out of the way while the LCD and backlight are glued in place.
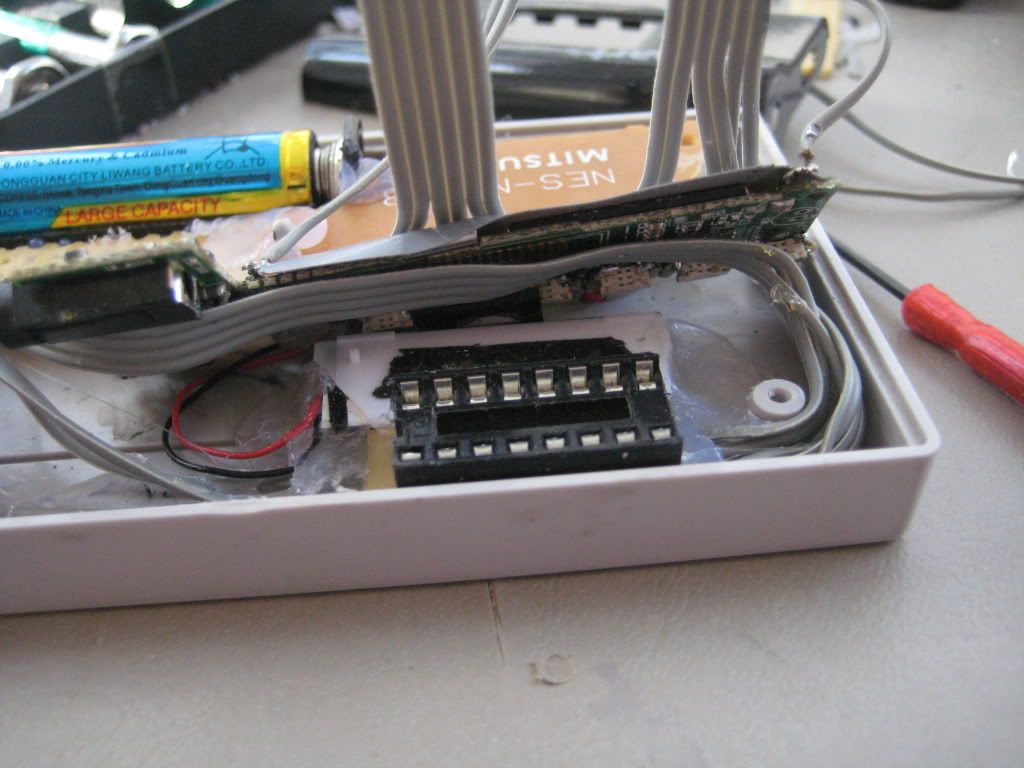
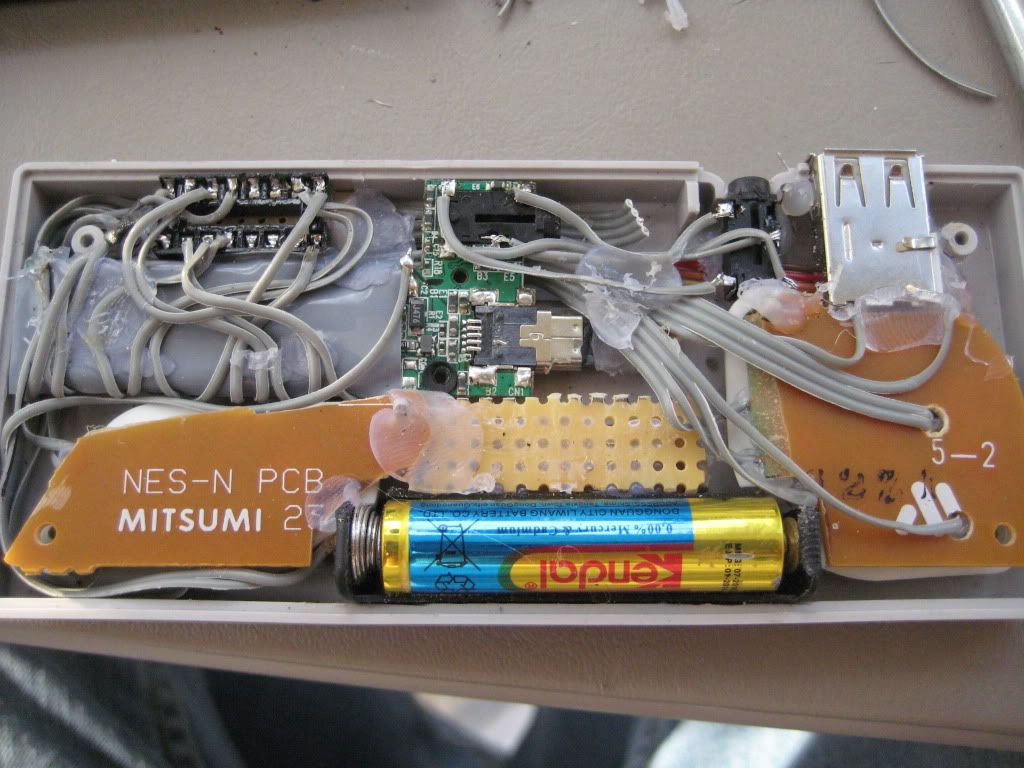
everything wired and glued in place. The little piece of perf board in the middle is glued to keep the start and select buttons in place. They dont actually do anything. Only 6 buttons are needed. You might see a 4 strand piece of ribbon wire sticking out near the headphone jack. Theyre the left,right, and grounds for the headphone jack. Originally I had the jack wired up to the IC header, but it there was a bad connection, and I realized that it was easier to just ditch the header and wire straight to the PCB in that case.
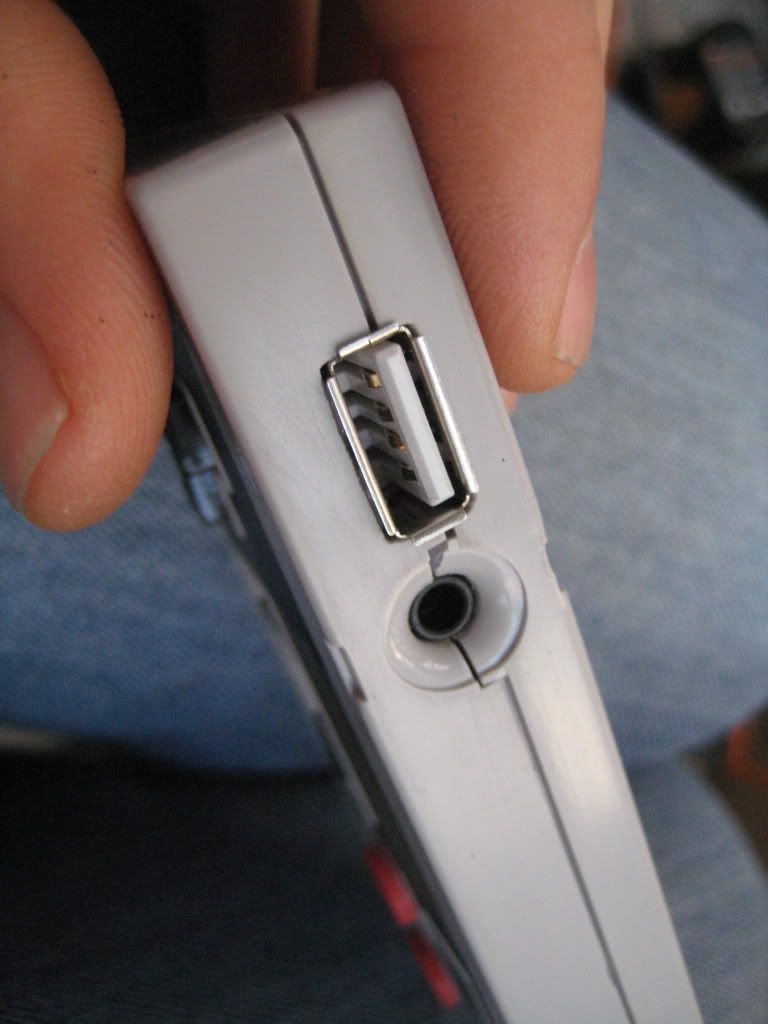
final shot of the headphone and USB jacks.
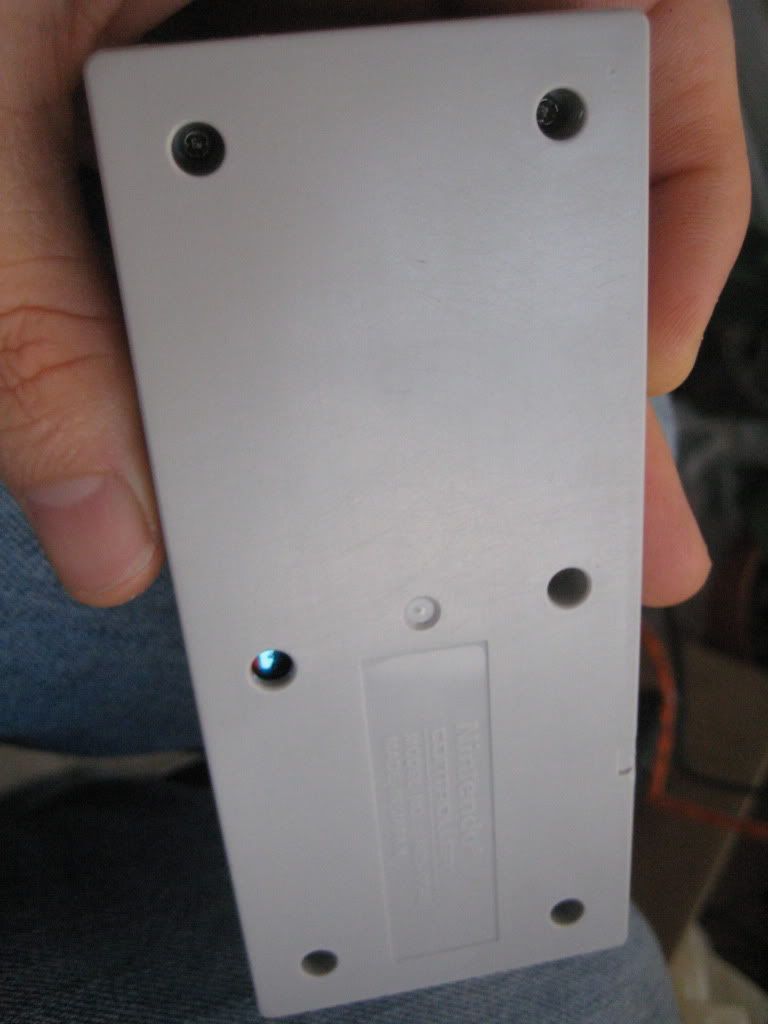
closed up. Only the corner screws are used . the two middle had to go. The little hint of blue in the middle bottom screw hole is the batter peeking out.
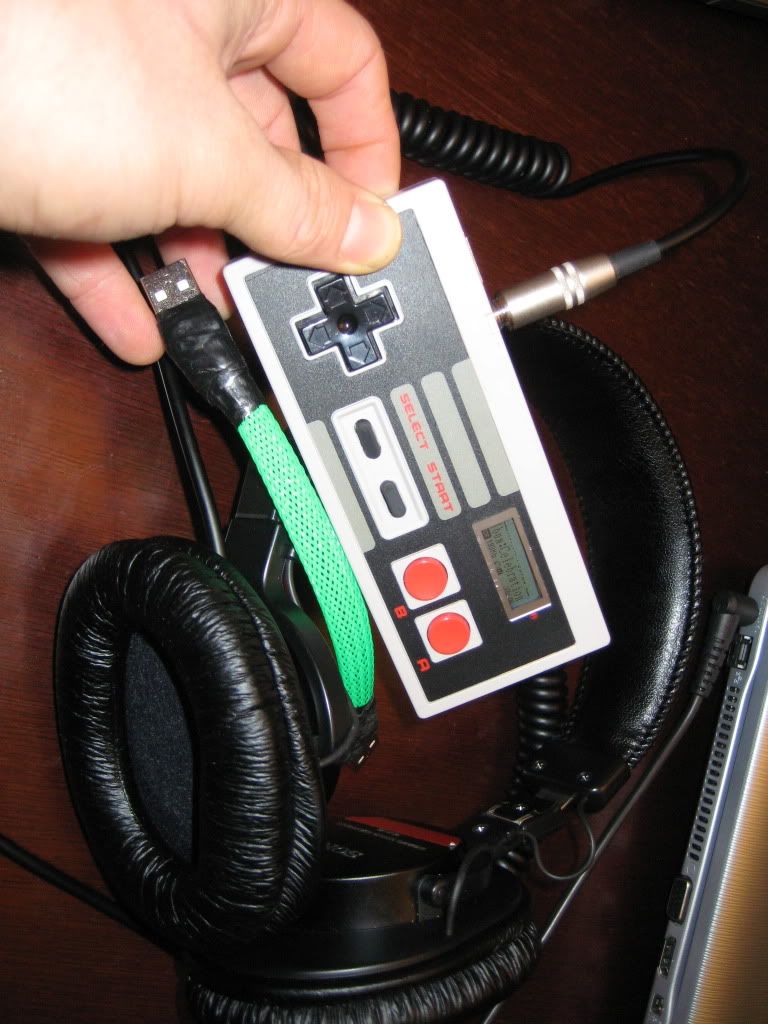
final shots and the male/male USB cable I wired up.


 Home
Home Help
Help Search
 Login
Login Register

 Send this topic
 Print
Print Topic: NES MP3 player complete with lots o pics (Read 4328 times)


