The booth is complete. I was waiting for some final pictures of it before I finished the build log, but since I still dont have any, I'm just going to post what I have, starting from the last point in the log.
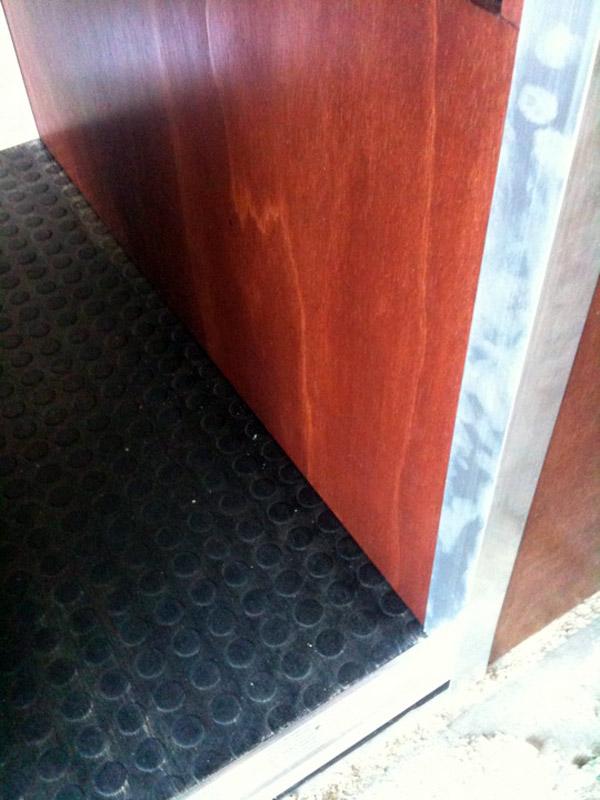
I thought the black/silver/red all complemented eachother nicely. Heres after finishing the floor and putting the pieces together.
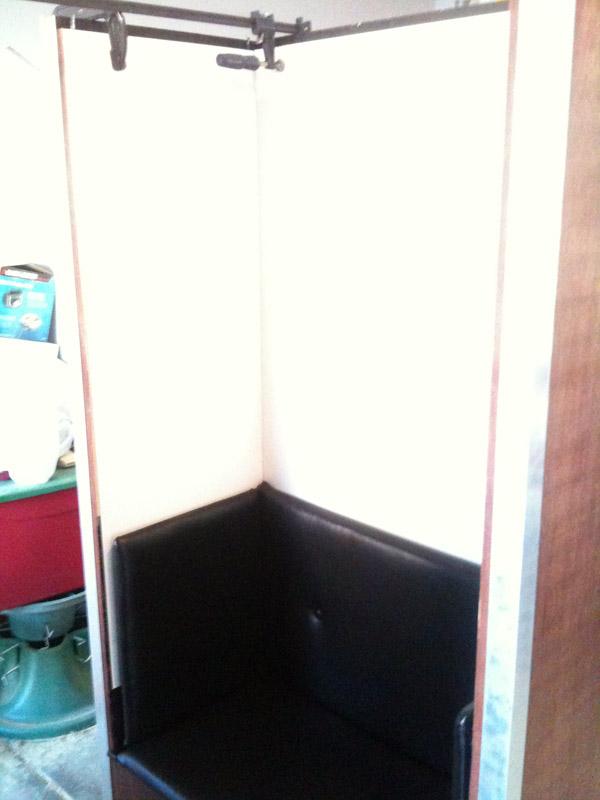
Since the full-black background wasn't going to work, I had to think of some other way to do the background. I didnt totally want to ditch the leather, but I couldnt use it as the background. So I did the next best thing - I just kept it as the back rest, and followed it on the sides.

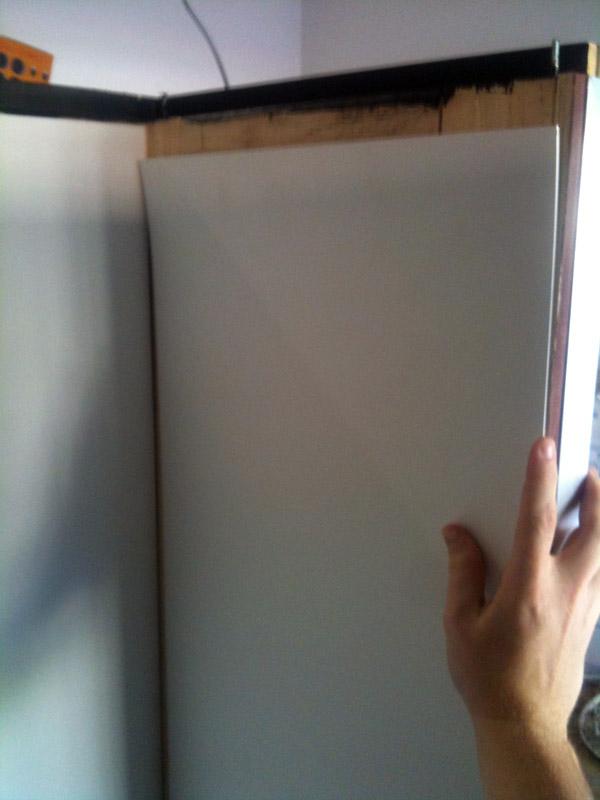
I decided to put white as the backdrop for now. I set out to find a suitable material that wasn't going to cost an arm and a leg. Luckily, I found the perfect stuff at the depot. It is a large sheet of PVC, made for showers and other places needing waterproof materials. One sheet of the stuff was perfect, but alas, I screwed up a cut and had to go buy another sheet anyways.
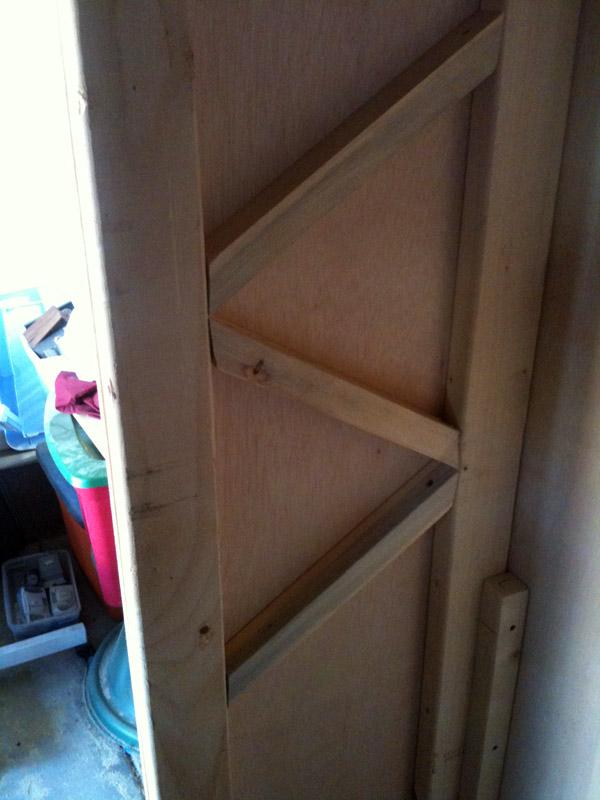
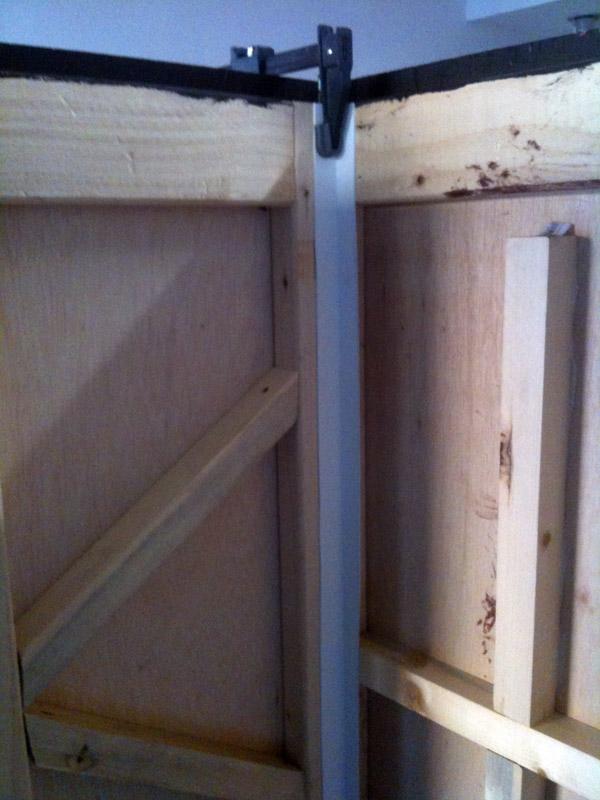
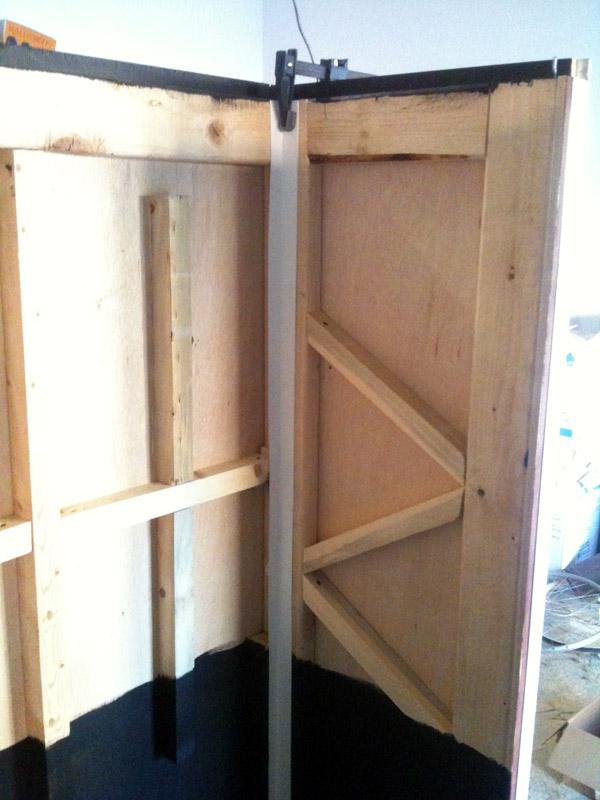
Before I could put the material up, I had to put in supports on the sides and back... It admitedly just adds more and more weight, something Ive been trying to avoid the entire time, but without it, the pvc sheet would simply bend in and possibly break off.
As seen aboce, pushing up 2 cut pieces would usually show the dark area between the crack, so instead of continually trying to perfect a cut bevel, I just put a bent piece of pvc between the joins.
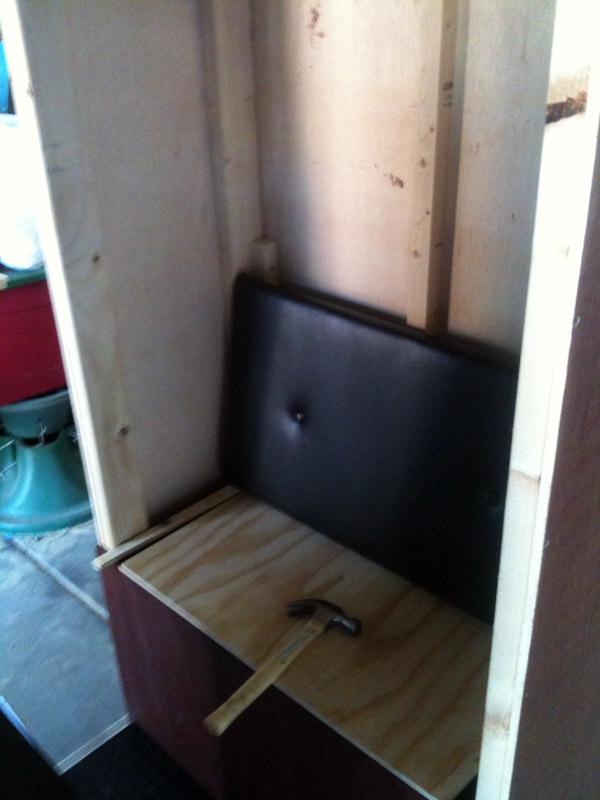
I also had to figure out a way to attach all the padded boards to the inside... this step was a lot harder than it seems like it would be. I was looking for a way to attach the boards without having to put a hole in the leather OR put a hole in the outside of the booth.
I settled on using a medium that I'm not quite happy with, but gets the job done. A very archaic way to do it, in my opinion....

After securing the pads, and hanging the pvc, it was starting to look like a booth again
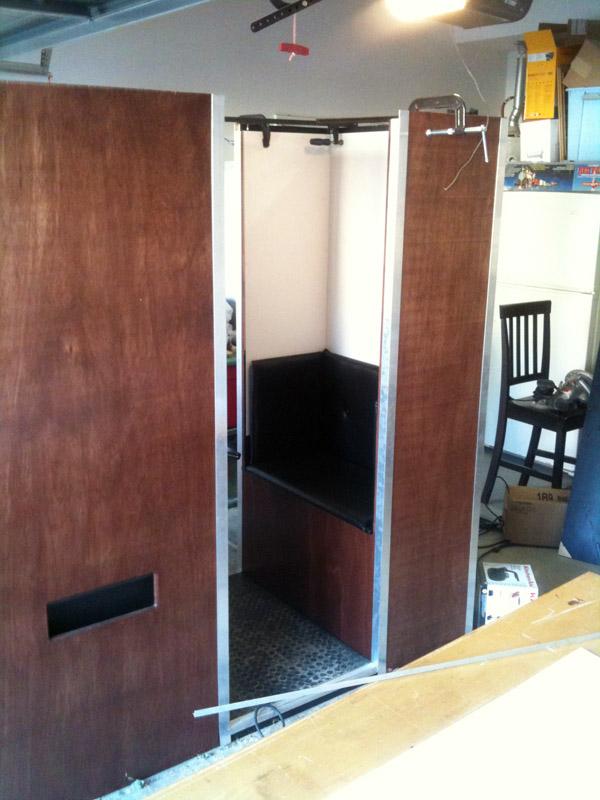
I put on some more aluminum siding to cover the pvc and the bare edges by the seat, and although I don't have a direct picture of it, it looked pretty nice.
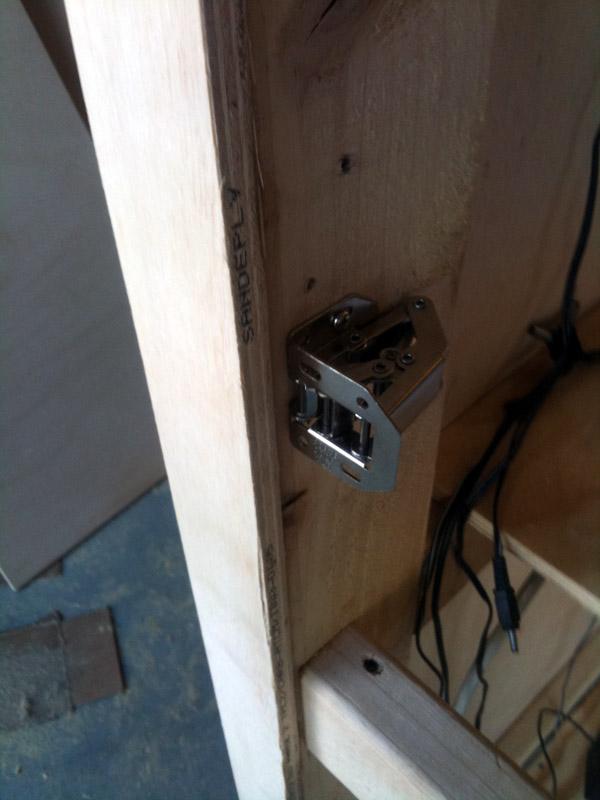
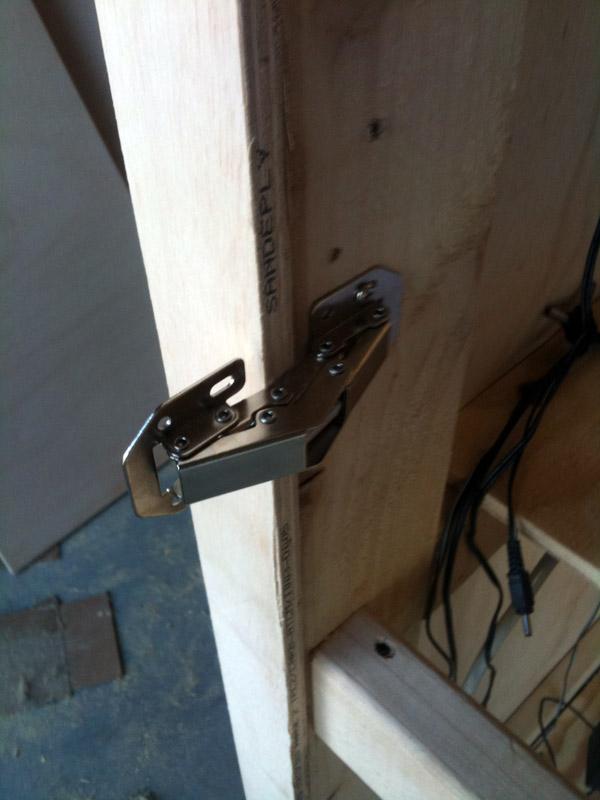
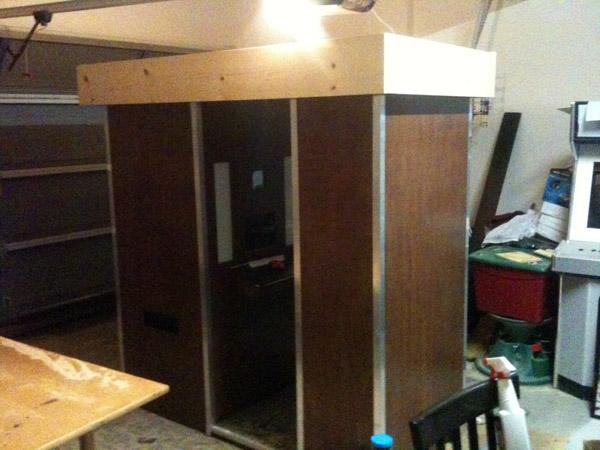
Next I had to put doors on the back. Simple stuff here. Just had to buy the right hinges and put on some regular plywood paneling, then stain to match.
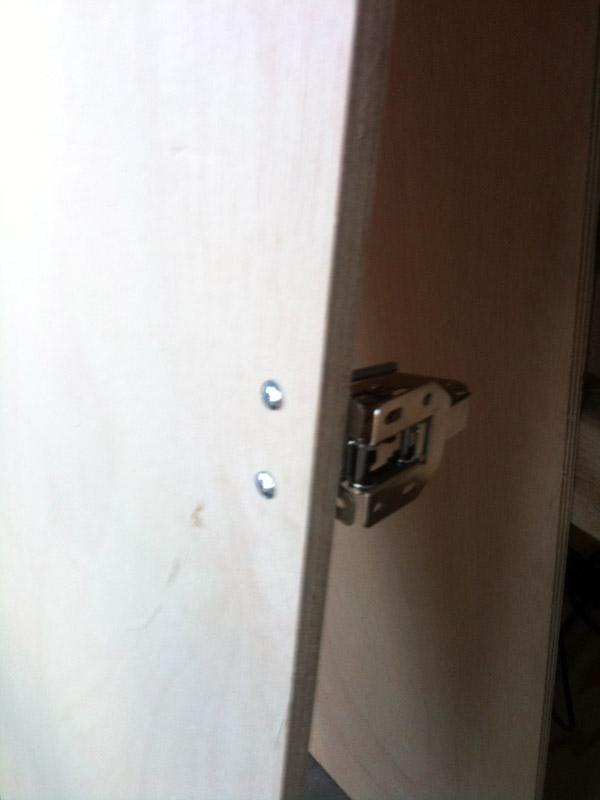
This is one of the only places (maybe the only one at all) where you can see bolts on the outside of the booth:
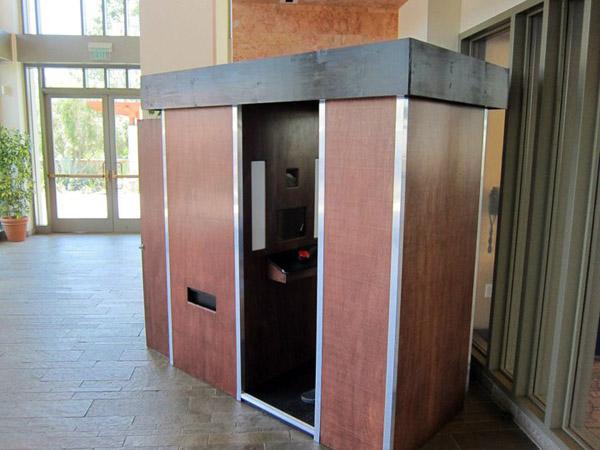
After that was all done, I was ready to complete the booth by building the final piece: the roof.
From the very beginning, Ive been trying to think of how I want the top to look. I wanted it to jut out a little, drop down, and give height all at the same time.
The actual building of the top was relatively easy... it was just a box, with the bottom inset a few inches.
I thought it would be best to use black as the color, to complete the accenting colors. This pic is only one coat, but you get the idea.

To be perfectly honest, I'm not sure I'm totally happy with the top. Something just looks... "off" to me. I'm not really sure what I could do differently. Got any ideas?
All in all, the build was really fun, and the results were awesome. At our wedding, there was a line to get into the booth all night long. It was a total success.
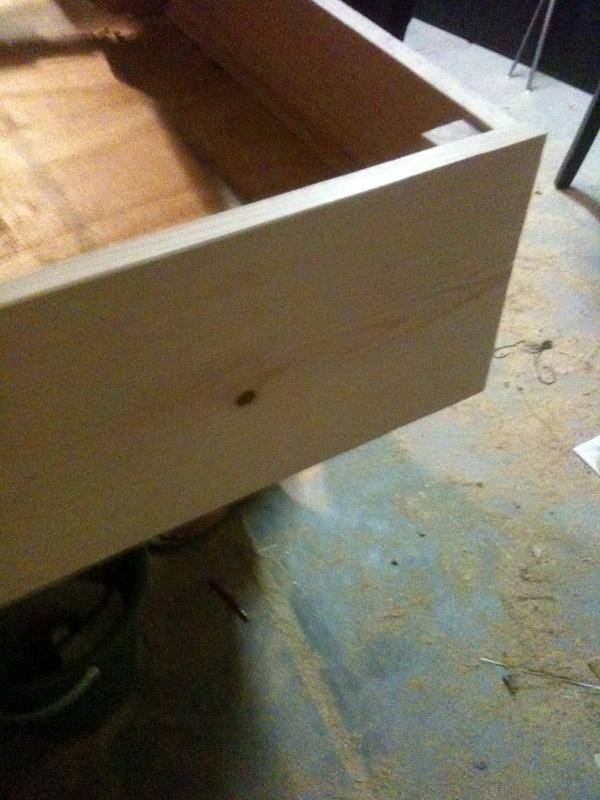
(back door open)


 Home
Home Help
Help Search
 Login
Login Register

 Send this topic
 Print
Print Topic: Plasma's Photo Booth [COMPLETE] (Read 10039 times)


