Posted over at Arcade Otaku as well but I thought I'd post it over here as it's more of a DIY project than most I've done recently and I know a lot of you guys are full of good ideas and solutions!

So I collected 'Linda' the Lindy over the weekend and as there is a lot to do on her I thought I may as well open a 'project' thread!
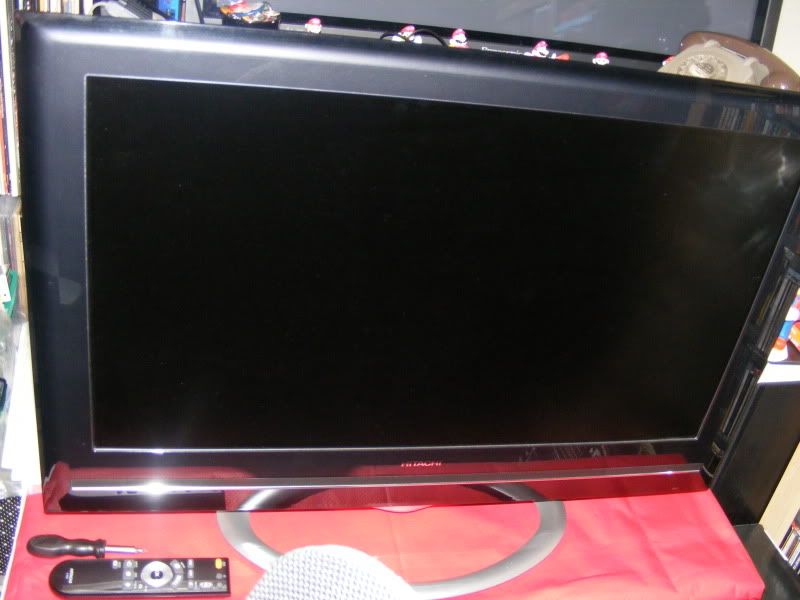
Here she is in the form I collected her...
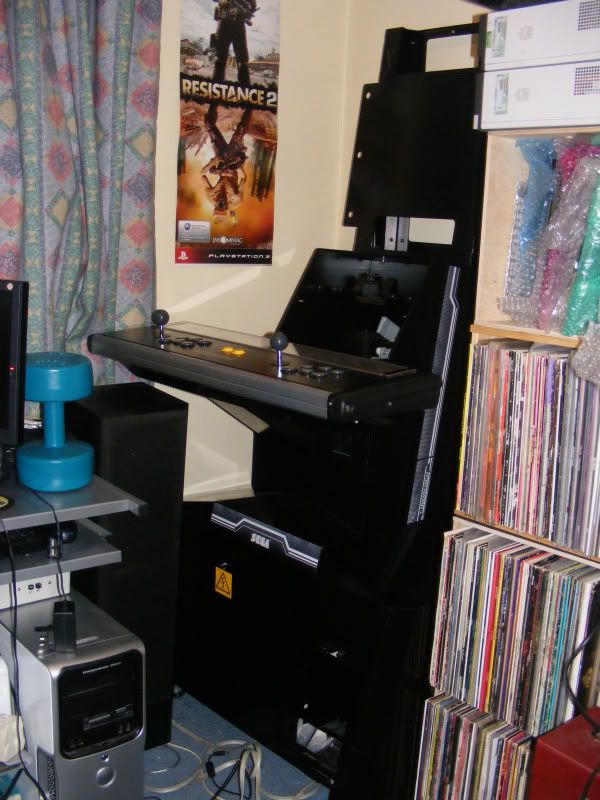

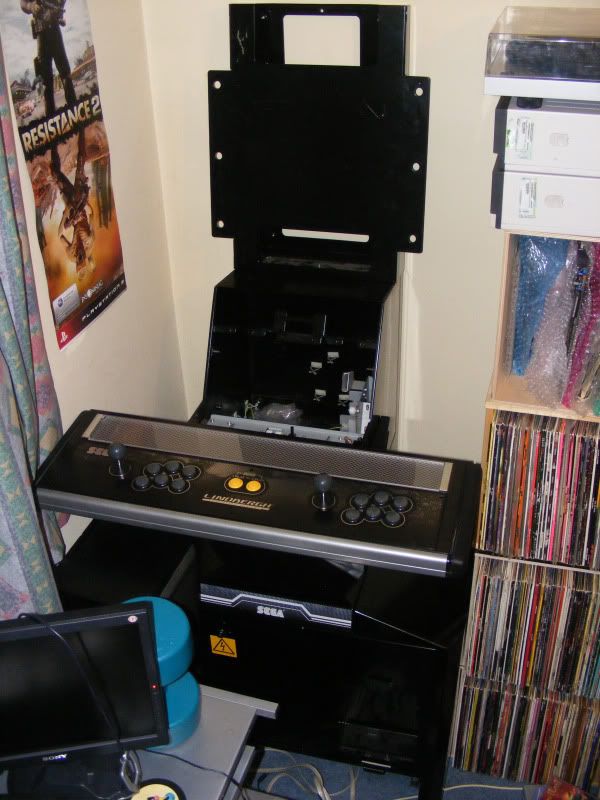
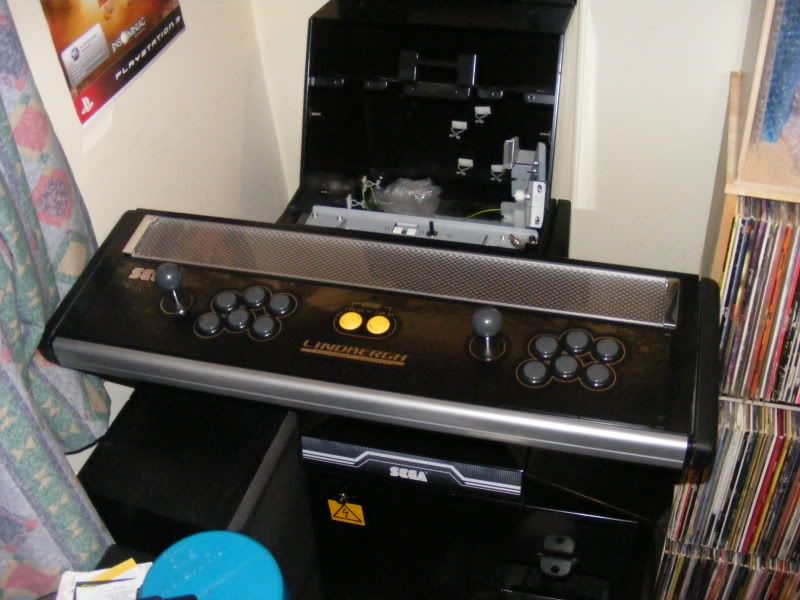
Excellent nick but missing some crucials!
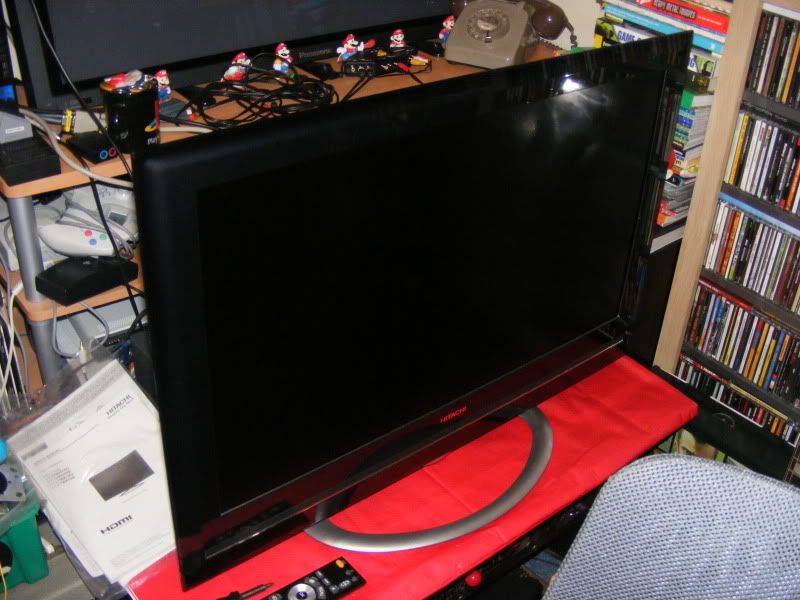
First thing is a monitor - can't play games if you can't see 'em! Bought a lovely Ultra Slim Hitachi UT32MH70 from Andy for a nice price. Compatible with most/if not all HD gaming platforms - HDMI and VGA connection and importantly only 35mm thick.

I didn't want to mod anything on the cabinet - at first I thought I'd go for a sitdown model but I soon realised I actually like this cab upright as well - so why make the extra work for myself and start bastardizing the thing! It's funny, reading previous threads about the Lindy, everyone agrees, it looks like a dog in photos but see it in the flesh and it's actually nice! I'm a convert anyway - even if you guys aren't!

Anyway, to prevent modding it/drilling holes through it, etc... I decided to go for the idea of mounting the LCD mount to a strong piece of wood which then would mount to the original monitor mount on the cabinet without the need to drill holes, etc. I had a nice chunky bit of wood in the garage - 1.5cm thick, so I used that. I drew out the holes to match up with the holes on the cabinet mount and got some nice big nuts and bolts to go through... they are quite a bit smaller but big enough to grip thankfully -
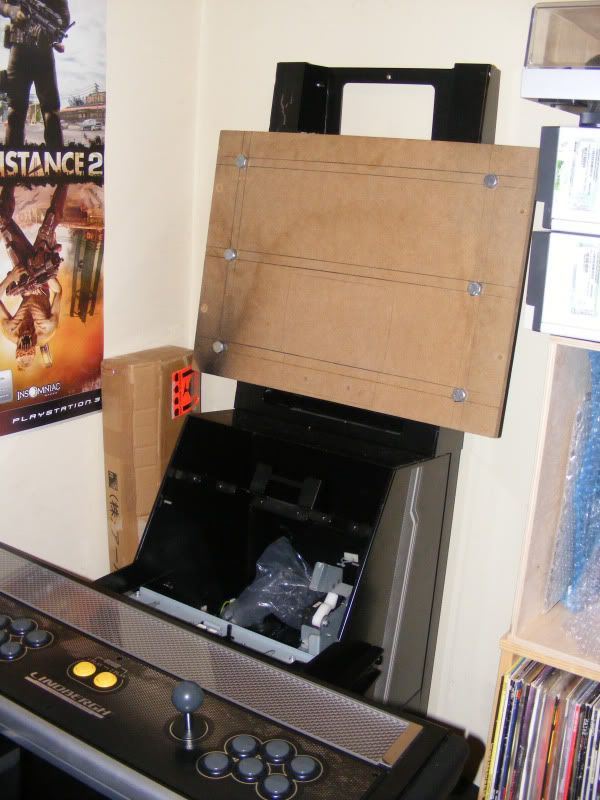
This will be spray painted black to make it more inconspicuous!
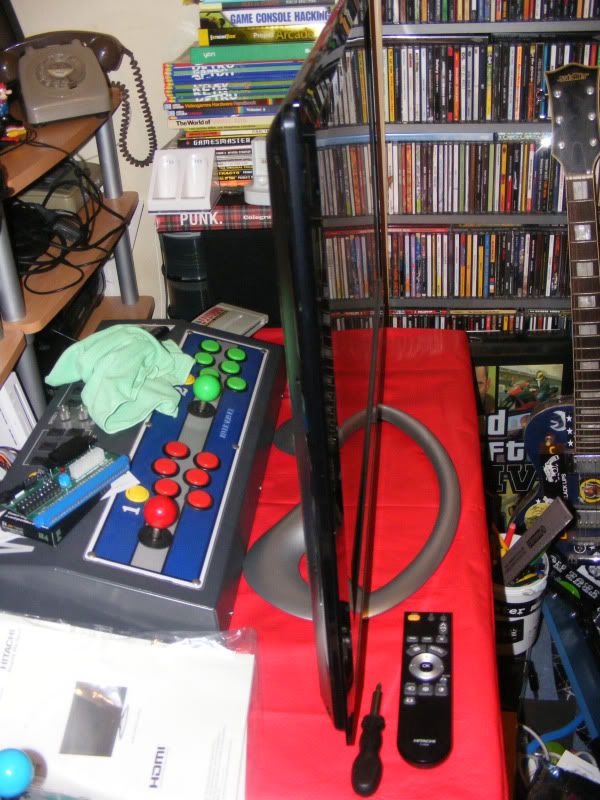
Next will be mounting the TV mount I've got to the monitor and then the piece of wood. This has a 15 degree tilt on it which will add a bit of flexibility. As a consequence it is 8cm deep. When you do the maths - 3.5 for the LCD, 1.5 for the wood and 8 for mount it equals 13cm - measuring the 'step' on the midsection of the cabinet, that is 12cm deep, however, the LCD has curved edges so hopefully the monitor should be pretty much flush with the mid section. Looking at reference pictures, the monitor is generally slightly in but I kind of think it will look slightly better being flush.
Here are pictures of the mounting on the back of the monitor -

I'm hoping to have the cabinet up and running with consoles and MAME by the weekend - this will just be for the meanwhile to get some use and enjoyment out of it while planning the next steps! Thank goodness I have some spare ipac bits and pieces/adaptors and a XRGB-2 already at my disposal!
Here is a sneak peak... I do NOT recommend doing this but to measure up the mounts on the wood I had to lift the monitor with the mount on the back on to the 'step' of the midsection to mark up where to drill the holes... I thought this was going to be mission impossible with one man but it was actually relatively easy! With it sat on the step I couldn't help but take a risk to step back and take a photo with my camera - risky business but to be fair it didn't budge at all - wouldn't have said it was the most sensible thing to do though!

Here are the pics...
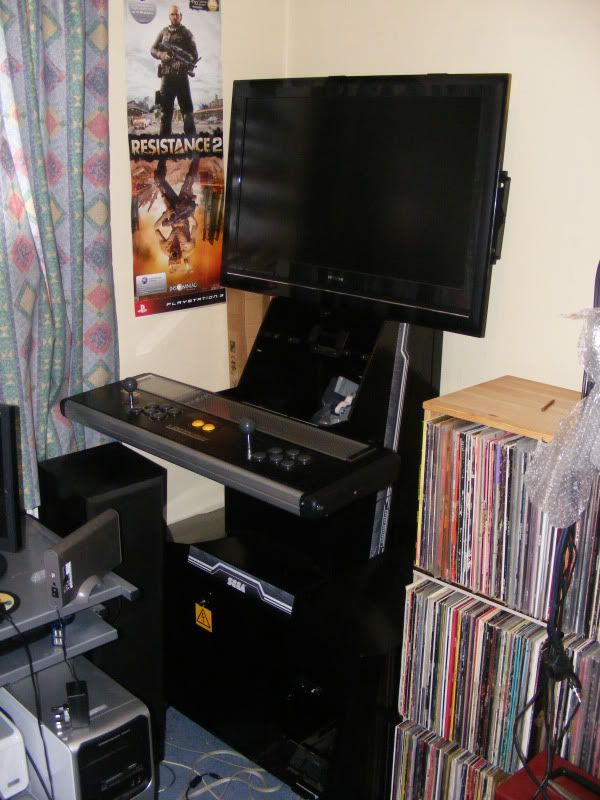

Surprisingly, the monitor wasn't quite flush with the midsection... it was about a cm in but it looked good so I'm happy. Please note the monitor ISN'T mounted so if you don't think it's centralised - don't worry - it was just propped there and wasn't positioned! So far so good I feel but still A LOT to do! Hopefully it'll be mounted by the end of tomorrow - HOPEFULLY!
The next step may or may not be this...
Need to get on to Happ with replacing the coin door... shouldn't be exceptionally expensive and thanks to AndyGeezer I now have the part number - once I have the funds I'll grab one!
UPDATE - A kind chap over at Arcade Otaku named Adam has just offered me a black Sega door for free! Just need to find a frame not! He seems to be my saviour on modern Sega cabs - second time he's done me a massive favour! 

Then I'd like to deal with the midsection as that is the bit that is most obviously missing... I'll be investigating all the options to get the best result!
I can't tell you exactly how I'm going to achieve each step just yet - I'm hoping to use a combination of finding original parts and those parts I can't find, having them CNC'd (hopefully). Anyway, that's the first post, of hopefully a few... I really want this done for my birthday so I'm aiming for a 2 month timeframe... might be a bit optimistic but we'll see...


 Home
Home Help
Help Search
 Login
Login Register

 Send this topic
 Print
Print Topic: Sega Lindbergh Restoration - HD-goodness! (Read 10267 times)


